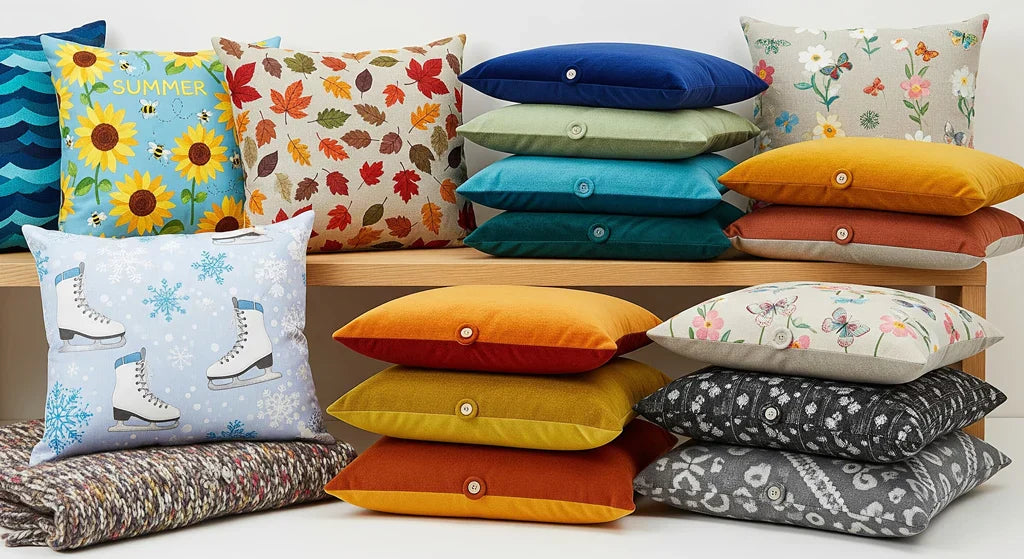
Chair cushions are one of those simple yet transformative elements that can completely change the look and feel of your living space. Whether you're looking to add comfort to your outdoor chair cushions or bring new life to your dining room chairs, making your own cushions is both rewarding and surprisingly straightforward.
I've been creating custom cushions for years, and let me tell you - there's something incredibly satisfying about crafting the perfect cushion that fits your chair like a glove. Plus, when you make them yourself, you get exactly the colors, patterns, and comfort level you want without breaking the bank.

Why Make Your Own Chair Cushions?
Before we dive into the how-to, let's talk about why you'd want to make your own cushions in the first place. Store-bought cushions are often one-size-fits-most, which means they rarely fit your chairs perfectly. When you make your own, you can customize everything - the thickness, the firmness, the fabric, even the shape.
Custom cushions also allow you to match your existing decor perfectly or create a bold statement piece. And here's something most people don't realize: making your own cushions can actually save you a considerable amount of money, especially if you're outfitting multiple chairs.
Chair cushions aren't just about aesthetics either. They provide crucial support for your back, spine, and thighs, which is particularly important if you spend long periods sitting. For those recovering from injuries or dealing with conditions like hemorrhoids, the right cushion can make a world of difference in comfort levels.
Understanding Cushion Materials: The Foundation of Comfort
The success of your DIY project largely depends on choosing the right materials. Let's break down your options, because trust me, not all foams are created equal.
Foam Options: From Basic to Premium

Low-Density Foam: This is your budget option, but honestly, I wouldn't recommend it for anything you plan to use regularly. It tends to lose its shape quickly and doesn't provide adequate support. However, it might work for decorative cushions that won't see much use.
Medium-Density Foam: This offers a good balance between cost and performance. It's what I typically recommend for dining chair cushions that get moderate use. It provides decent support while still being comfortable.
High-Density Foam: Now we're talking! This is the gold standard for cushions that need to last. It maintains its shape even with daily use and provides excellent support. Yes, it costs more upfront, but the longevity makes it worth every penny.
Latex Foam: This is the premium option, made from natural rubber tree sap. It's incredibly durable, naturally antimicrobial, and provides that perfect combination of softness and support. If you're making cushions for chairs you use frequently, latex foam is definitely worth considering.

Fabric Choices: Durability Meets Style
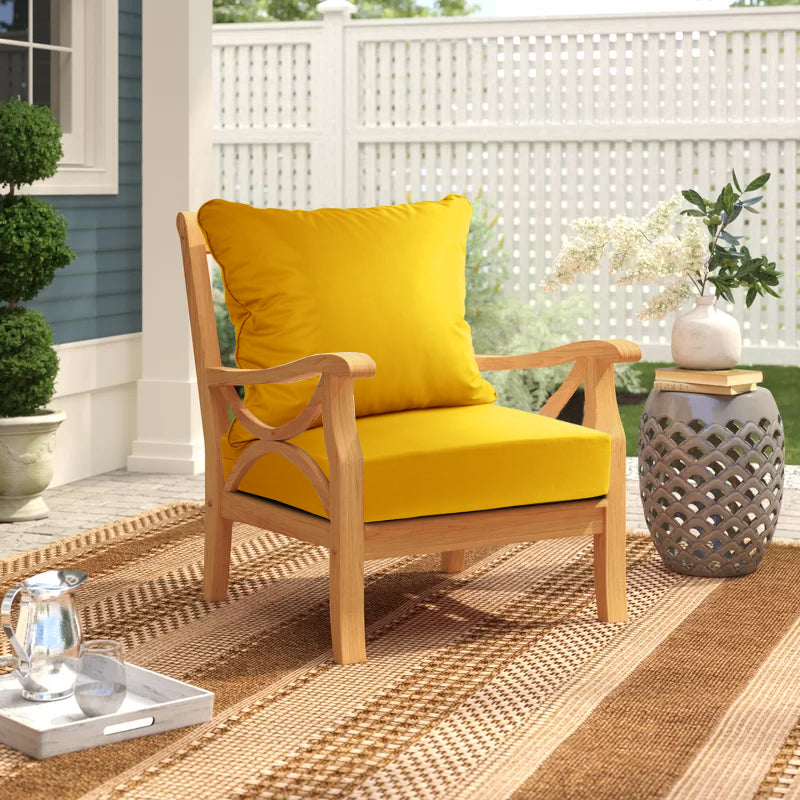
Your fabric choice can make or break your cushion project. For outdoor bench cushions, you'll want weather-resistant materials, while indoor cushions offer more flexibility in fabric selection.
Cotton and Linen: These natural fibers are classics for good reason. They're breathable, comfortable, and easy to work with. However, they're not the best choice for outdoor use unless they're specifically treated for weather resistance.
Canvas and Duck Cloth: These heavy-duty fabrics are excellent for cushions that will see a lot of use. They're durable, easy to clean, and available in a wide range of colors and patterns.
Outdoor Fabrics: If you're making cushions for patio furniture, invest in solution-dyed acrylic fabrics. They resist fading, mildew, and water damage while still looking great.

Essential Tools and Materials You'll Need
Before you start cutting fabric, make sure you have everything you need. There's nothing more frustrating than getting halfway through a project and realizing you're missing a crucial tool.
Complete Materials List:
- Fabric of your choice (calculate 1.5x the surface area to be safe)
- Foam or filling material
- Measuring tape
- Fabric scissors (sharp ones make all the difference!)
- Chalk or fabric marker
- Ruler or straight edge
- Sewing machine or needle and thread
- Pins
- Thread in matching color
- Large upholstery needle (for tufting)
- Button thread or heavy-duty thread (for tufting)
Step-by-Step Guide: Creating Your Perfect Chair Cushion
1Measuring Your Chair
This step is absolutely critical, and it's where most people make their first mistake. Don't just measure the seat - you need to consider how the cushion will sit on the chair. Will it tuck into the back? Does the chair have arms that might interfere?
Measure the length, width, and note any curves or angles. I always add an extra half-inch on each side for seam allowances, but you might want to add more if you prefer a looser fit.

2Cutting Your Fabric
Once you have your measurements, it's time to cut. I always cut my fabric pieces slightly larger than needed - you can always trim, but you can't add fabric back! Use sharp scissors and cut in smooth, confident strokes.
For a basic cushion, you'll need two pieces: top and bottom. If you're making a reversible cushion (which I highly recommend), choose two complementary fabrics.
3Creating the Ties
Chair cushion ties are what keep your beautiful creation in place. I typically make mine about 24 inches long and 3 inches wide when finished. This gives you plenty of length to tie a secure bow.
Cut four strips (two ties, each requiring two pieces for proper finishing). Fold each strip lengthwise, right sides together, and sew along the long edge and one short edge. Turn right side out using a safety pin or turning tool.

4Assembling the Cushion Cover
This is where things get exciting! Place your fabric pieces right sides together. If you're adding ties, position them between the fabric layers at the corners where they'll attach to the chair back.
Pin everything in place, then sew around three sides, leaving one side open for inserting the foam. Use a 1/2-inch seam allowance for durability.
5Turning and Stuffing
Turn your cover right side out through the opening. This is always a satisfying moment - seeing your cushion take shape! Now comes the stuffing. If you're using foam, cut it to size (it should fit snugly but not be compressed).
For loose fill like polyester batting, stuff firmly but don't overpack. The cushion should be full but still have some give to it.
6Closing the Opening
You can either hand-stitch the opening closed with a ladder stitch (my preferred method for a clean finish) or machine-stitch close to the edge. If you machine-stitch, be sure to tuck the raw edges inside first.

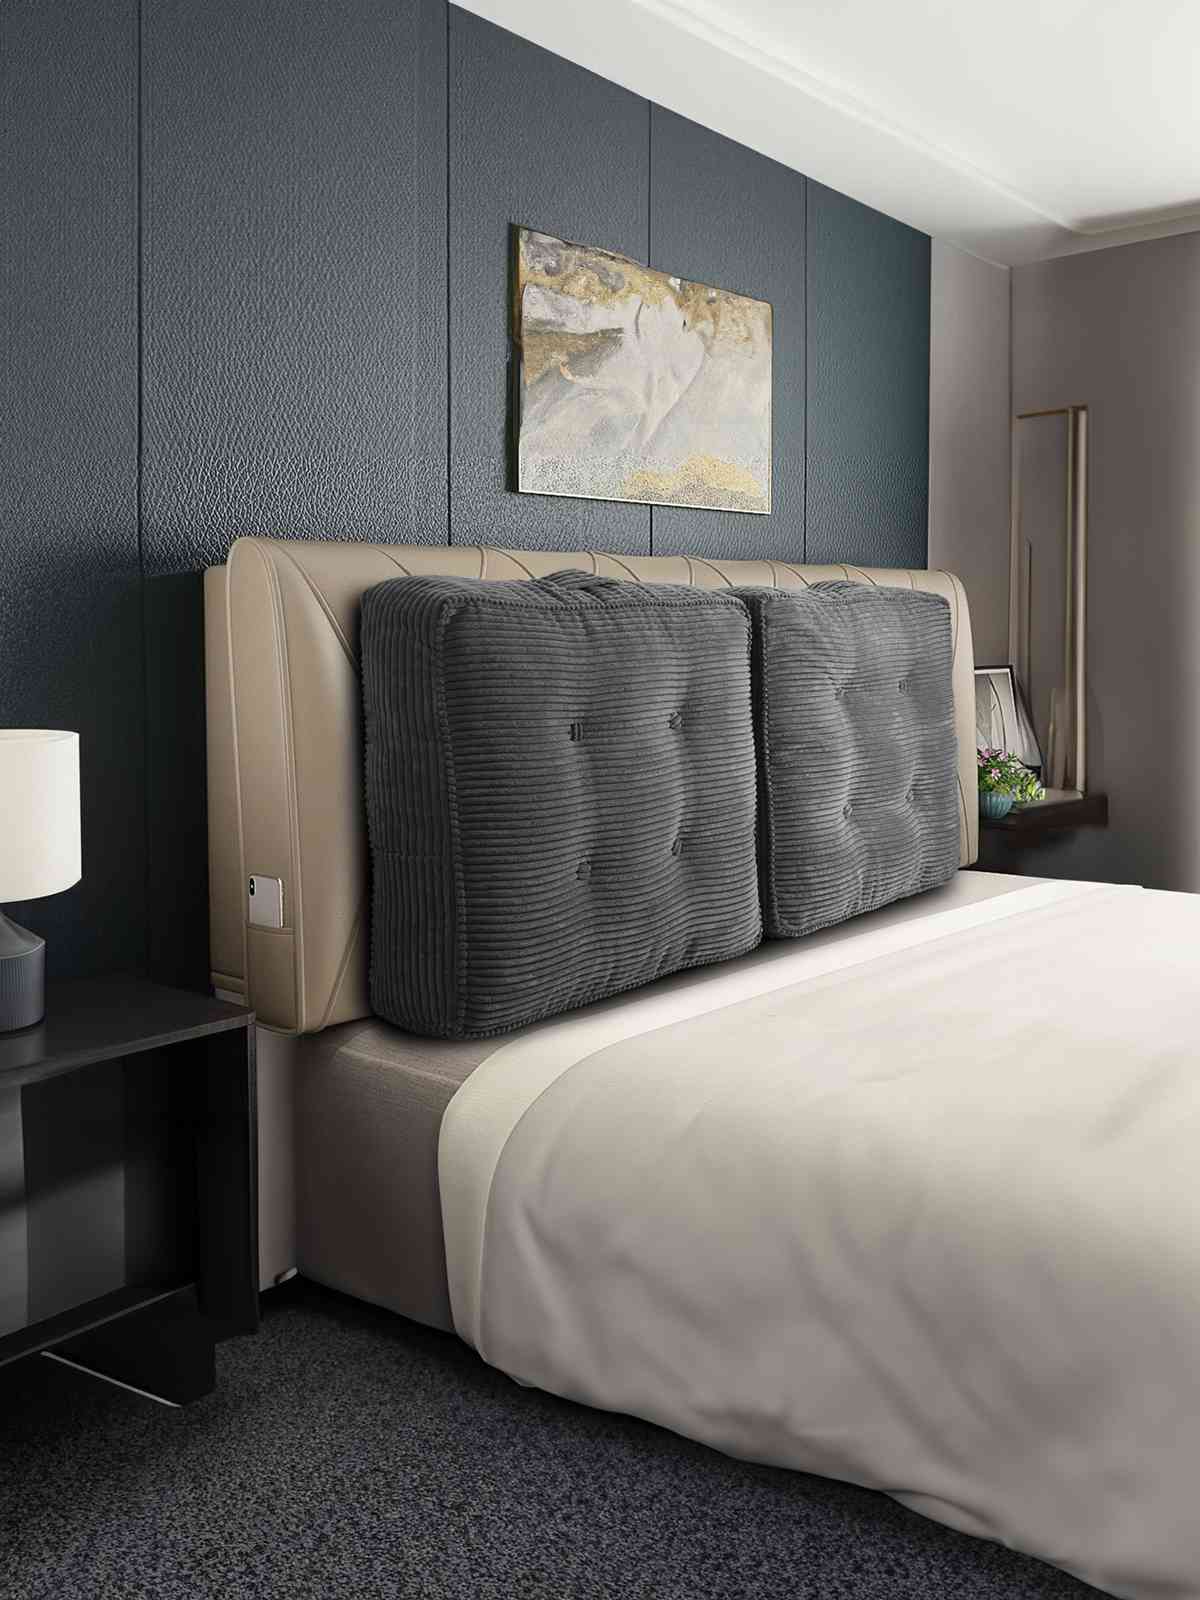
Advanced Techniques: Tufting for Professional Results
If you want your cushions to look truly professional, tufting is the way to go. It's not difficult, but it does require some patience and the right technique.
Mark your tufting points with chalk - I usually do a simple pattern of 3-5 points depending on the cushion size. Thread a large upholstery needle with button thread, and push it through from the front of the cushion to the back.
Pull the needle back through about 1/4 inch from your entry point, and tie off tightly. The key is to pull tight enough to create that characteristic dimpled look without breaking the thread.
Special Considerations for Different Chair Types
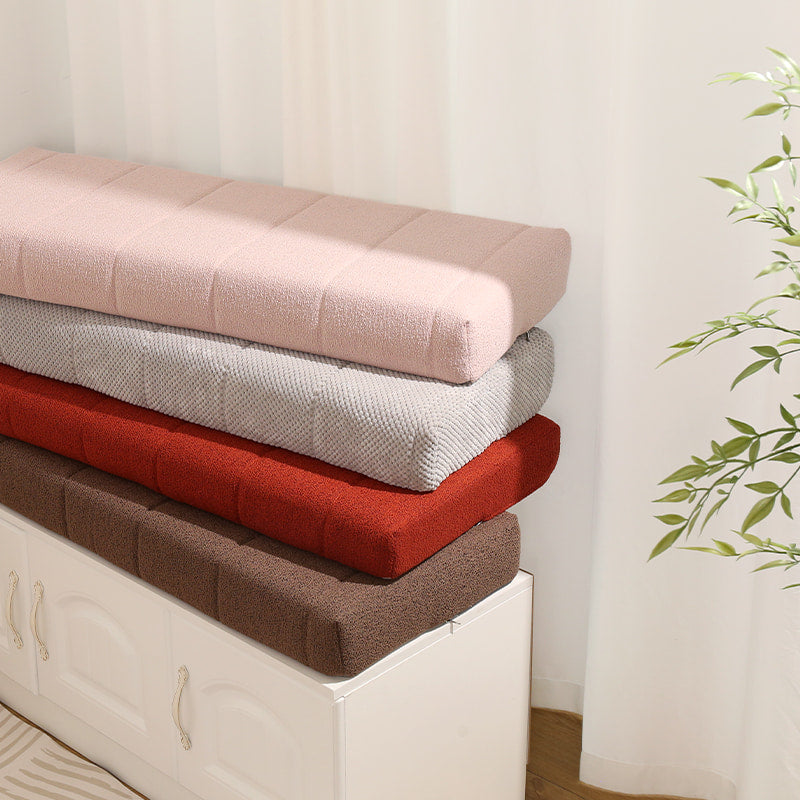
Not all chairs are created equal, and your cushion-making approach should reflect that. Custom bench cushions require different considerations than dining chair cushions.
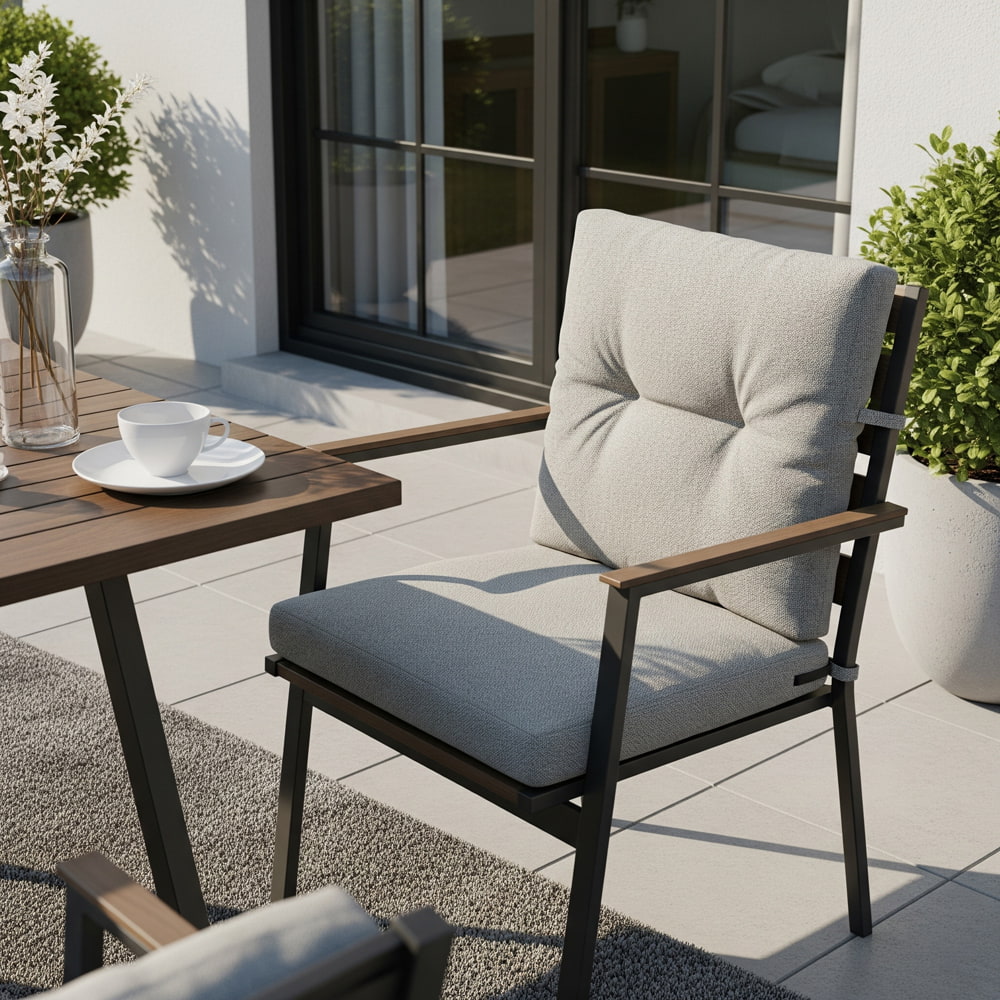
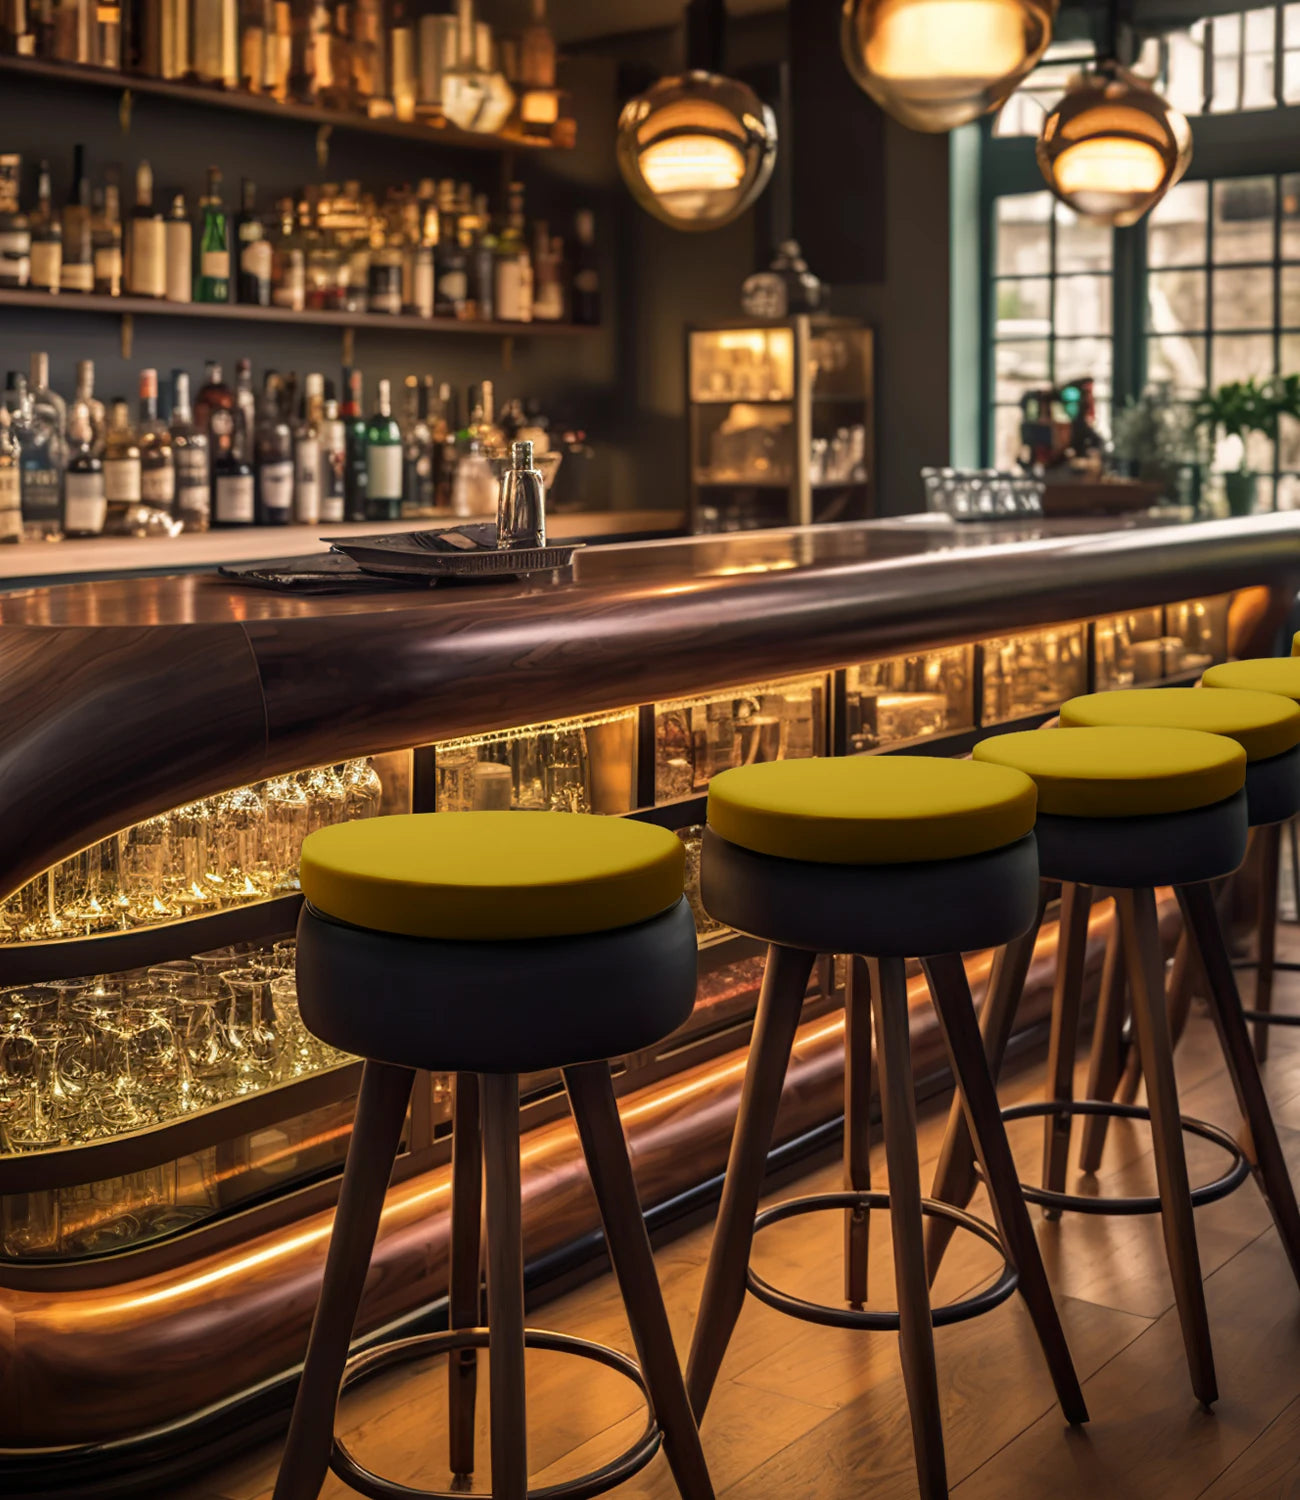
For rocking chairs, you'll want to consider how the motion affects the cushion placement. Outdoor furniture needs weather-resistant materials and potentially drainage considerations. Bar stools require thinner cushions that won't interfere with the proper seating height.

Creating No-Sew Alternatives
Not everyone has access to a sewing machine or feels comfortable with needlework, and that's perfectly fine! You can still create beautiful cushions using fabric glue and some creativity.
The key with no-sew cushions is choosing the right adhesive and allowing proper drying time. Fabric glue has come a long way in recent years, and many brands now offer washable, flexible bonds that work great for cushion projects.
Simply wrap your foam like you're wrapping a present, secure with fabric glue, and you've got yourself a custom cushion! For a more finished look, you can add decorative trim with hot glue.
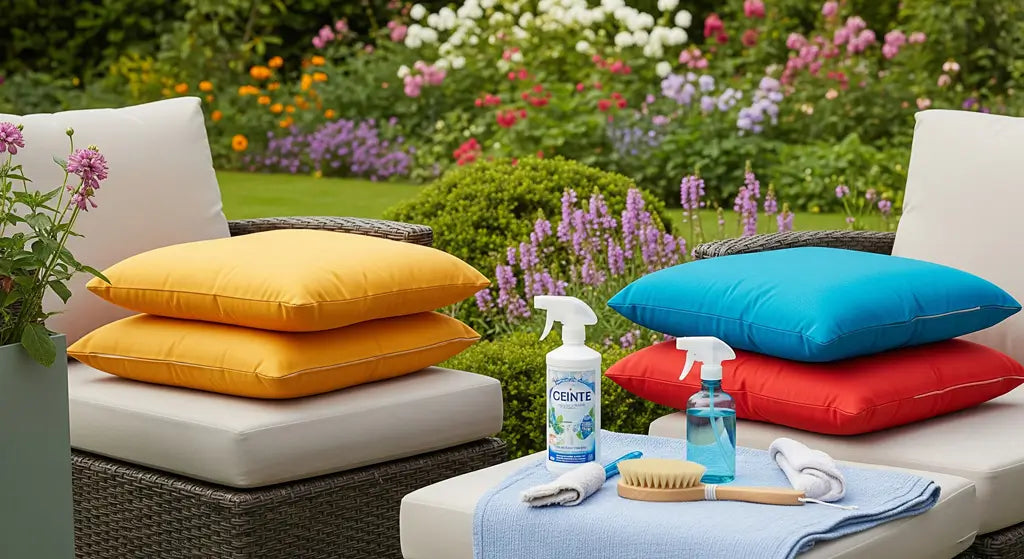
Maintenance and Care Tips
Once you've created your beautiful cushions, you'll want them to last. Regular maintenance can significantly extend their lifespan. For washable covers, I recommend washing them every few months or as needed.

Rotate your cushions regularly to ensure even wear. If you've made reversible cushions, flip them periodically. For outdoor cushions, bring them inside during harsh weather when possible.
Storage is also important. During off-seasons, store cushions in a dry, well-ventilated area. Vacuum-sealed bags work great for indoor cushions, but avoid them for leather or vinyl materials.
Troubleshooting Common Issues
Even experienced crafters run into problems sometimes. If your cushion turns out too thin, you can often add more filling through a small seam opening. If it's too thick, you might need to remove some filling or choose a thinner foam.
Uneven stuffing is another common issue. Take your time when filling, and distribute the material evenly. For foam cushions, make sure your foam is cut squarely and fits properly in the cover.
If your ties aren't staying put, consider adding small pieces of non-slip material to the bottom of the cushion. This is especially helpful for smooth wooden chairs.
Creative Variations and Design Ideas
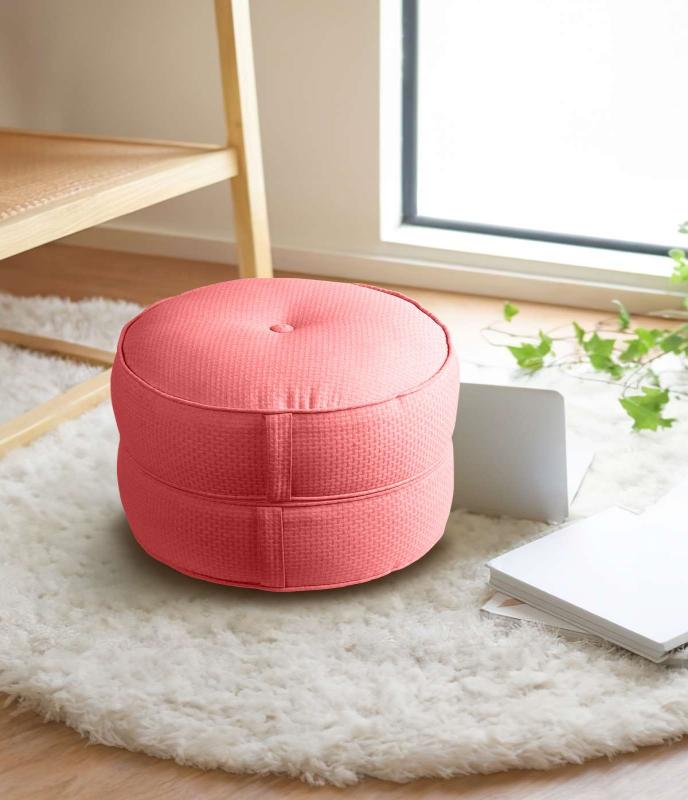
Once you've mastered the basic technique, the possibilities are endless. Consider creating seasonal cushion sets - lighter colors for spring and summer, deeper tones for fall and winter.
Mixed patterns can create visual interest, but stick to a consistent color palette to avoid a chaotic look. Corner floor cushions can complement your chair cushions and create a cohesive seating area.
For families with young children, consider darker colors or patterns that hide stains well. You might also want to make extra covers so you can wash one set while using another.

Cost Analysis: DIY vs. Store-Bought
Let's talk numbers for a moment. A decent quality store-bought chair cushion typically runs $25-60 each, depending on size and quality. When you make your own, you can often create a superior product for $10-25 per cushion, especially if you're making multiple cushions and can buy materials in bulk.
The initial investment in tools might seem high, but once you have your basic sewing supplies, the per-cushion cost drops significantly. Plus, you'll have the satisfaction of creating something uniquely yours.
Environmental Benefits of DIY Cushions
Making your own cushions is also an environmentally conscious choice. You're reducing packaging waste, transportation emissions, and often using higher-quality materials that last longer than mass-produced alternatives.
You can also choose sustainable materials like organic cotton or recycled foam, options that aren't always available in ready-made cushions. When your cushions eventually wear out, you can often reuse the filling in new covers.
Ready to Skip the DIY and Get Professional Results?
While making your own cushions can be rewarding, sometimes you need the perfect fit and professional quality that only comes from experience. At Rulaer, we specialize in creating custom cushions that fit your exact specifications.
Our custom outdoor cushions are built to withstand the elements while providing unmatched comfort. Whether you need outdoor deep seat cushions for your patio furniture or elegant indoor options, we've got you covered.
Every Rulaer cushion is made to order with premium materials and expert craftsmanship. Why spend your weekend wrestling with fabric and foam when you can have professional-quality cushions delivered right to your door?
Browse our complete collection today and discover why thousands of customers trust Rulaer for their custom cushion needs!
Hinterlasse einen Kommentar
Alle Kommentare werden vor der Veröffentlichung geprüft.
Diese Website ist durch hCaptcha geschützt und es gelten die allgemeinen Geschäftsbedingungen und Datenschutzbestimmungen von hCaptcha.