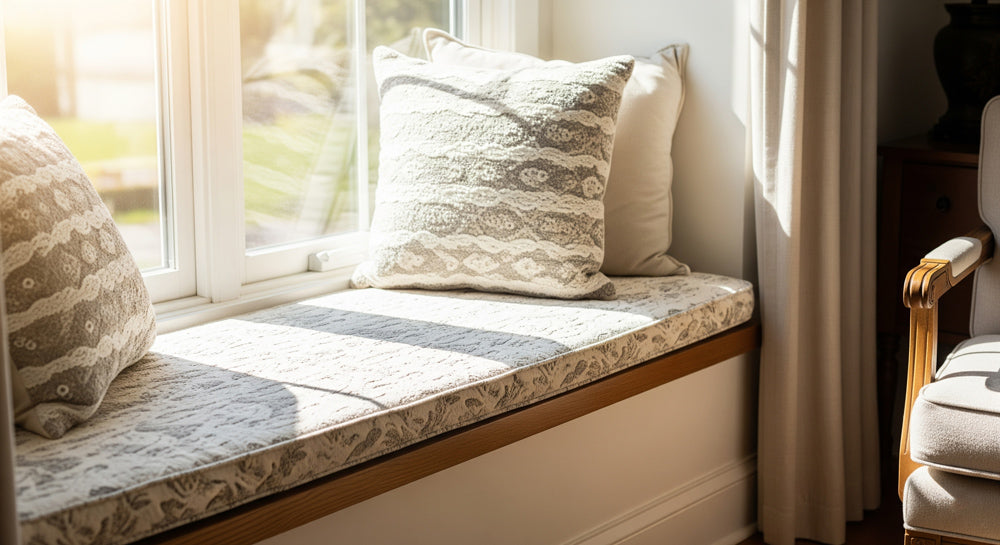
Creating a custom window seat cushion transforms any ordinary window nook into a cozy retreat. Whether you're designing a reading corner, breakfast nook, or simply adding comfort to your bay window, a well-crafted cushion makes all the difference. This comprehensive guide walks you through every step of making a professional-quality window seat cushion that rivals store-bought alternatives.
Planning Your Window Seat Cushion Project
Before diving into construction, proper planning ensures your finished cushion fits perfectly and meets your comfort needs. Start by measuring your window seat carefully, noting any irregularities in the space. Most window seats aren't perfectly rectangular, so take measurements at multiple points.
Consider the cushion's intended use. A reading nook requires firmer support than a decorative accent piece. Think about who will use the space most frequently – adults need different support than children. Factor in the room's style, existing décor, and how much maintenance you're willing to commit to.
Essential Measurements and Templates
Create a paper template before cutting any fabric or foam. Use kraft paper or newspaper to trace the exact shape of your window seat. This template becomes invaluable for cutting materials accurately and can be saved for future reupholstering projects.
Measure the cushion depth carefully. Standard window seat cushions range from 2-6 inches thick. Thinner cushions work well for occasional seating, while thicker options provide better support for extended use. Remember that very thick cushions might block natural light or interfere with window operations.
Choosing the Right Materials for Durability

Material selection dramatically impacts your cushion's longevity, comfort, and appearance. High-quality foam forms the foundation of any great cushion. High-density polyurethane foam offers excellent support and maintains its shape over time. Memory foam provides superior comfort but may retain heat and cost more.
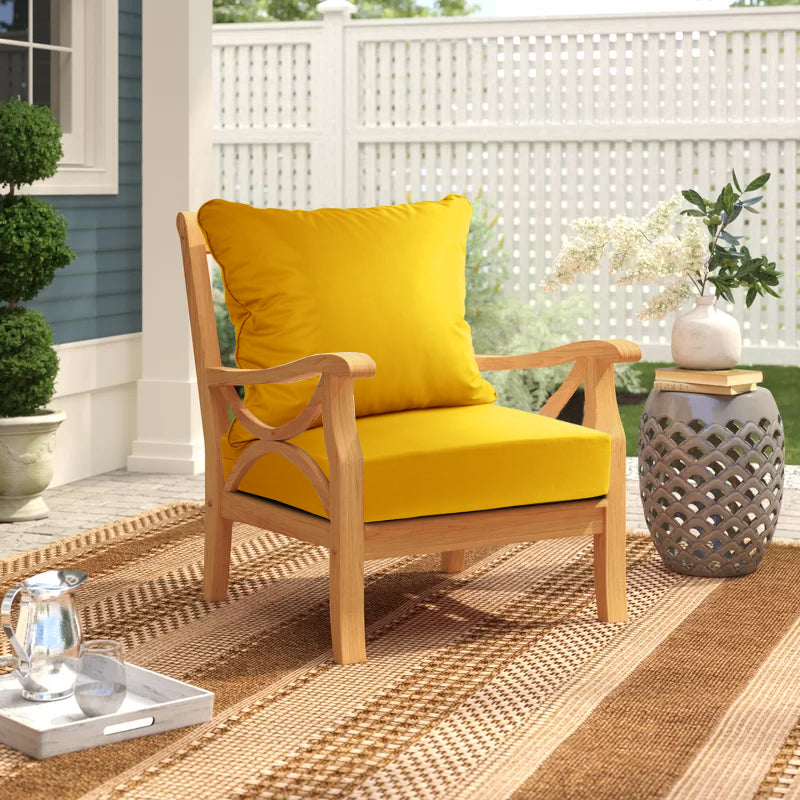
For outdoor window seats or sun-exposed areas, consider outdoor bench cushion materials that resist fading and moisture. Sunbrella and similar outdoor fabrics withstand UV rays and repel water, making them ideal for challenging environments.
Fabric Selection Guidelines
Choose fabrics based on durability, cleanability, and aesthetic appeal. Cotton blends offer comfort and breathability but may fade in direct sunlight. Linen provides a casual, relaxed look but wrinkles easily. Synthetic blends often combine the best properties of multiple materials.
Consider the fabric's weight and weave. Heavier fabrics typically last longer but may be harder to work with. Tight weaves resist wear better than loose weaves. Always purchase extra fabric to account for pattern matching and potential mistakes.
Essential Tools and Supplies
Having the right tools makes cushion-making significantly easier and ensures professional results. A quality sewing machine capable of handling thick fabrics is essential. Industrial or heavy-duty home machines work best for cushion projects.
Sharp fabric scissors or a rotary cutter ensure clean, straight cuts. A long quilting ruler helps maintain straight lines and right angles. Pins, clips, and temporary spray adhesive hold layers together during construction.
Don't overlook measuring tools. A good tape measure, square, and marking tools prevent costly mistakes. Consider investing in a cutting mat if you plan to make multiple cushions or other sewing projects.
Step-by-Step Construction Process

Step 1: Preparing Your Workspace
Set up a large, clean workspace with adequate lighting. Cover your work surface to protect both your materials and furniture. Organize tools within easy reach and ensure your sewing machine is properly threaded and tested.
Step 2: Cutting the Foam Insert
Use your template to mark the foam, then cut with a sharp knife or electric carving knife. Make smooth, continuous cuts to avoid jagged edges. Cut the foam slightly smaller than your template to account for fabric thickness and ensure a snug fit.
Step 3: Cutting and Preparing Fabric
Lay fabric face-down and place your template on top. Add seam allowances (typically ½ to ¾ inch) around all edges. Cut carefully, maintaining straight lines and smooth curves. If using patterned fabric, pay attention to pattern placement and matching.
For cushions requiring multiple pieces, mark each piece clearly to avoid confusion during assembly. Consider the fabric's grain direction – running the grain lengthwise typically provides better durability.
Step 4: Creating Professional Piping
Piping adds a polished, professional appearance to your cushion. Cut bias strips of fabric 1½ inches wide and piece them together to create sufficient length. Fold the strip around piping cord and sew close to the cord using a zipper foot.
Attach piping to the cushion top before joining pieces. Start away from a corner and leave excess piping at the beginning. Clip piping seam allowances at curves and corners for smooth turns.
Step 5: Assembly and Finishing
Pin the cushion top and bottom together with right sides facing. If including ties or attachments, sandwich them between layers at this stage. Sew around the perimeter, leaving an opening large enough to insert the foam.
Turn the cover right side out and press seams if needed. Insert the foam, working it into corners carefully. Hand-stitch the opening closed with invisible stitches, or install a zipper for easy removal and cleaning.
Professional Tips for Better Results

Professional upholsterers use several techniques that dramatically improve finished cushion quality. Pre-shrinking fabrics prevents disappointment after the first cleaning. Wash and dry fabrics according to care instructions before cutting.
Consider batting or quilt padding around the foam core for a softer, more luxurious feel. This technique, commonly used in high-end custom bench cushions, prevents the hard edges of foam from showing through fabric.
Test your stitching on fabric scraps before sewing the actual cushion. Adjust thread tension, stitch length, and needle type as needed. Keep extra needles on hand – thick fabrics and multiple layers can dull or break needles quickly.
For cushions in high-use areas, reinforce stress points with additional stitching or interfacing. Pay special attention to corners and areas where ties or attachments are sewn.
Common Challenges and Solutions
Even experienced sewers encounter challenges when making cushions. Puckered seams often result from incorrect thread tension or feeding fabric unevenly. Practice maintaining consistent pressure and speed while sewing.
If your cushion cover ends up too small, consider adding a contrasting border or binding to increase dimensions. This technique can actually enhance the design while solving sizing issues.
Lumpy or uneven cushions usually indicate foam cutting problems or inadequate foam density. High-quality foam cut with proper tools creates smooth, professional results. Don't try to compensate for poor foam with extra fabric manipulation.
Maintenance and Long-term Care
Proper maintenance extends your custom cushion's life significantly. Vacuum regularly to remove dust and debris that can wear fabric fibers. Rotate cushions periodically to ensure even wear patterns.
Address spills immediately to prevent staining. Blot rather than rub stains, and use appropriate cleaning products for your fabric type. Consider professional cleaning for expensive fabrics or stubborn stains.
Store seasonal cushions properly to prevent damage. Clean thoroughly before storage, wrap in breathable material, and store in a dry location away from pests.
When to Consider Professional Alternatives
While DIY cushion-making can be rewarding, some situations call for professional solutions. Complex shapes, expensive fabrics, or lack of proper tools might make professional manufacturing more cost-effective.
Consider the time investment required for your project. Quality cushion-making takes considerable time, especially for beginners. Factor in learning curves, potential mistakes, and tool purchases when comparing costs.
Need Professional Results Without the Hassle?
At Rulaer, we specialize in creating custom cushions that perfectly fit your space and lifestyle. Our expert craftspeople use premium materials and professional techniques to deliver cushions that exceed your expectations.
Shop Custom CushionsProfessional Cushion Solutions from Rulaer


Design Ideas and Inspiration
Window seat cushions offer endless design possibilities. Consider seasonal changes by creating multiple covers for the same foam insert. Light, bright fabrics work well for spring and summer, while rich, warm tones create cozy autumn and winter atmospheres.
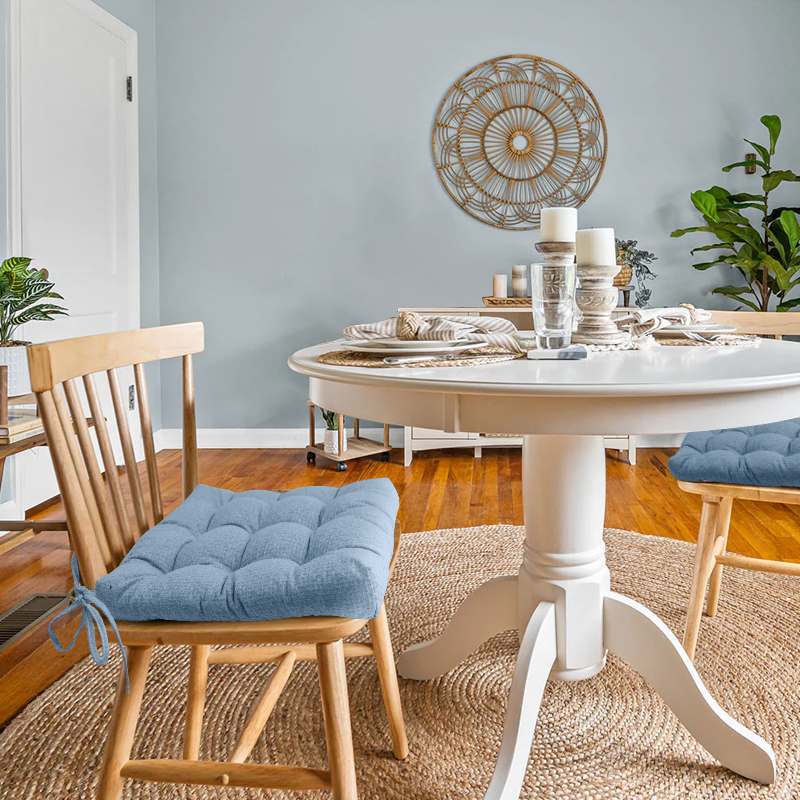
Coordinate your window seat cushion with existing chair cushions for a cohesive look. Use the same fabric family but vary patterns or colors for visual interest without overwhelming the space.
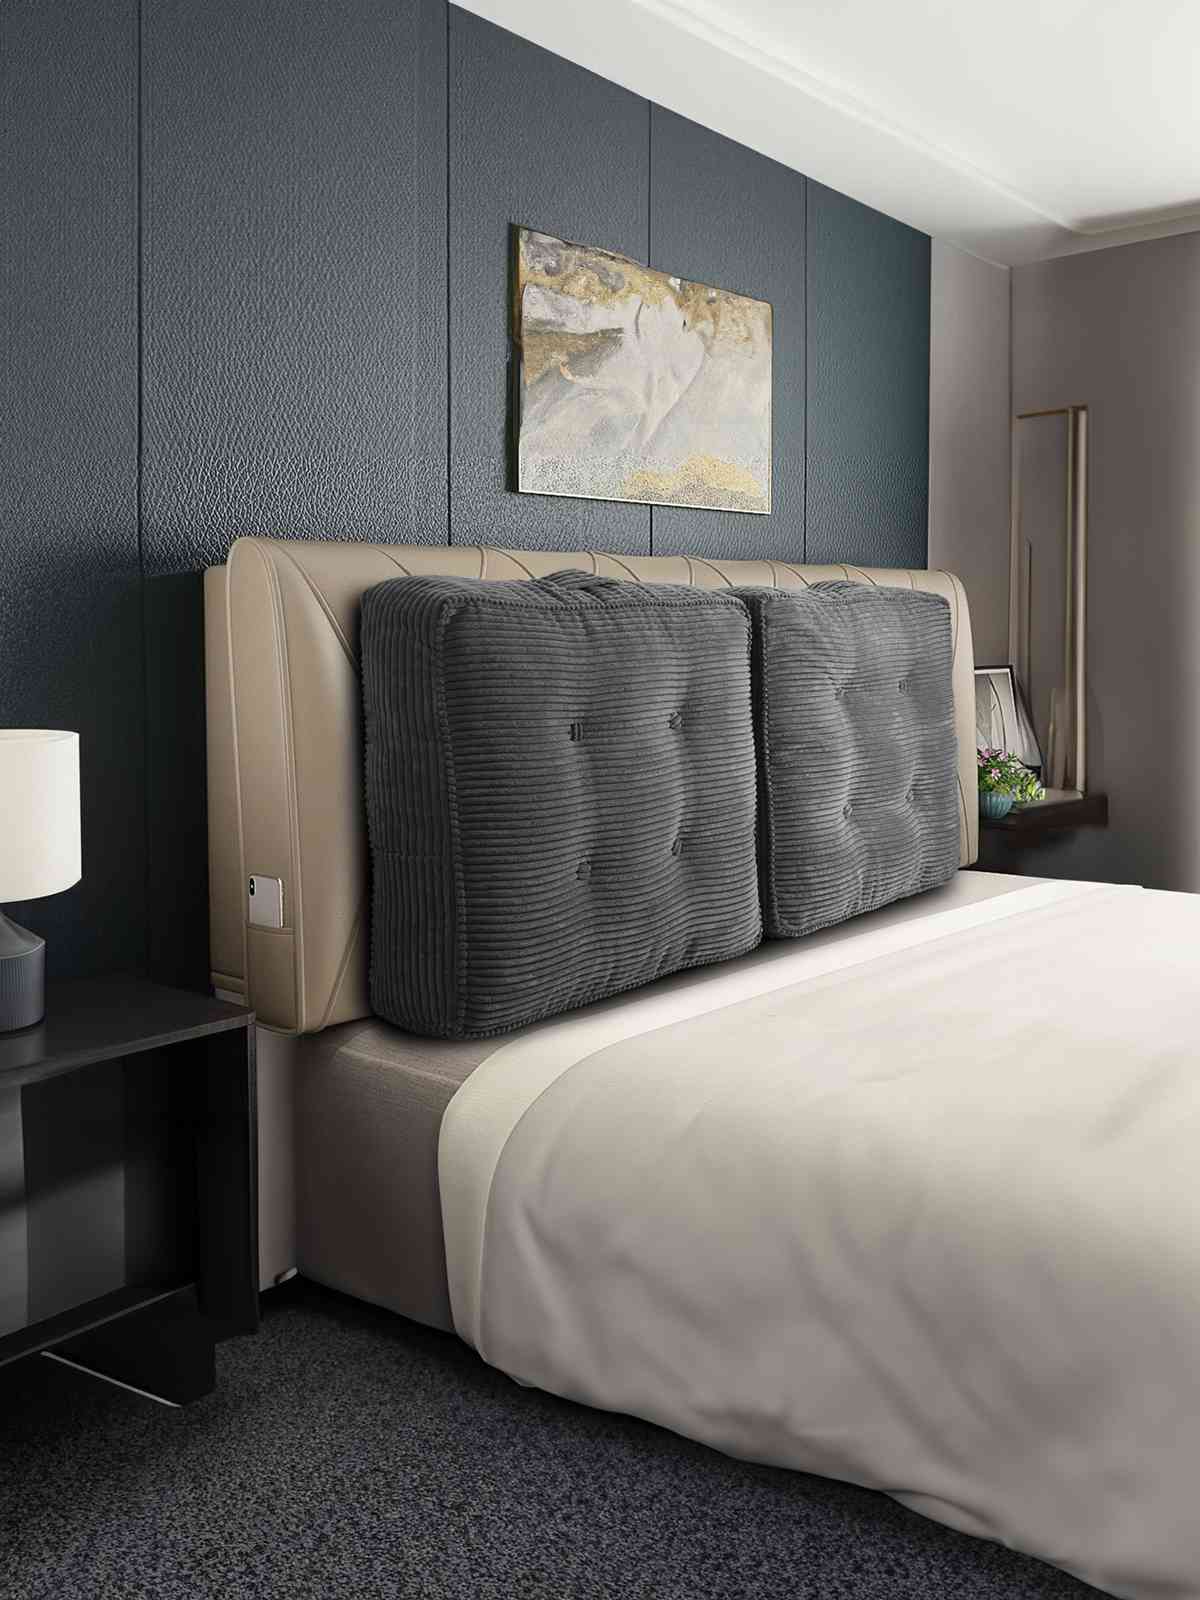
Add personality with decorative elements like buttons, tufting, or contrasting welting. These details elevate simple cushions into design statements that reflect your personal style.
Cost Analysis and Budget Planning
Understanding project costs helps you make informed decisions about DIY versus professional options. Basic materials for a standard window seat cushion typically cost $50-150, depending on fabric choices and cushion size.
Factor in tool costs if you don't already own necessary equipment. A quality sewing machine, cutting tools, and measuring equipment represent significant initial investments but benefit multiple projects.
Time investment varies widely based on experience and cushion complexity. First-time makers should budget 8-12 hours for a simple rectangular cushion, while experienced sewers might complete similar projects in 4-6 hours.
Safety and Building Code Considerations
While decorative cushions don't typically require permits, consider safety aspects of your window seat project. Ensure adequate ventilation around windows and verify that cushions don't block emergency exits.
Use fire-resistant materials when possible, especially in commercial settings or rental properties. Many modern foams include fire retardants, but verify specifications before purchasing.
Consider child safety if young children will use the window seat. Avoid small decorative elements that could pose choking hazards, and ensure the cushion provides stable seating.
Seasonal Adaptations and Versatility
Design your window seat cushion system for year-round use by considering seasonal needs. Breathable fabrics work well in summer, while warmer materials provide comfort during colder months.
Create interchangeable elements like removable covers or seasonal pillow accessories. This approach maximizes your investment while keeping the space fresh and interesting throughout the year.
Consider how natural light changes seasonally and choose fabrics that look attractive in both bright summer sun and softer winter light. Test fabric samples in your actual space at different times of day and year if possible.
Creating Your Perfect Window Seat Retreat
Making a custom window seat cushion combines practical skills with creative expression. Whether you choose the DIY route or opt for professional manufacturing, the key is understanding what makes a great cushion: proper measurements, quality materials, and attention to detail.
Remember that your window seat cushion is an investment in your home's comfort and beauty. Take time to plan carefully, choose quality materials, and don't rush the construction process. The result will be a custom piece that perfectly fits your space and serves you well for years to come.
For those seeking professional results without the time investment, consider exploring custom outdoor cushions and other specialized options that deliver expert craftsmanship with the convenience of professional manufacturing.
Ready to Transform Your Window Seat?
Browse our collection of premium custom cushions or contact our design team for personalized recommendations.
Explore Custom Solutions


Commenta
Nota che i commenti devono essere approvati prima di essere pubblicati.
Questo sito è protetto da hCaptcha e applica le Norme sulla privacy e i Termini di servizio di hCaptcha.