
Creating a custom bench cushion cover with a zipper is one of the most rewarding DIY projects for home enthusiasts. Whether you're looking to refresh your outdoor bench cushion or create new seating for your dining area, mastering this skill will save you money while ensuring a perfect fit for your furniture.
Why Choose Zippered Bench Cushion Covers
Zippered covers offer unmatched convenience and longevity. Unlike sewn-shut covers, zippered versions allow easy removal for washing, seasonal storage, and cushion replacement. This feature becomes especially crucial for outdoor furniture that faces weather challenges throughout the year.

Essential Materials and Tools
Fabric Requirements
- Heavy-duty upholstery fabric (2-3 yards depending on bench size)
- Outdoor fabric for weather resistance (Sunbrella, canvas, or vinyl)
- Matching or contrasting thread
- Zipper (22-24 inches for standard bench cushions)
Essential Tools
- Heavy-duty sewing machine
- Zipper foot attachment
- Fabric scissors
- Measuring tape
- Pins and seam ripper
- Iron and ironing board
Professional Tip
When selecting fabric for outdoor use, always choose solution-dyed acrylics or marine-grade vinyl. These materials resist fading, mildew, and water damage while maintaining their appearance season after season.
Measuring Your Bench Cushion Accurately
Precise measurements are the foundation of a professional-looking cushion cover. Start by measuring the cushion's length, width, and thickness at multiple points, as cushions often vary slightly due to use and settling.
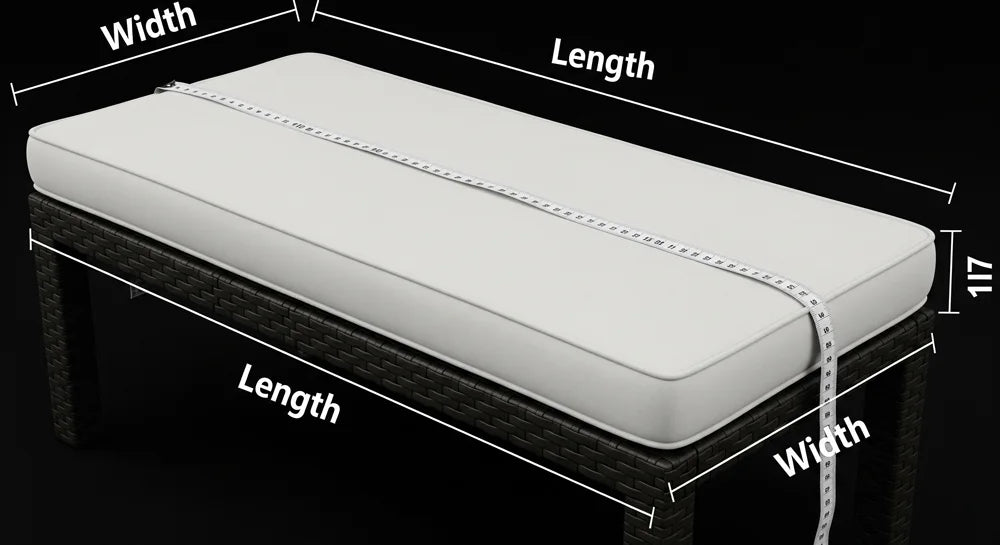
Step-by-Step Measuring Process
- Length: Measure from end to end at the widest point
- Width: Measure from front to back at the deepest point
- Thickness: Measure the height at the thickest section
- Add ease: Include ½ inch ease for comfortable fit
- Seam allowances: Add ⅝ inch on all sides for seams
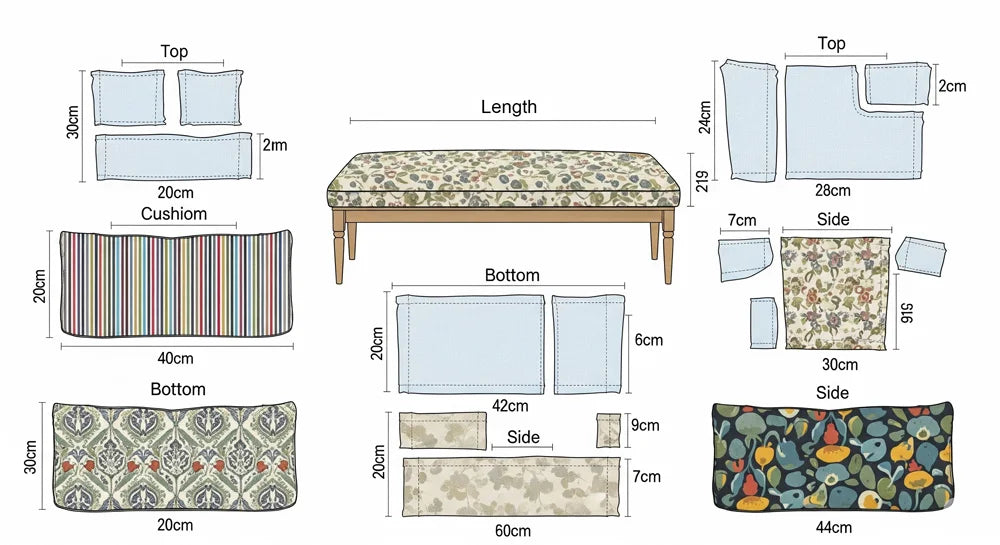
Cutting Your Fabric Pieces
With accurate measurements in hand, you'll need to cut specific pieces for your zippered cover. A standard bench cushion cover requires a top panel, bottom panel, front boxing strip, back boxing strip, and two side boxing strips.
Cutting Dimensions Guide
Installing the Zipper
The zipper installation is the most technical aspect of this project, but following proper techniques ensures professional results. We'll use the centered zipper method for durability and clean appearance.
Zipper Installation Process
- Mark the zipper placement on the back boxing strip
- Cut the back boxing strip into two pieces, leaving seam allowances
- Press the seam allowances to create crisp edges
- Pin the zipper face-down between the fabric pieces
- Baste the zipper in place using long stitches
- Install the zipper foot on your sewing machine
- Stitch along both sides of the zipper, removing basting stitches
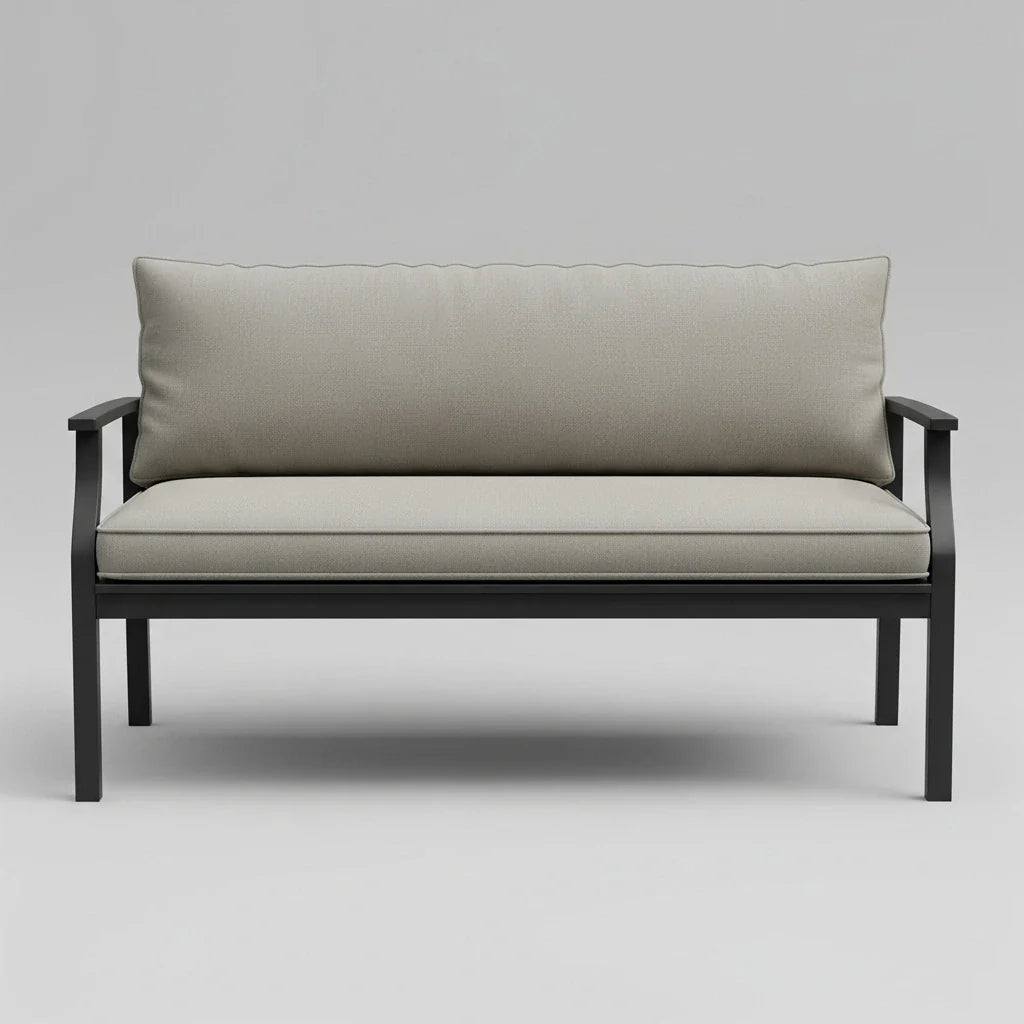
Professional Quality Bench Cushions from Rulaer
While DIY projects are rewarding, sometimes you need professional quality and convenience. Explore our premium custom bench cushions designed for durability and style.


Assembling the Cushion Cover
With the zipper successfully installed, you're ready to assemble the complete cover. This process requires attention to detail and proper seam finishing for professional results.

Assembly Sequence
- Connect boxing strips: Sew the front, side, and zippered back strips into a continuous band
- Mark corners: Use pins to mark where the boxing strip will turn corners
- Attach top panel: Pin and sew the boxing strip to the top panel, easing around corners
- Open zipper partially: This allows you to turn the cover right-side out later
- Attach bottom panel: Pin and sew the bottom panel to the boxing strip
- Clip corners: Trim excess fabric at corners to reduce bulk
- Turn and press: Turn the cover right-side out through the zipper opening
Professional Finishing Techniques
The difference between amateur and professional-looking cushion covers lies in the finishing details. These techniques ensure your cover looks store-bought and lasts for years.
Expert Finishing Methods
- French seams: Encase raw edges for a clean interior finish
- Reinforced corners: Double-stitch high-stress areas
- Topstitching: Add decorative and functional topstitching
- Pressing: Use a press cloth to avoid fabric shine

Fabric Selection for Different Applications
Choosing the right fabric significantly impacts your cushion's performance and longevity. Different environments require specific fabric characteristics for optimal results.
Outdoor Fabrics
Solution-dyed acrylics like Sunbrella offer superior fade resistance and easy cleaning. Marine vinyl provides waterproof protection but may feel hot in direct sunlight.
- UV resistance rating
- Water repellency
- Soil resistance
- Easy maintenance
Indoor Fabrics
Natural fibers like cotton and linen offer comfort and breathability. Synthetic blends provide durability and stain resistance for high-traffic areas.
- Comfort and breathability
- Design variety
- Texture options
- Cost-effectiveness
Troubleshooting Common Issues
Even experienced sewers encounter challenges when creating zippered cushion covers. Here are solutions to common problems that arise during the construction process.
Zipper Puckering
Problem: Fabric puckers around the zipper creating an unprofessional appearance.
Solution: Use a longer stitch length when basting, and ensure equal tension on both fabric pieces. Press seam allowances thoroughly before final stitching.
Corners Won't Lay Flat
Problem: Corners bunch up or create excess fabric.
Solution: Clip corners at a 45-degree angle, leaving ¼ inch from the stitching line. For thick fabrics, grade seam allowances by trimming them to different lengths.
Tight Fit Issues
Problem: Cover is too tight to fit over the cushion comfortably.
Solution: Add additional ease to your measurements, especially for thick or firm cushions. Consider the fabric's stretch properties during planning.

Maintenance and Care Tips
Proper care extends the life of your handmade cushion covers significantly. Different fabrics require specific maintenance approaches for optimal appearance and longevity.
General Care Guidelines
- Remove covers monthly for thorough cleaning
- Vacuum regularly to prevent dirt buildup
- Treat stains immediately for best results
- Store properly during off-seasons
- Rotate cushions to ensure even wear
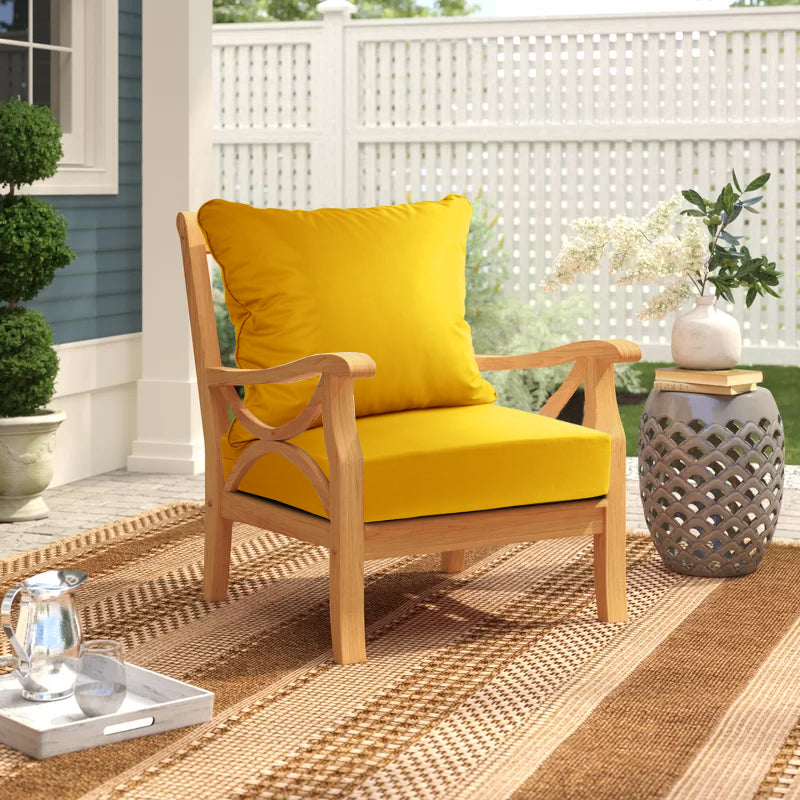
Ready for Professional Quality Without the Work?
Creating custom cushion covers requires time, skill, and the right equipment. If you prefer professional quality with perfect fit and finish, explore our collection of premium bench cushions designed for lasting comfort and style.
Advanced Techniques for Professional Results
Once you've mastered basic zippered covers, several advanced techniques can elevate your creations to professional standards. These methods require additional time but produce superior results.
Piping Installation
Adding piping to seam edges creates a polished, upholstery-quality finish. Use bias-cut fabric strips wrapped around cotton cord for flexible, durable piping that follows curves smoothly.
Tufting Methods
Button tufting prevents filling from shifting while adding visual interest. Mark tufting points carefully and use strong upholstery thread with large needles for secure attachment.
Gusset Shaping
Shaped gussets follow the cushion's contours more precisely than straight boxing strips. This technique requires pattern-making skills but produces superior fit and appearance.

Master the Art of Cushion Making
Learning to sew zippered bench cushion covers opens up endless possibilities for home decoration and comfort. With practice, you'll develop the skills to create professional-quality covers that rival store-bought alternatives. Remember that each project teaches valuable lessons, so embrace mistakes as learning opportunities.
Whether you choose to craft your own covers or invest in professionally-made outdoor chair cushions and bench accessories, the key is selecting quality materials and construction methods that match your specific needs and environment.

Commenta
Nota che i commenti devono essere approvati prima di essere pubblicati.
Questo sito è protetto da hCaptcha e applica le Norme sulla privacy e i Termini di servizio di hCaptcha.