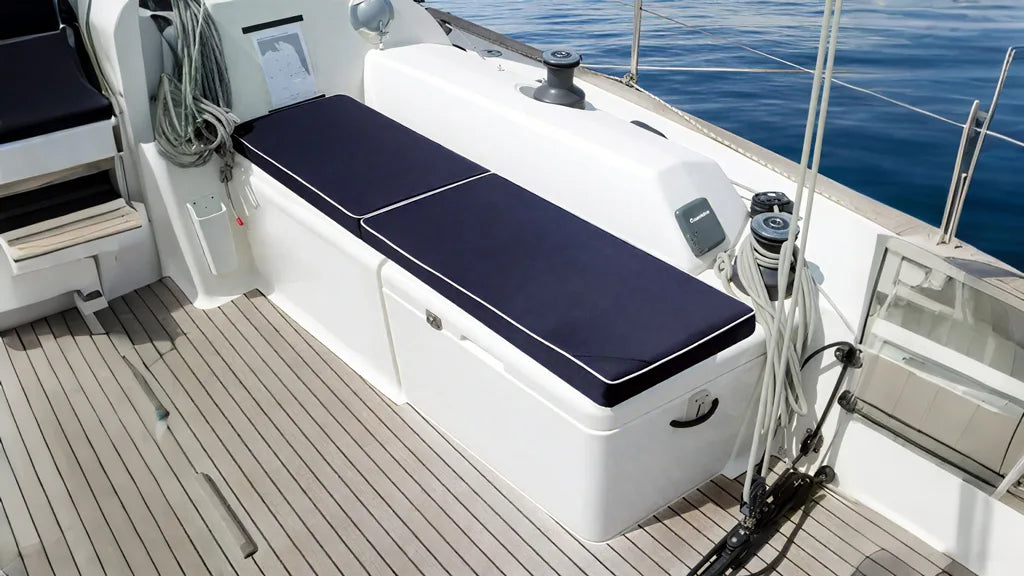
There's something incredibly satisfying about crafting your own boat cushions. I've been making them for over a decade now, and let me tell you – store-bought options just don't cut it when you're dealing with the harsh marine environment. Whether you're outfitting a fishing boat, sailboat, or pontoon, creating custom cushions isn't just about comfort; it's about building something that can withstand salt spray, UV rays, and the constant moisture that comes with life on the water.
The truth is, most people think making boat cushions is rocket science. It's not. But it does require understanding the unique challenges that marine environments present. You can't just throw together some foam and fabric like you would for indoor furniture. The ocean doesn't care about your weekend project – it'll destroy poorly made cushions faster than you can say "man overboard."
Why Marine-Grade Materials Matter More Than You Think
I learned this lesson the hard way during my first attempt at DIY boat cushions. Used regular upholstery foam and cotton fabric – seemed logical at the time. Three months later, I was pulling apart moldy, waterlogged cushions that smelled like a swamp. The marine environment is unforgiving, and regular materials simply aren't designed for constant moisture exposure and temperature fluctuations.

Marine-grade vinyl is your best friend here. Unlike regular vinyl, marine vinyl contains anti-microbial agents and UV inhibitors. It's specifically formulated to resist mold, mildew, and fading. Sunbrella marine fabrics are another excellent choice, offering breathability that vinyl lacks while maintaining water resistance.
For foam, you'll want closed-cell marine foam. Regular open-cell foam acts like a sponge – it absorbs water and never fully dries out. Closed-cell foam, on the other hand, repels water and maintains its shape even when exposed to moisture. It costs more upfront, but trust me, you'll save money in the long run by not having to replace your cushions every season.
Thread and Hardware Selection
Don't overlook the small stuff. Regular polyester thread will rot in marine conditions. You need UV-resistant polyester or PTFE thread. The same goes for zippers – marine-grade zippers with corrosion-resistant sliders are essential. I've seen too many cushions ruined by cheap zippers that seized up after a few months of salt exposure.
Essential Tools and Materials for Professional Results
You don't need a full upholstery shop to make quality boat cushions, but having the right tools makes the difference between amateur and professional-looking results. Here's what I consider essential:
- Heavy-duty sewing machine: Your regular home machine might struggle with thick marine vinyl. Look for machines that can handle multiple layers of heavy fabric.
- Sharp fabric scissors: Dull scissors create ragged edges that can lead to premature wear.
- Marine adhesive spray: For temporary positioning before sewing.
- Measuring tools: Steel rulers, flexible measuring tape, and a good square.
- Cutting mat: Protects your work surface and provides measurement guides.
- Seam ripper: Because even experienced makers make mistakes.

Material-wise, you'll need more than just fabric and foam. Marine-grade welting cord adds a professional finish and reinforces seams. Velcro strips or snaps help secure cushions in rough weather. Don't forget batting – a thin layer between the foam and fabric prevents the foam texture from showing through and adds extra comfort.
Measuring and Planning Your Cushion Project
This is where most DIY projects go sideways. Measuring boat seating isn't like measuring a dining room chair. Boats have curves, angles, and irregular surfaces that complicate things. I always start by making paper templates – it's old-school, but it works.
Take multiple measurements at different points. That bench might look straight, but boats flex and settle over time. What appears to be a simple rectangle could actually be slightly trapezoidal. Document everything with photos and sketches. I can't count how many times I've referred back to my initial notes months later when making replacement covers.

Consider the cushion's purpose too. Seating cushions need different thickness than back cushions. Areas that get heavy use need reinforcement. Think about how people will actually use the space – where they'll sit, lean, and move around.
Creating Accurate Templates
I use kraft paper or cardboard for templates. Lay it on the surface and trace carefully, accounting for any curves or angles. For complex shapes, I sometimes use flexible curve rulers or even bend wire to match the contours, then transfer that shape to paper.
Remember to add seam allowances – typically 1/2 inch on all sides. Mark the grain direction on your template too. Marine vinyl has a definite grain, and aligning it properly affects both appearance and durability.
Cutting and Preparing Your Materials
Sharp tools are crucial here. Dull scissors or rotary cutters create rough edges that fray and look unprofessional. When cutting marine vinyl, work on a smooth, clean surface. Vinyl can stick to rough surfaces and distort your cuts.
I always cut my foam slightly larger than the finished cushion size – about 1/4 inch bigger all around. This creates a fuller look and ensures the cushion maintains its shape over time. Some people prefer exact sizing, but I've found that slightly oversized foam performs better in marine applications.

For foam cutting, an electric carving knife works better than a utility knife for thick pieces. It creates smoother, more even cuts. If you're working with thinner foam, a sharp utility knife with fresh blades will do the job.
Preparing Fabric Pieces
Layout is everything when cutting fabric. Marine vinyl can be expensive, and mistakes are costly. I always lay out all my pieces before making any cuts, like solving a puzzle. This helps minimize waste and ensures pattern matching if you're using printed fabric.
Mark your pieces clearly on the back side. Include grain direction arrows and piece identification. Nothing's worse than discovering you've cut two left sides instead of a left and right.
Sewing Techniques for Marine Applications
Sewing marine vinyl requires different techniques than regular fabric. The material is thick and doesn't feed through the machine like cotton or polyester. I use a walking foot or roller foot – it helps feed the material evenly and prevents bunching.
Thread tension is critical. Too tight, and you'll pucker the vinyl. Too loose, and your seams won't hold under stress. Test on scraps first to dial in the perfect tension for your specific materials.

Seam finishing is more important in marine applications than indoor upholstery. I prefer French seams or bound seams for edges that will see heavy use. They're stronger and look more professional. Regular serged edges work fine for areas with less stress.
Installing Zippers and Hardware
Zippers should be installed before assembling the cushion cover. I use marine-grade zippers exclusively – they cost more but resist corrosion much better than regular zippers. When installing, leave the zipper partially open. This makes it easier to turn the cover right-side out after sewing.
For snaps or other hardware, reinforce the attachment points with additional fabric layers or interfacing. Marine environments put extra stress on these connection points.
Foam Selection and Preparation
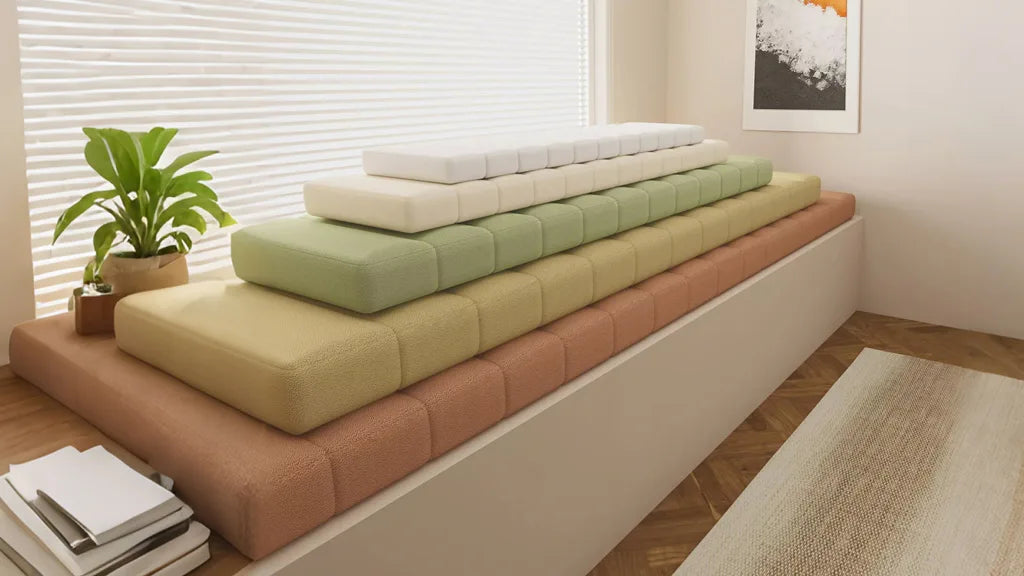
Not all marine foam is created equal. Density matters more than you might think. Too soft, and your cushions will bottom out under weight. Too firm, and they'll be uncomfortable for extended sitting. I've found that medium-density closed-cell foam (around 2.2 pounds per cubic foot) works well for most applications.
Thickness depends on the application. Seat cushions typically need 3-4 inches for comfort, while back cushions can be 2-3 inches. Custom bench cushions often require specific thickness to match existing furniture heights.

Some manufacturers offer dual-density foam with firmer bottom layers and softer top layers. This provides good support while maintaining surface comfort. It's more expensive but worth considering for primary seating areas.
Foam Shaping and Contouring
Sometimes standard rectangular foam doesn't fit your application. Marine seating often requires curved or angled foam pieces. You can shape foam with an electric knife, but work slowly and check your progress frequently. It's easy to cut too much, and you can't add foam back.
For complex curves, consider laminating multiple thinner pieces rather than trying to carve a single thick piece. This approach gives you more control and often produces better results.
Assembly and Quality Control
Assembly is where everything comes together – literally. Take your time here. Rushing the assembly process often leads to crooked seams, misaligned elements, and overall poor appearance.
I always do a dry fit before final assembly. Insert the foam into the cover (if using a removable cover design) or position everything if you're creating a fixed cushion. Check that everything aligns properly and make adjustments as needed.
When sewing the final seams, work from the center outward when possible. This prevents fabric shifting and ensures even distribution. Double-check measurements as you go – it's much easier to correct mistakes during assembly than after completion.
Professional Finishing Touches
Details separate amateur projects from professional-looking results. Welted edges create clean lines and add durability. Corner treatments should be consistent and properly finished. Loose threads should be trimmed and secured.
If you're creating removable covers, make sure zippers operate smoothly and fully. Test all snaps, ties, or other attachment methods under actual use conditions.
Installation and Securing Methods
Even the best-made cushions are useless if they slide around in rough water. Securing systems need to be robust enough to handle boat movement but convenient enough for regular removal and cleaning.
Velcro is popular but has limitations in marine environments. Salt and debris can clog the hooks, reducing effectiveness over time. I prefer snap systems for permanent installations or tie-downs for removable cushions.

For areas that see regular foot traffic, consider anti-slip backing material. Marine-grade rubberized backing helps cushions stay in place during normal use while still allowing easy removal for cleaning.
Drainage Considerations
Water will get on your cushions – it's inevitable. Design your securing system to allow water drainage rather than creating pools. Slightly elevate cushions where possible, and ensure attachment points don't create water traps.
Some builders incorporate small drainage holes in covers, but I'm not a fan of this approach. Holes can enlarge over time and allow more water intrusion than they prevent.
Maintenance and Longevity Tips
Proper maintenance starts before your cushions even get wet. Apply marine fabric protectant according to manufacturer instructions. This creates an additional barrier against stains and UV damage.
Regular cleaning prevents problems from developing. I recommend weekly rinse-downs with fresh water during active use periods. Salt residue is incredibly damaging to fabrics and hardware over time. Monthly deep cleaning with appropriate marine cleaners helps maintain appearance and performance.
Storage matters too. When possible, store cushions in dry, ventilated areas during off-seasons. Plastic storage bags seem like a good idea but can trap moisture and promote mold growth. Breathable fabric storage bags or open shelving work better.
When to Replace vs. Repair
Even well-made cushions eventually wear out. Small tears or worn spots can often be repaired with marine vinyl repair kits or patches. Zipper replacements are usually worth doing if the rest of the cushion is in good condition.
However, if the foam has degraded, developed odors, or lost significant shape, replacement is usually more cost-effective than attempting repairs. Foam degradation often indicates that moisture has penetrated the cover, and the problem will likely recur.
Cost Analysis and Value Proposition
Let's talk numbers. Quality marine cushions from boat supply stores typically cost $150-400 per cushion, depending on size and complexity. Making your own can reduce costs by 60-70%, but more importantly, you get exactly what you want in terms of size, shape, and materials.
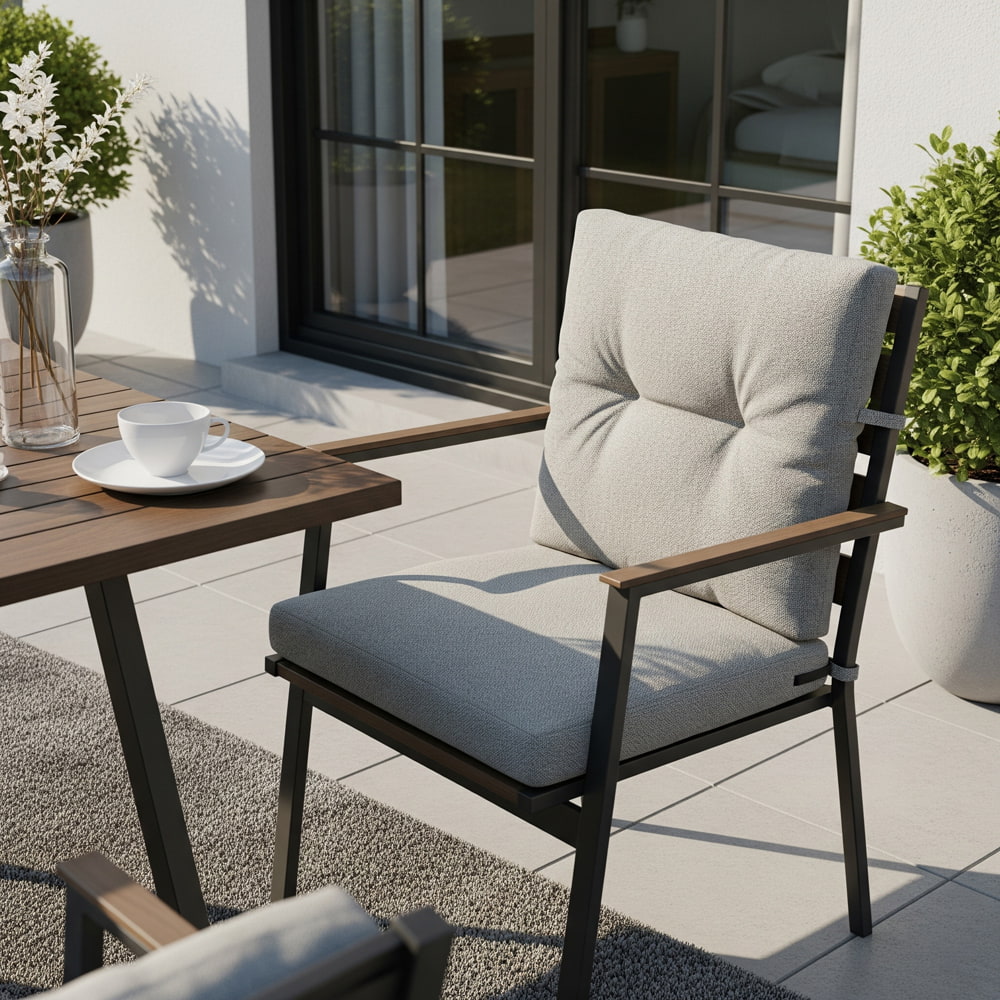
Initial tool investment might seem high, but if you're outfitting a whole boat, the savings are substantial. Plus, you'll have the tools and knowledge to make repairs, create custom outdoor cushions for your home, or even start a side business making cushions for other boat owners.
Time investment varies based on complexity and skill level. Simple bench cushions might take 4-6 hours each for beginners, while experienced makers can complete them in 2-3 hours. Complex shapes or multi-panel designs take longer but aren't necessarily more difficult.
Common Mistakes and How to Avoid Them
I've made every mistake possible in cushion making, so you don't have to. Here are the big ones to avoid:
Using inadequate materials: I cannot stress this enough – marine environments destroy regular upholstery materials. Spend the money on proper marine-grade supplies.
Poor measuring: Measure three times, cut once. Boat surfaces aren't as straight or regular as they appear.
Ignoring grain direction: Vinyl and fabric have grain lines that affect stretch and wear patterns. Align them properly for best results.
Insufficient seam allowances: Marine vinyl doesn't stretch like regular fabric. Tight seams create stress points that fail prematurely.
Rushing the process: Quality takes time. Trying to speed through steps usually results in mistakes that take longer to fix than doing it right initially.
Problem-Solving During Construction
Things go wrong – it's part of the process. Keep a seam ripper handy and don't be afraid to undo work that isn't meeting your standards. It's better to spend extra time getting it right than living with poor results.
When problems arise, step back and analyze what went wrong. Usually, there's a simple solution that becomes obvious once you take a break from the immediate frustration.
Advanced Techniques and Custom Features
Once you've mastered basic cushion construction, there are numerous ways to enhance functionality and comfort. Integrated storage pockets are popular on larger cushions. They provide convenient storage for small items while maintaining clean lines.
Multi-density foam construction creates superior comfort profiles. Firm base layers provide support, while softer top layers enhance comfort. This technique is commonly used in high-end marine seating.
Drainage channels carved into foam allow water to escape quickly rather than pooling on the surface. This technique works particularly well for corner floor cushions that might accumulate water in marine applications.
Ergonomic Considerations
Boat seating serves different purposes than home furniture. People spend long hours in the same positions while fishing, driving, or relaxing. Consider lumbar support, arm rest integration, and sight line angles when designing custom shapes.
Angle matters more than most people realize. Slightly angled seat surfaces (2-3 degrees) feel more comfortable than perfectly flat surfaces. Back cushions benefit from slight recline angles as well.

Environmental Impact and Sustainability
Marine environments demand durability, but that doesn't mean ignoring environmental concerns. Many marine fabric manufacturers now offer recycled content options that maintain performance while reducing environmental impact.
Proper construction extends cushion life, reducing replacement frequency and waste. Quality materials might cost more initially but typically last 3-4 times longer than cheaper alternatives.
When old cushions reach end-of-life, many materials can be recycled. Foam recycling programs exist in many areas, and marine vinyl can often be recycled through specialized programs.
Building Your Skills and Confidence
Start with simple projects and work your way up to more complex designs. Making custom cushions for less critical applications (like storage area seating) gives you practice before tackling primary seating areas.
Connect with other DIY boat enthusiasts through online forums and local boating clubs. Sharing experiences and techniques accelerates learning and often leads to tool sharing or bulk material purchases that reduce costs.
Document your projects with photos and notes. This creates a reference library for future projects and helps you track what techniques work best for your specific applications and skill level.
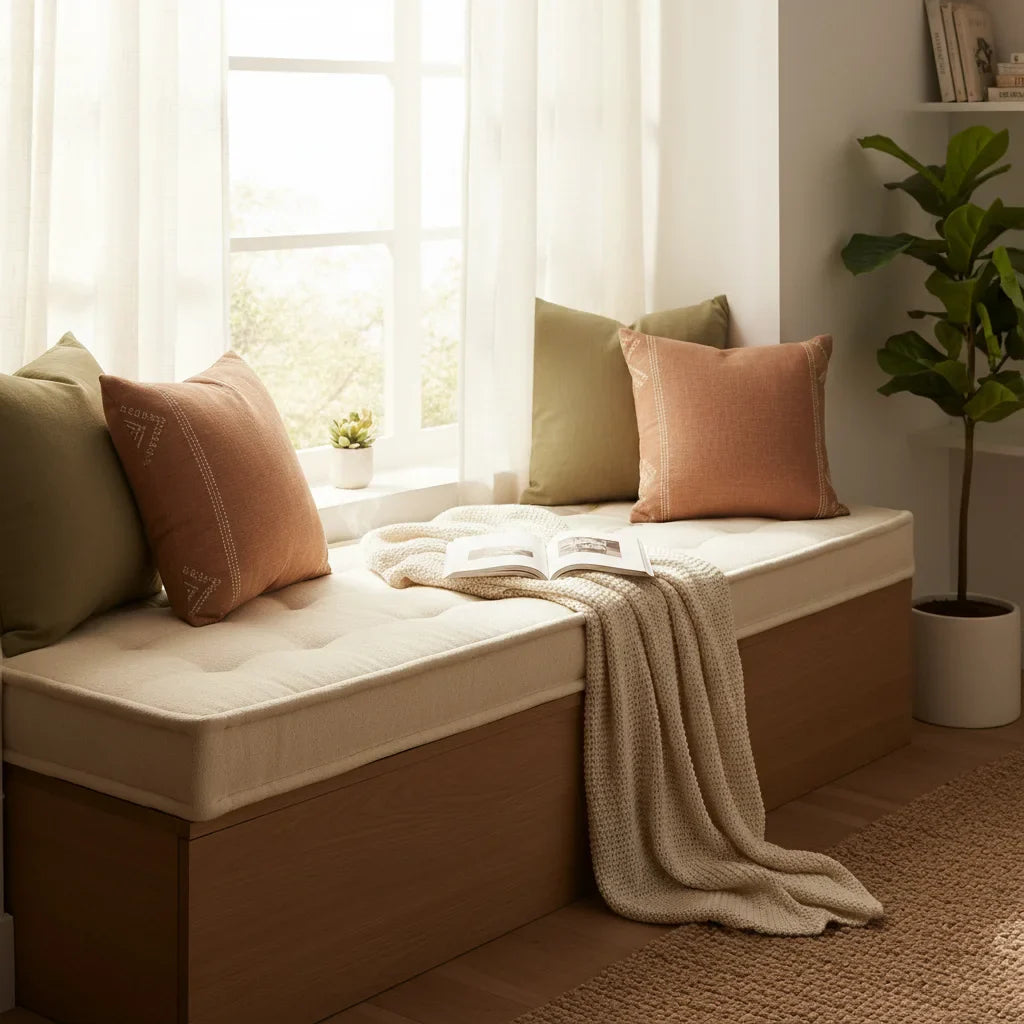
The satisfaction of creating functional, beautiful boat cushions that perfectly fit your vessel and needs is hard to describe. There's something deeply satisfying about crafting something with your hands that improves your time on the water. Every time you sit on those cushions, you'll remember the process of creating them – and probably start planning your next project.
Whether you're outfitting a weekend fishing boat or a luxury yacht, the principles remain the same: use quality materials, measure carefully, take your time, and don't compromise on construction techniques. Your future self (and your passengers) will thank you when you're comfortable on the water years down the road, sitting on cushions that still look and perform like new.
Ready to Start Your Cushion Project?
While making your own boat cushions is rewarding, sometimes you need professional results without the time investment. At Rulaer, we specialize in custom marine cushions crafted with the same attention to detail and quality materials discussed in this guide. Our experienced team can create cushions that perfectly fit your vessel's unique requirements, using marine-grade materials and construction techniques that ensure years of reliable service.
Whether you're looking for inspiration for your DIY project or prefer to have professionals handle the construction, we're here to help make your time on the water more comfortable and enjoyable.

Leave a comment
All comments are moderated before being published.
This site is protected by hCaptcha and the hCaptcha Privacy Policy and Terms of Service apply.