Chances are, you’ve looked at your faded bench cushion and thought, “I could probably make a better cover myself.” Well, you're absolutely right! Making a bench cushion cover isn't rocket science, but there are definitely some tricks that separate the pros from the "Pinterest fail" crowd. After years of working with custom bench cushions and watching countless DIY attempts (some brilliant, others... well, let's just say they tried), I'm here to share the real secrets that'll make your project actually work.
The thing is, most tutorials skip over the nitty-gritty details that make the difference between a cover that looks amazing for two weeks versus one that'll last through seasons of use. We're talking about choosing the right fabric weight, getting those corners to behave, and yes - making sure the darn thing doesn't slide around like a hockey puck every time someone sits down.
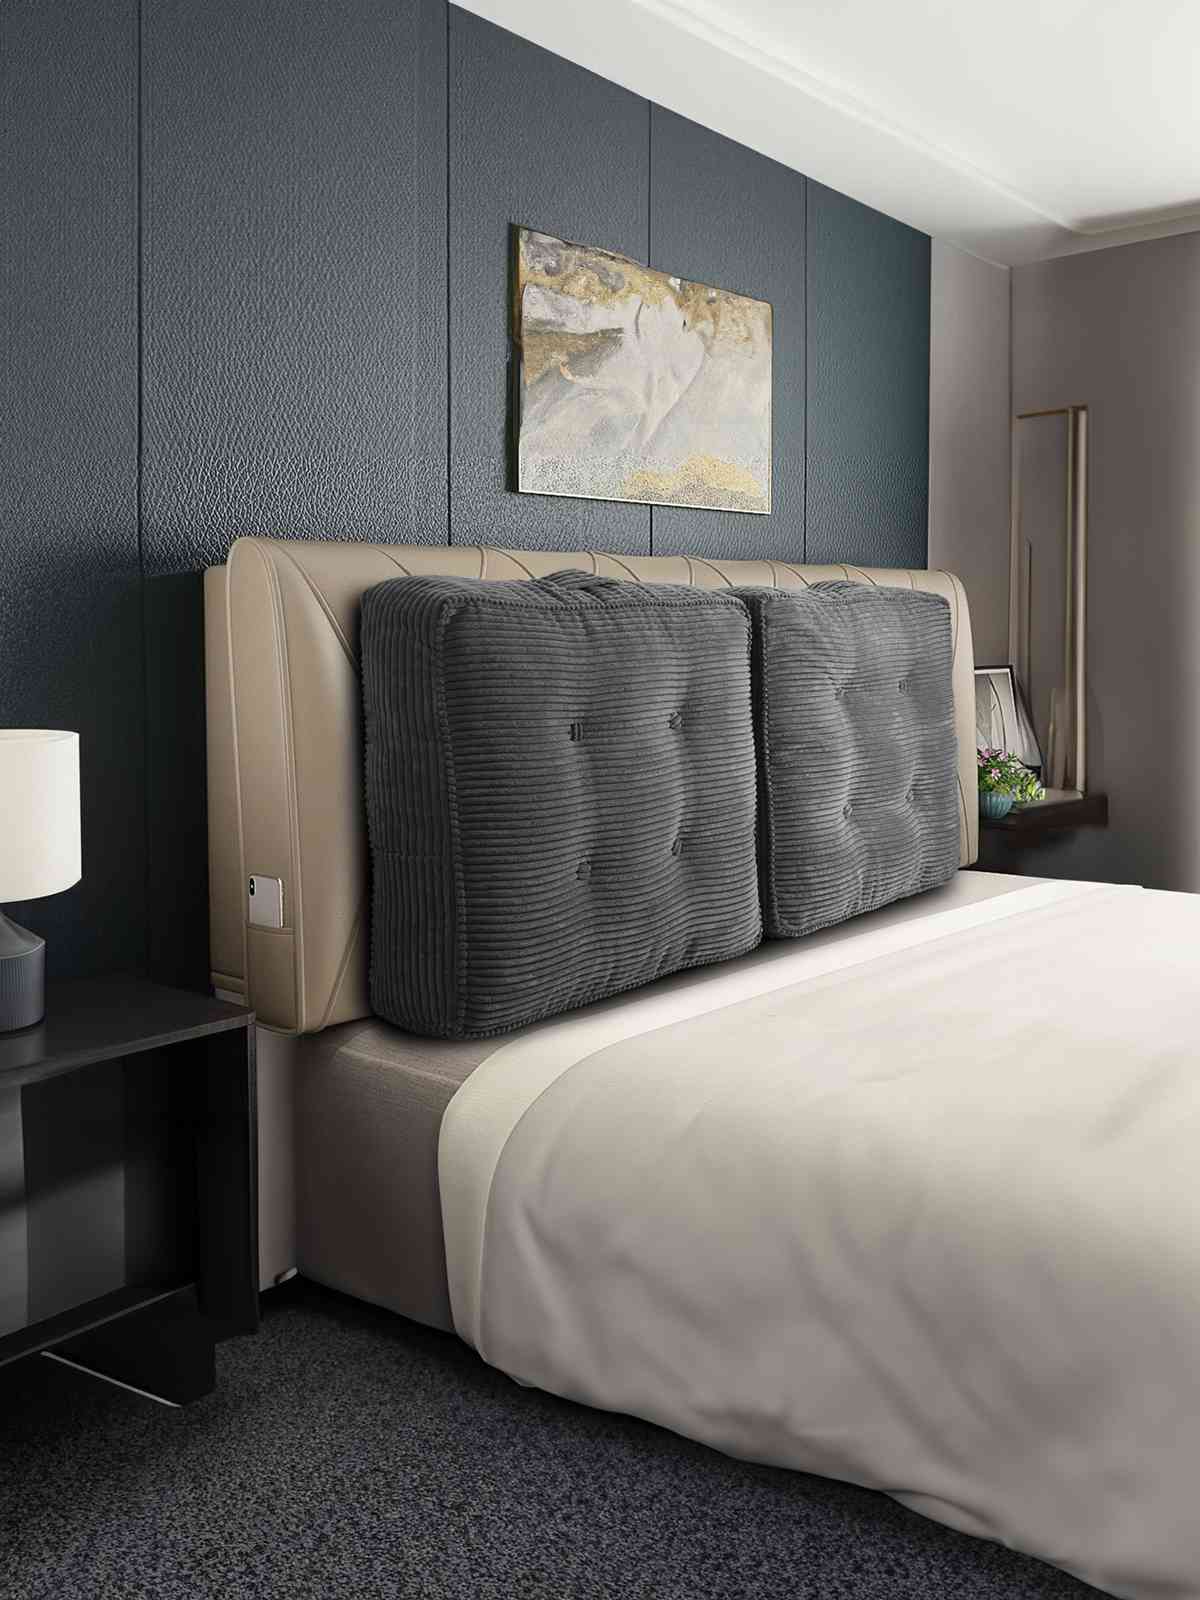
Why Make Your Own Bench Cushion Cover Anyway
Before we dive into the how-to, let's talk about the why. Sure, you could buy a ready-made cover, but where's the fun in that? Plus, when you make your own, you get exactly what you want - the perfect color, the right size, and fabric that actually matches your space instead of "close enough, I guess."
I've seen people spend hours searching for the perfect outdoor bench cushion cover online, only to settle for something that's almost right. Almost the right shade of blue, almost the right size, almost waterproof enough. When you DIY it, "almost" isn't in your vocabulary.

Plus, there's something satisfying about pointing to your perfectly fitted bench cover and casually mentioning "Oh, I made that myself" when guests compliment it. It's like a little dopamine hit every time.
Gathering Your Materials Like a Pro
Here's where most people go wrong right off the bat - they underestimate what they need or buy the cheapest stuff thinking it won't matter. Trust me, it matters. A lot.
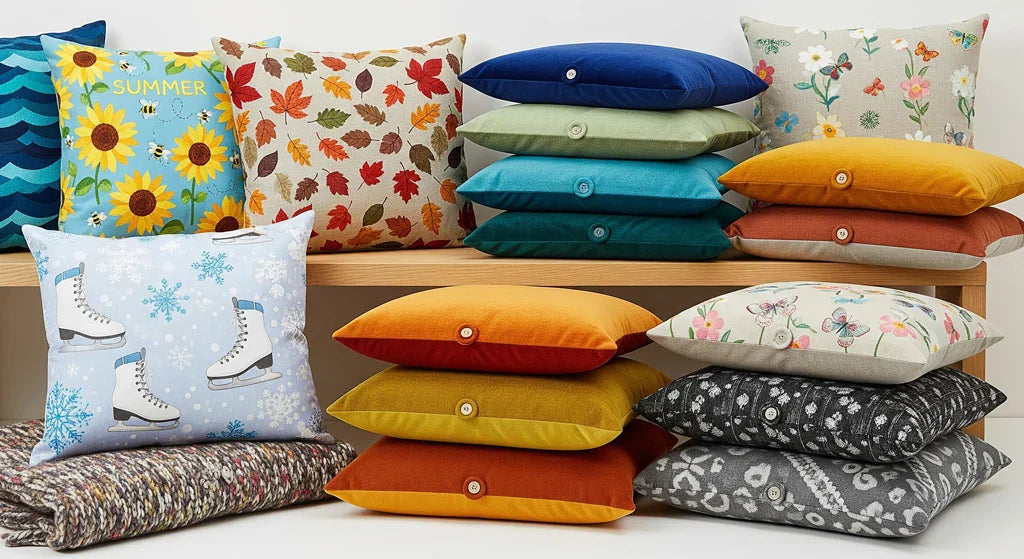
Fabric Selection (This is Make-or-Break Territory)
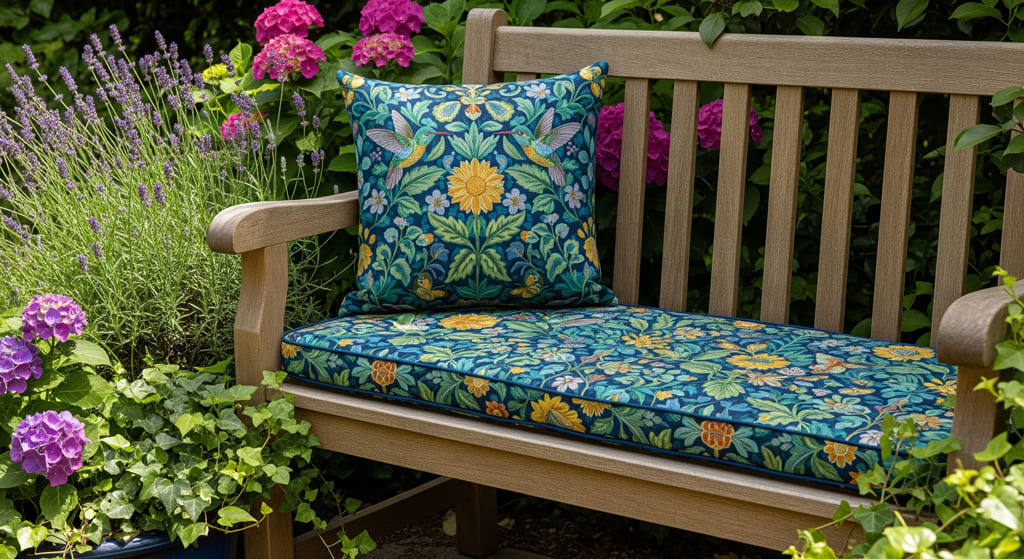
For outdoor bench covers, you want solution-dyed acrylic fabric. I know, it sounds fancy and expensive, but hear me out. Regular cotton or cotton blends might look great initially, but after one season of weather, you'll be back to square one. Solution-dyed acrylics like Sunbrella maintain their color and resist mold, mildew, and fading.
For indoor covers, you have more flexibility. Medium-weight cottons, canvas, or even some upholstery-weight fabrics work beautifully. Just avoid anything too stretchy - you want structure, not a saggy mess.
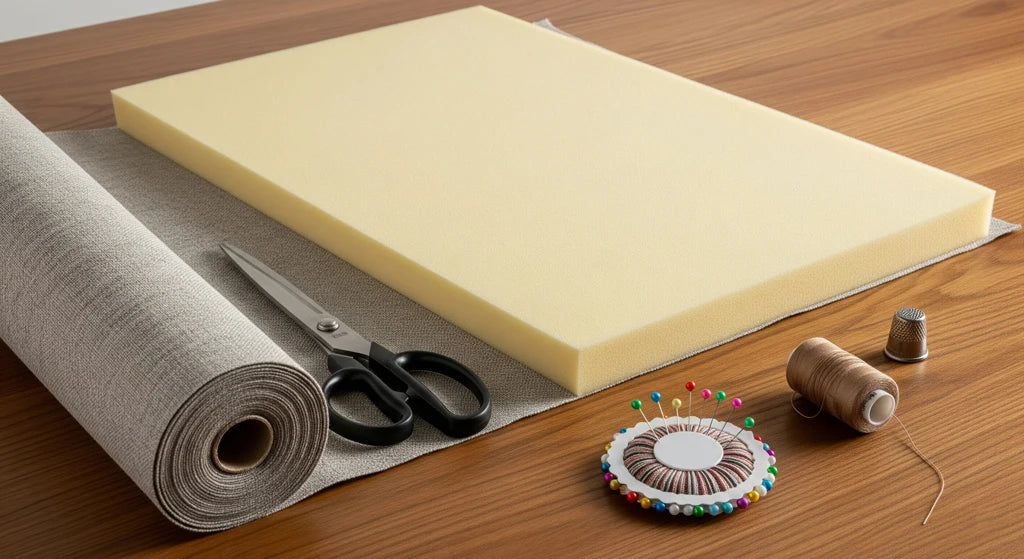
The Essential Tools and Notions
- Heavy-duty thread - outdoor or upholstery thread if you're making an outdoor cover
- Sharp fabric scissors - dull scissors will fray your edges and make you want to throw things
- Measuring tape - preferably one that doesn't curl up on itself
- Pins or clips - fabric clips are actually easier for thick fabrics
- Zipper or velcro - depending on your closure preference
- Piping cord (optional but recommended for that professional look)

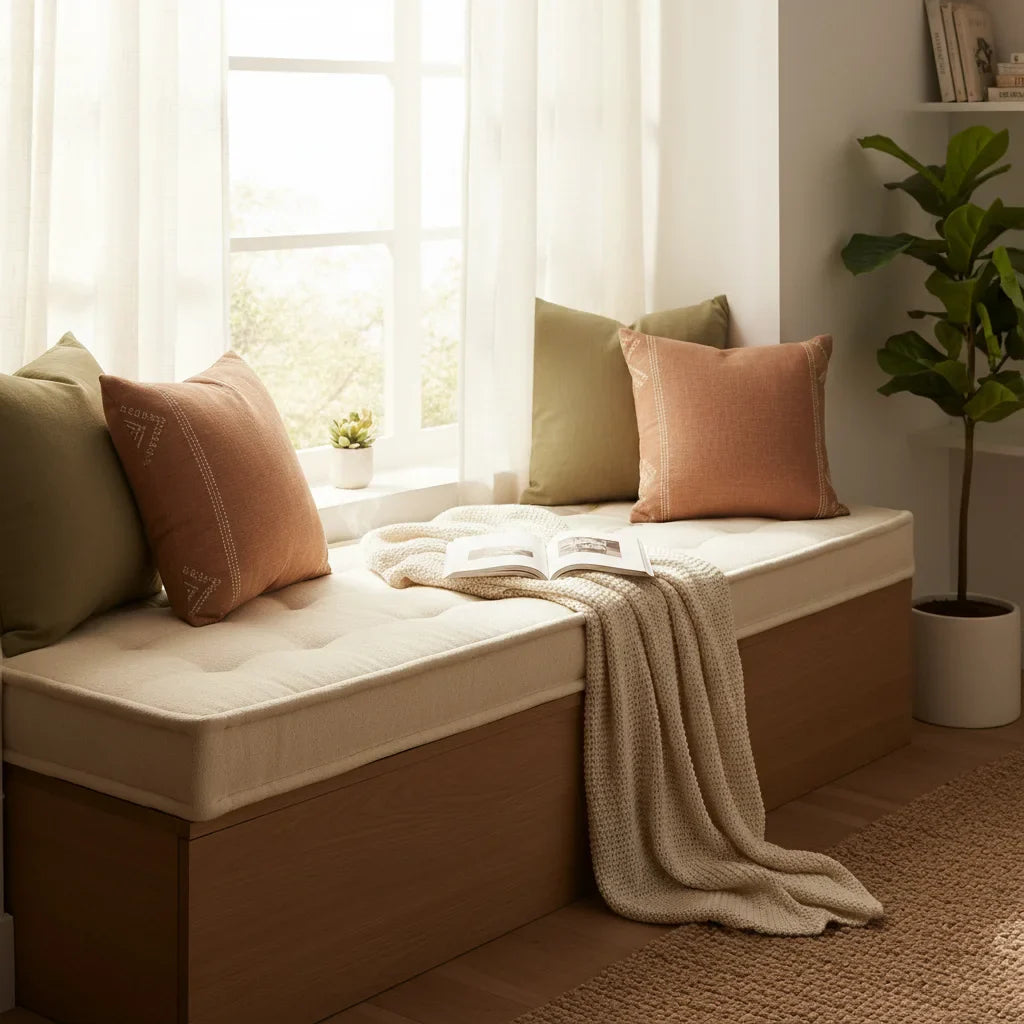
Measuring Your Bench Cushion (The Foundation of Everything)
This is where precision meets reality. You'd think measuring a rectangular cushion would be foolproof, but I've seen more mistakes happen at this stage than anywhere else.
Start with your cushion laying flat. Measure the length, width, and thickness. But here's the kicker - measure in three different spots for each dimension. Cushions settle and compress unevenly, especially older ones. You want to account for the thickest parts, not just the average.
For outdoor cushions that might expand when wet or contract in cold weather, add an extra quarter-inch to your measurements. Indoor cushions are more stable, so you can work with exact measurements plus seam allowances.
The Sketching Step Nobody Talks About
Draw your cushion from different angles. I know it sounds silly, but this visual reference will save you from confusion later. Mark your measurements on the sketch and note any special features - rounded corners, ties, or unusual shapes.

Creating Your Pattern Pieces
This is where we separate the professionals from the "wing it and hope" crowd. A good pattern makes everything else easier.
You'll need three main pieces: - Top panel - Bottom panel - Side boxing strip
For the top and bottom panels, add your seam allowance (typically 5/8 inch) to all sides. The boxing strip is where it gets interesting - its width should equal your cushion thickness plus seam allowances, and its length should equal the perimeter of your cushion plus extra for seaming and ease.
Testing Your Pattern
Before cutting into your good fabric, make a test pattern with muslin or even paper. It sounds like extra work, but catching fit issues now saves you from expensive fabric disasters later. This is especially important if you're working with custom bench cushions that have unique shapes or angles.

Cutting and Preparing Your Fabric
Sharp scissors are your best friend here. Dull blades will fray your fabric edges and make precise cutting nearly impossible. For outdoor fabrics especially, clean cuts are crucial because frayed edges can unravel quickly under weather stress.
When laying out your pattern pieces, pay attention to fabric direction and any patterns or textures. You want all pieces oriented the same way so your finished cover looks intentional, not like you were cutting in the dark.
The Grain Line Matters
Position your main panels with the fabric grain running lengthwise along the bench. This provides better stability and prevents sagging. The boxing strip should have its grain running along the length of the strip for the same reason.
Sewing Techniques That Actually Work
Now we get to the fun part - putting it all together. The key to professional-looking results isn't fancy equipment; it's understanding how the pieces work together and taking your time with the details.
Starting with the Boxing Strip
If you're adding piping (and you should - it makes everything look more polished), attach it to the top panel first. Pin the piping along the edge with the cord toward the center of the panel and the raw edges aligned. Sew close to the cord using a zipper foot.
For outdoor chair cushions and bench covers, I recommend using contrasting piping. It adds visual interest and helps define the shape.

Tackling Those Corners
Corners are where most DIY projects start looking homemade instead of handmade. The trick is to clip the seam allowances at the corners without cutting through your stitching line. Make small diagonal cuts that release tension and allow the fabric to turn smoothly.
When you reach a corner while attaching the boxing strip, stop with your needle down, lift the presser foot, and pivot the fabric. Don't try to sew around corners in one continuous motion - it creates puckers and pulls.
Installing Your Closure
Whether you choose a zipper or velcro closure, install it in the boxing strip along the back edge of the cushion. This keeps it hidden but accessible. For outdoor covers, marine-grade zippers or heavy-duty velcro strips work best.

Finishing Touches That Make the Difference
The details that separate amateur from professional work happen in the finishing. It's tempting to rush through this part when you're excited to see the finished product, but resist that urge.
Seam Finishing for Durability
Outdoor covers especially need finished seams to prevent fraying. If you have a serger, use it. If not, pink the edges or use a zigzag stitch to seal them. Raw edges on outdoor fabrics will deteriorate quickly in weather.
For indoor covers, you can get away with simpler finishes, but it's still worth the extra step for longevity.
Pressing Matters
A good press makes all the difference in how professional your finished cover looks. Use a press cloth with outdoor fabrics to prevent shine, and don't skip pressing your seams even if it feels tedious.
Common Pitfalls and How to Avoid Them
Let me save you from the mistakes I see over and over again. First, don't try to make your cover too tight. A snug fit is good; a strangling fit is a nightmare to get on and off your cushion.
Second, test your fabric's behavior before committing to your final design. Some outdoor fabrics have more stretch than others, and this affects how your finished cover fits.
Third, if you're making covers for multiple cushions, cut all your pieces at once to ensure color consistency. Fabric dye lots can vary even within the same bolt.

Caring for Your Handmade Cover
Now that you've invested time and effort in creating the perfect cover, let's talk about making it last. Outdoor covers benefit from regular cleaning - don't wait until they look dirty. A monthly rinse and gentle scrubbing prevents dirt from becoming embedded in the fabric.
For indoor covers, regular vacuuming and spot cleaning maintain their appearance. Both types should be stored properly during extreme weather or when not in use.
When to Make Repairs
Small issues like loose seams or minor tears are easy to fix if you catch them early. Keep some matching thread handy and address problems before they become major repairs.
Expanding Your Skills
Once you've mastered basic bench covers, the world of cushion-making opens up. Corner floor cushions use similar techniques but require different shaping approaches. Square chair cushions are actually great practice projects because they're smaller and use the same construction methods.
The skills you've learned here translate to other home decor projects too. Pillow covers, simple window treatments, and even basic upholstery projects all use variations of these same techniques.

Troubleshooting Your Project
Sometimes things go sideways, and that's okay. If your cover turns out too tight, you can often add a strip of fabric to the boxing strip to give it more room. Too loose? Strategic seaming can take in excess fabric without starting over.
Puckered seams usually mean you were pulling the fabric while sewing. It happens to everyone. Sometimes you can press them out; sometimes you need to re-sew that section.
Taking It to the Next Level
Once you're comfortable with basic covers, consider adding details like button tufting, contrast binding, or decorative stitching. These elements can transform a simple cover into a statement piece.
For those interested in making this more than a hobby, the skills you've developed here are the foundation for more complex projects. Understanding fabric behavior, precision measuring, and quality construction techniques are valuable whether you're making one cover or fifty.
The satisfaction of creating something functional and beautiful with your own hands never gets old. Every time you see your perfectly fitted, beautifully made cover, you'll remember why you chose to make it yourself instead of settling for "close enough."
Ready to Start Your Cushion Project?
While making your own covers is incredibly rewarding, we understand that sometimes you need professional quality without the time investment. At Rulaer, we specialize in custom outdoor cushions and covers that combine the perfect fit you'd get from DIY with the durability and precision of professional manufacturing.
Whether you're looking for inspiration for your next DIY project or need professionally made bench cushions that match your exact specifications, we're here to help you create the perfect outdoor living space.
Explore our collection and discover why thousands of customers trust Rulaer for their cushion needs.
Leave a comment
All comments are moderated before being published.
This site is protected by hCaptcha and the hCaptcha Privacy Policy and Terms of Service apply.