Whether you're breathing new life into a beloved piece of furniture or creating custom seating solutions for your home, mastering the art of cushion upholstery can save you hundreds of dollars while giving you complete creative control over your living space.
Why Choose DIY Upholstery Over Professional Services?
I've been in the cushion business for years, and I can tell you that the decision between DIY upholstery and professional services isn't always straightforward. When you've got that favorite armchair that's seen better days or a custom bench cushion that needs refreshing, you're faced with a choice: shell out several hundred dollars to a professional upholsterer or roll up your sleeves and tackle the project yourself.
The financial benefits are obvious – professional upholstery services can cost anywhere from $300 to $800 per piece, depending on the complexity and size. But there's something more rewarding about doing it yourself. You get to choose every detail, from the foam density to the fabric pattern, and there's genuine satisfaction in transforming a worn piece into something that looks like it came straight from a high-end furniture store.

However, let's be honest here – DIY upholstery isn't for everyone. It requires patience, some basic hand skills, and the willingness to potentially make mistakes on your first attempt. But if you're willing to invest the time and effort, you'll develop a valuable skill that can save you money for years to come.
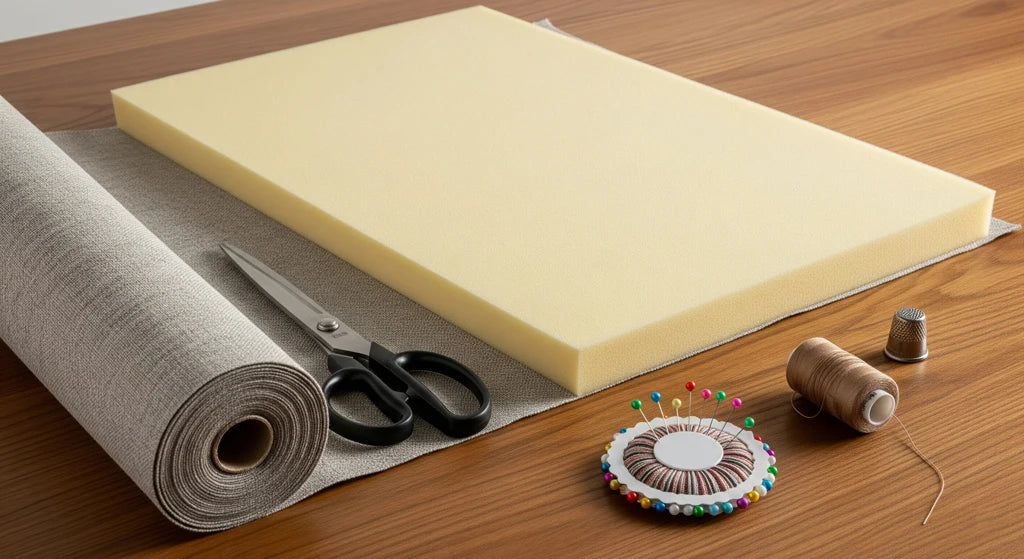
Understanding Foam Types: The Foundation of Comfort
The heart of any good cushion lies in its foam core, and choosing the wrong type can make the difference between a cushion that lasts five years versus one that starts sagging after six months. Let me walk you through the main options you'll encounter.
Polyurethane (PUR) Foam: The Versatile Workhorse
PUR foam, often marketed as "comfort foam," gets a bad rap sometimes because people associate it with cheap furniture. That's not entirely fair – while it's true that PUR foam is more budget-friendly than premium alternatives, it's also incredibly versatile and suitable for most residential applications.
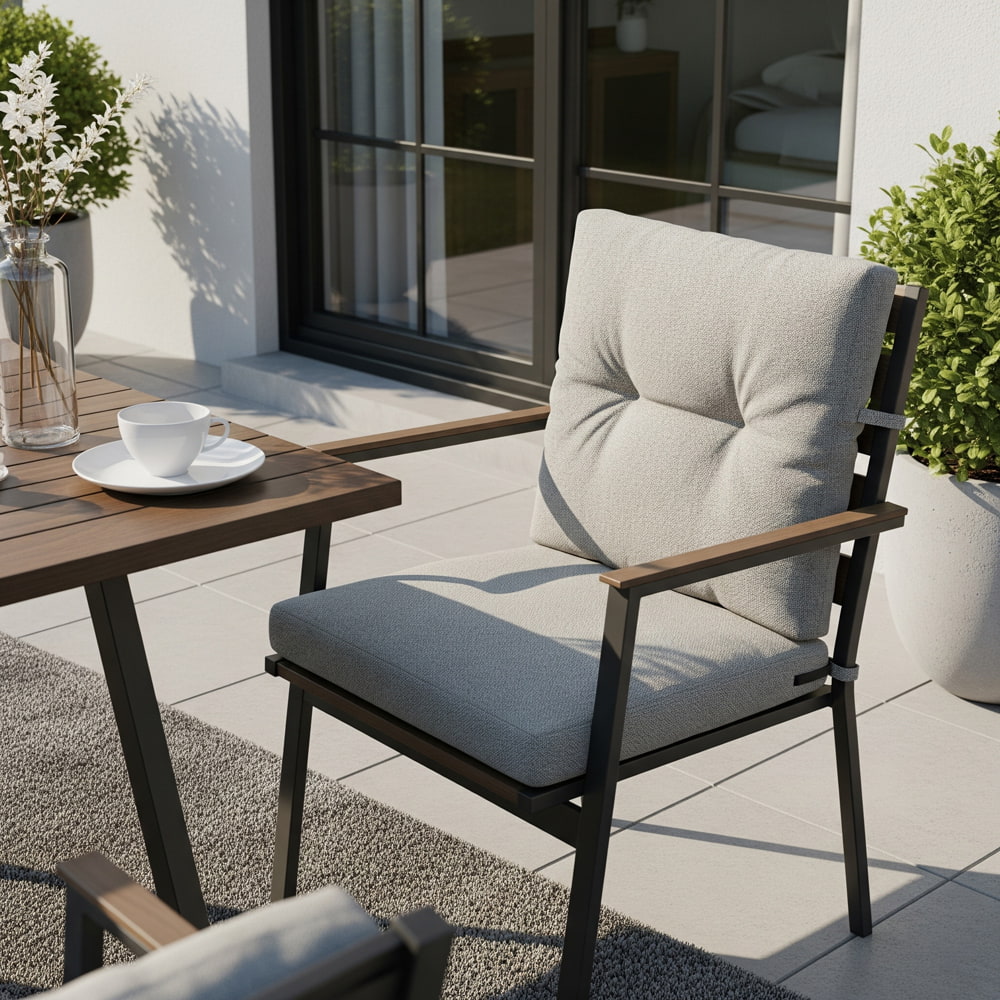
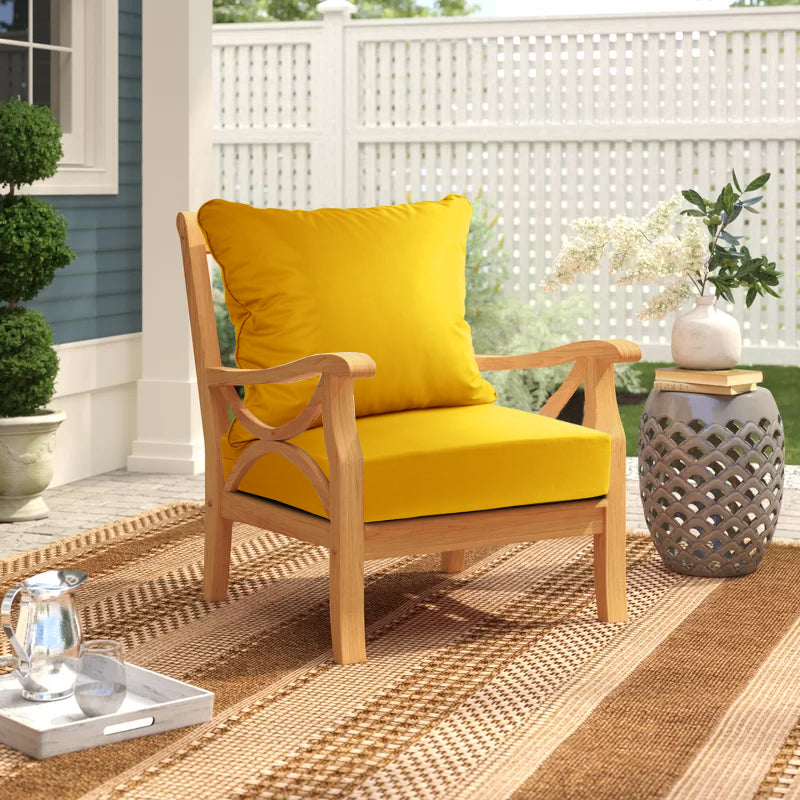
What makes PUR foam special is its flexibility during the installation process. It's lightweight, easy to cut and shape, and forgiving if you make small measurement errors. For outdoor chair cushions and patio furniture, PUR foam's breathability is actually a significant advantage. It allows moisture and heat to dissipate effectively, which prevents the buildup of humidity that can lead to mold and mildew – a common problem with outdoor cushions.

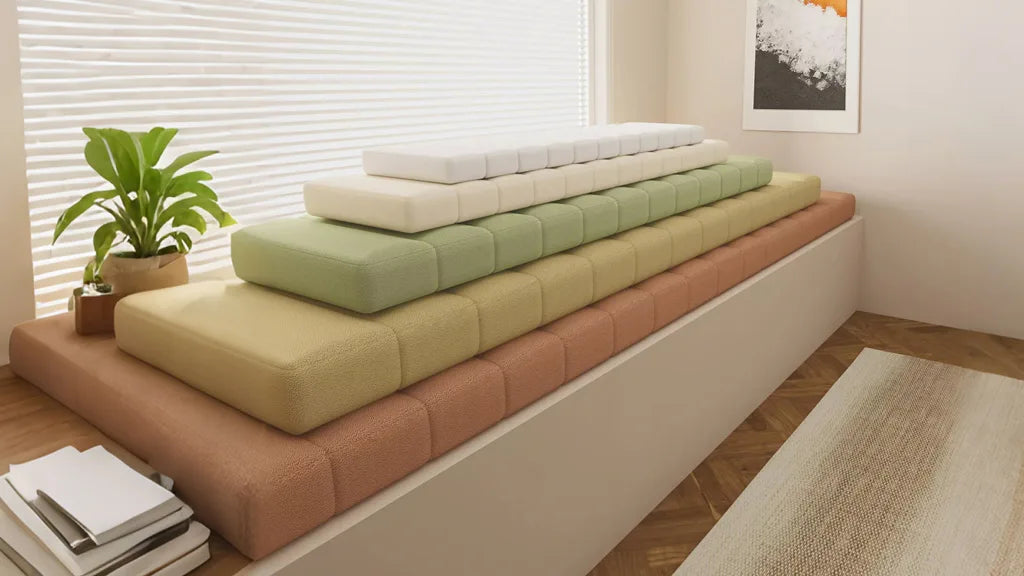
The key with PUR foam is understanding density ratings and compression values. For seating applications, you'll want a density of at least 1.8 pounds per cubic foot, with compression ratings between 25-35 ILD (Indentation Load Deflection). Lower values will feel too soft and won't provide adequate support over time, while higher values might feel uncomfortably firm for extended sitting.
Cold Foam: Premium Performance with a Price Tag
Cold foam represents the next step up in quality and durability. Manufactured through a different process that doesn't require heat activation, cold foam develops a more complex cellular structure that provides better support and longevity.
The manufacturing process creates smaller, more uniform cells throughout the foam, which translates to better weight distribution and reduced pressure points. This makes cold foam ideal for frequently used seating areas like living room sofas or dining room chairs. The trade-off is cost – cold foam typically runs 40-60% more than comparable PUR foam.
For someone tackling their first upholstery project, I usually recommend starting with high-quality PUR foam unless the piece will see heavy daily use. You can always upgrade to cold foam on future projects once you've developed your skills.
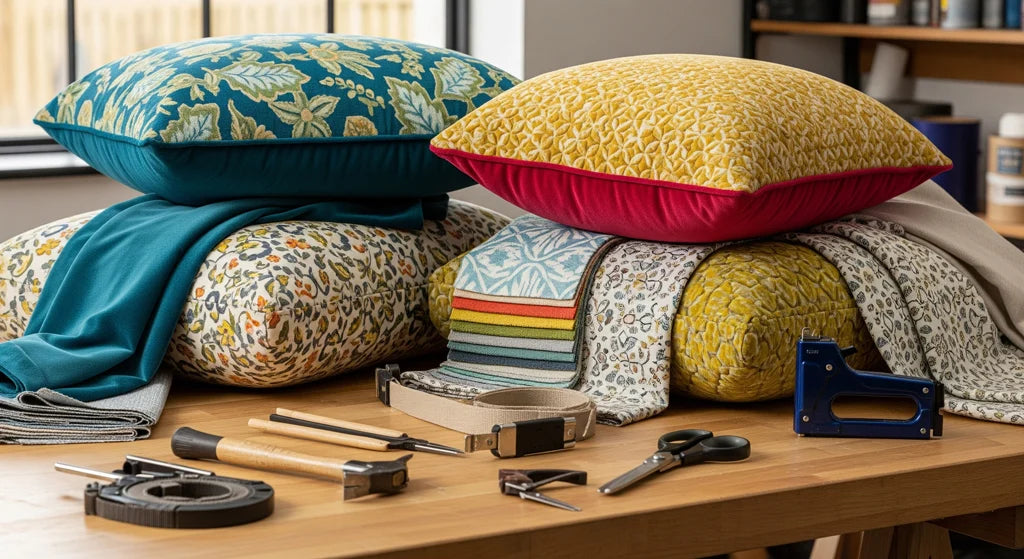
Essential Tools and Materials: Building Your Upholstery Arsenal
Having the right tools makes the difference between a frustrating experience and an enjoyable project. You don't need to invest in professional-grade equipment right away, but certain items are non-negotiable for quality results.

Your staple gun is probably the most critical tool in your arsenal. I recommend investing in a pneumatic staple gun if you plan to do multiple projects – the consistent pressure and reduced hand fatigue make a significant difference. For occasional use, a heavy-duty manual staple gun will work, but make sure it can handle 3/8" staples for securing fabric to wooden frames.
Spray adhesive designed specifically for foam is another essential. Not all adhesives are created equal – automotive spray adhesives might seem like a good alternative, but they can break down foam over time. Stick with products specifically formulated for upholstery work.
Pro Tip: Always work in a well-ventilated area when using spray adhesives, and consider wearing a respirator mask. The fumes can be overwhelming in enclosed spaces, and prolonged exposure isn't healthy.
Step-by-Step Upholstery Techniques
Method 1: Reupholstering Fixed Cushions
Fixed cushions – those permanently attached to chairs, benches, or stools – require a different approach than removable cushions. The process involves more structural work but gives you complete control over the final result.
Start by carefully removing the old fabric and foam. Take photos during this process – they'll serve as valuable reference points when you're reassembling everything. Pay attention to how the original fabric was folded at corners and where staples were placed.

Once you've got your new foam cut to size (and I strongly recommend having it professionally cut unless you have the right tools – a clean, straight cut makes a huge difference in the final appearance), it's time for the adhesive application. Apply spray adhesive to both the foam and the seating surface, then wait the recommended time before pressing them together. This creates a stronger bond than immediate contact.
The batting layer goes on next, and this step separates amateur work from professional results. Batting serves multiple purposes: it provides a smooth transition from the firm foam edge to the soft fabric covering, prevents the fabric from sticking directly to the foam (which can cause premature wear), and gives the finished cushion that plump, professional appearance.
When applying your fabric, start from the center of each side and work toward the corners. This prevents bunching and ensures even tension across the surface. The corners are where most people struggle – take your time here and don't be afraid to undo and redo sections until you get clean, tight corners.
Method 2: Creating Removable Cushion Covers
Removable covers offer practical advantages, especially for pieces that see heavy use or outdoor applications. The ability to wash covers extends the life of your cushions significantly and makes seasonal updates much more manageable.
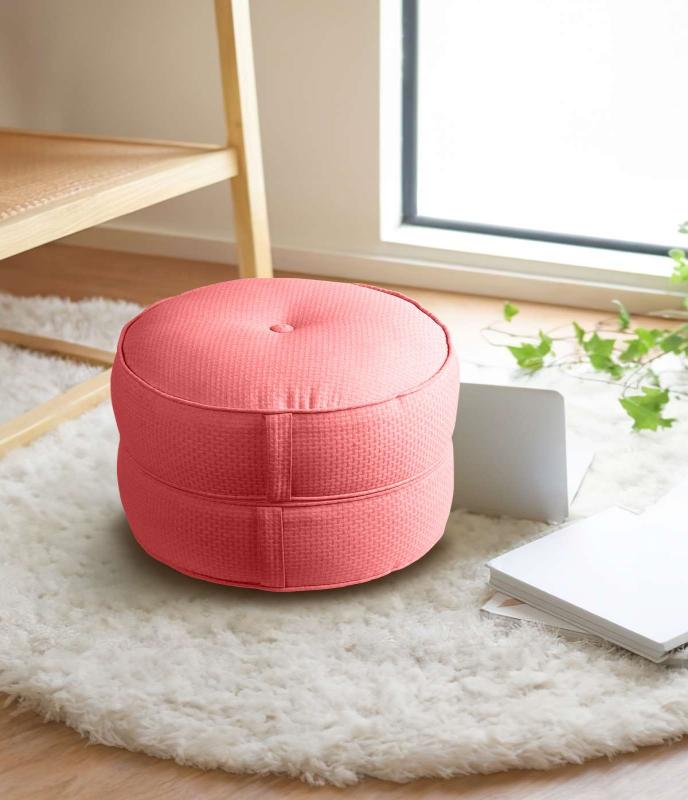
For corner floor cushions and similar pieces, I always recommend zipper closures over envelope-style openings. Zippers provide a cleaner appearance and prevent the foam from shifting inside the cover during use.

When measuring for removable covers, add about 1/2" to each dimension beyond the foam size. This accounts for the thickness of the fabric and provides enough ease for removal and installation without being too loose. Too tight, and you'll struggle to get the cover on; too loose, and the finished cushion will look sloppy.
Consider adding batting and ticking to removable covers as well. The batting provides the same benefits as with fixed cushions, while ticking (a thin fabric layer) creates a smooth surface that makes cover removal much easier and prevents batting from sticking to the fabric.
Fabric Selection: Balancing Style and Function
Choosing the right fabric might seem like the fun part, but it's where many DIY projects go wrong. That beautiful lightweight cotton you fell in love with might not hold up to the stress of cushion use, while that heavy-duty canvas might be practical but uncomfortable for extended sitting.
For indoor applications, look for fabrics with a Wyzenbeek rating of at least 15,000 cycles for light use areas, 30,000+ for family rooms and frequently used spaces. Outdoor applications require additional considerations – UV resistance, mildew resistance, and water repellency become critical factors.

Don't overlook the importance of fabric direction when cutting. Fabrics with patterns or pile (like velvet or corduroy) need to be cut so all pieces run in the same direction, or you'll end up with color variations in the finished piece that look like mistakes rather than design choices.
Advanced Techniques for Professional Results
Piping and Welting
Adding piped edges to your cushions elevates them from homemade to professional-looking. The process requires a bit more time and skill, but the results are worth the effort. Piping defines the cushion edges and helps maintain shape over time.
When creating your own piping, use bias-cut fabric strips for flexibility around curves and corners. The cord inside should be sized appropriately for your application – too thin and it won't provide enough definition, too thick and it becomes difficult to sew and creates uncomfortable ridges.
Tufting Techniques
Tufting isn't just decorative – it serves a functional purpose by preventing foam and batting from shifting within the cover. For outdoor bench cushions that see significant use, tufting can significantly extend the life of the cushion by maintaining even foam distribution.
The key to professional-looking tufting is consistency in placement and tension. Mark your tufting points carefully before beginning, and use a consistent pulling pressure for each tuft to ensure uniform indentation depth.
Troubleshooting Common Problems
Even with careful planning, things don't always go perfectly. Here are solutions to the most common issues I see in DIY upholstery projects.
Fabric Bunching at Corners
This usually happens when there's too much fabric bulk at corner joints. The solution is to trim excess fabric gradually, making several small cuts rather than one large one. Think of it like tailoring – you're creating a custom fit for each corner.
Uneven Foam Edges
If you're cutting foam yourself, uneven edges are almost inevitable without proper tools. You can improve the situation by sanding rough edges with coarse sandpaper, but honestly, this is one area where professional cutting pays for itself in the final appearance.

Sagging After Installation
This typically indicates either insufficient foam density for the application or inadequate support from the underlying structure. Before assuming the foam is at fault, check that the supporting frame is solid and that webbing or springs (if present) are in good condition.
Maintenance and Longevity Tips
A well-upholstered cushion should last 7-10 years with proper care, but that longevity depends largely on how you maintain it. For outdoor deep seat cushions, regular cleaning and proper storage during harsh weather conditions are essential.
Vacuum cushions regularly to prevent dirt and debris from working into the fabric weave. Rotate cushions periodically to ensure even wear patterns. For spill-prone areas, consider applying fabric protection treatments, but test them in an inconspicuous area first.

Cost Analysis: DIY vs. Professional Services
Let's talk numbers, because that's often the driving factor behind choosing DIY upholstery. A typical dining room chair cushion that would cost $80-120 to have professionally reupholstered can be done DIY for $25-40 in materials, assuming you already have basic tools.
The initial tool investment ranges from $100-250 for a basic setup, but these tools will handle multiple projects. By the time you've completed 3-4 cushions, you've typically recouped your tool costs and are working with pure savings on subsequent projects.
However, factor in your time honestly. A simple chair cushion might take 2-3 hours for your first attempt, improving to about 1 hour once you've developed the skills. Complex pieces like tufted chaise lounge cushions can take a full day or more.
Environmental Considerations
DIY upholstery aligns well with sustainable living practices. By refurbishing existing furniture rather than replacing it, you're keeping items out of landfills and reducing demand for new furniture production.
Choose foam and fabrics from manufacturers who prioritize environmental responsibility. Many modern foams are CFC-free and use water-based manufacturing processes. Some fabrics incorporate recycled materials without compromising performance.
Building Your Skills Progressively
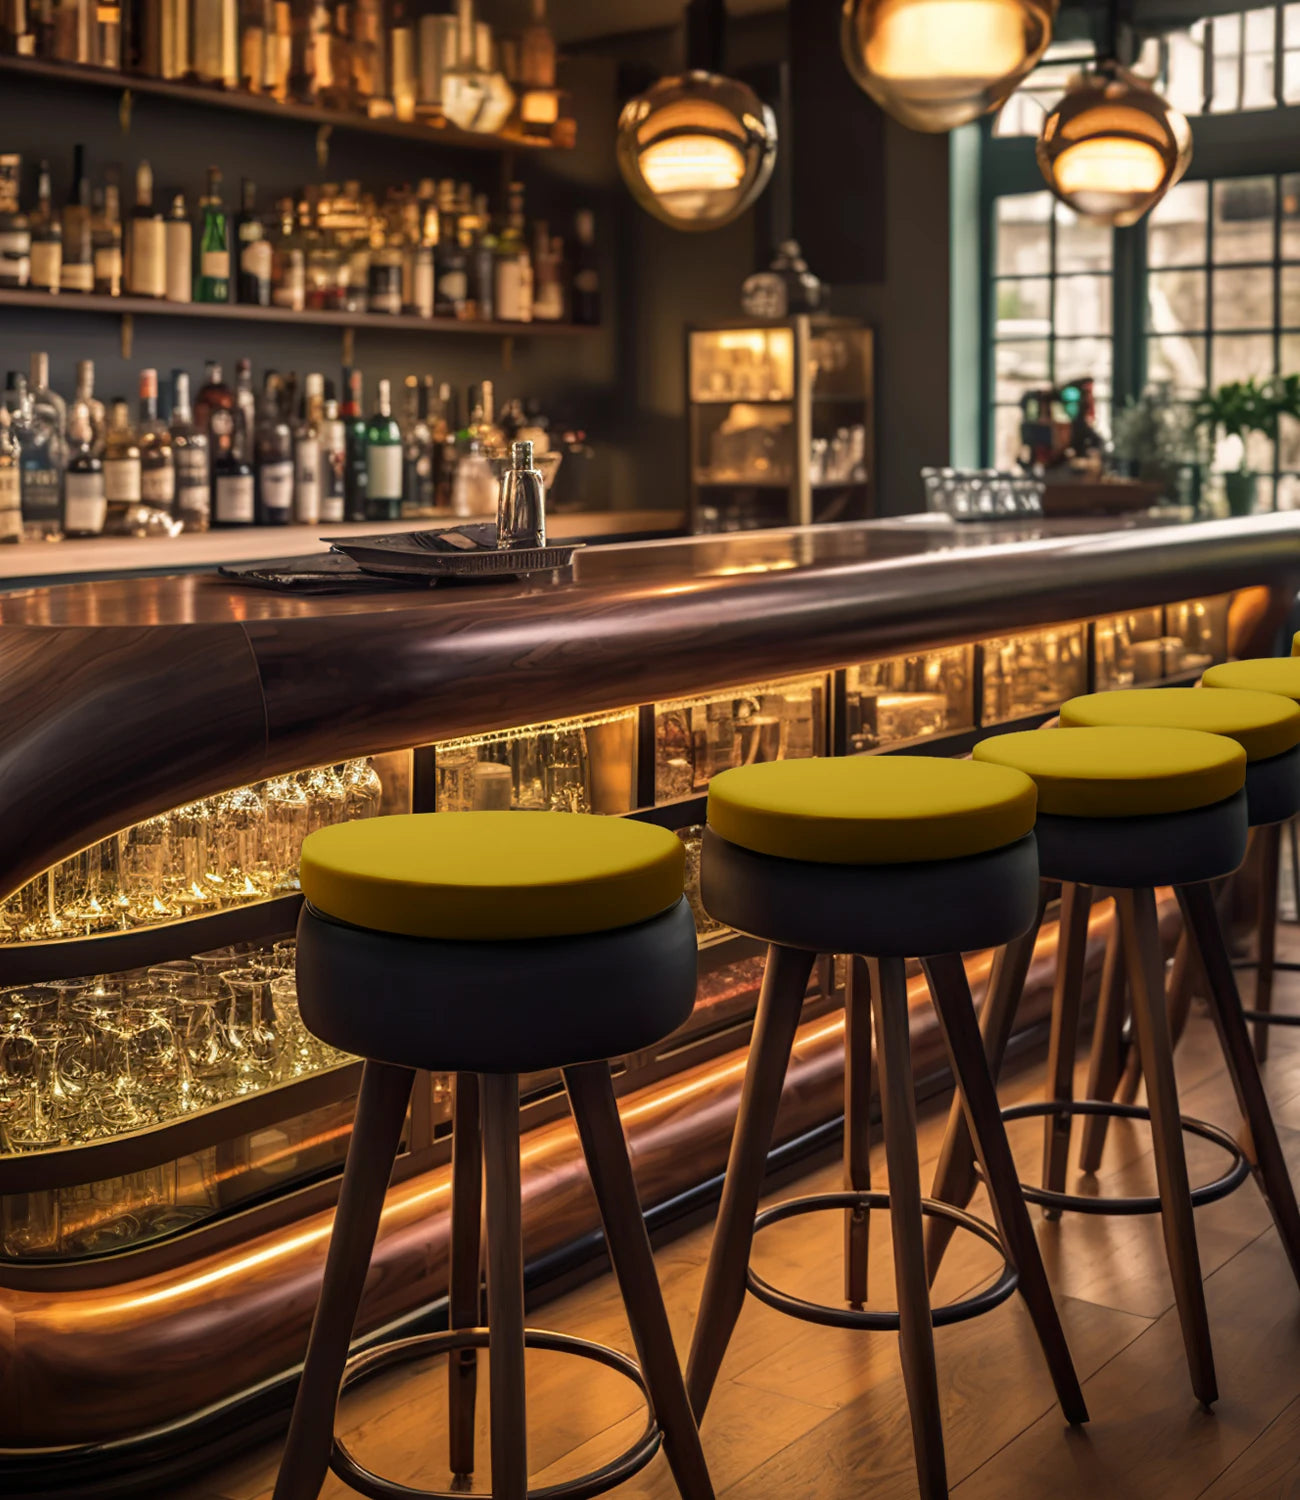
Don't jump into complex projects on your first attempt. Start with simple, flat cushions like bar stools or dining chairs before tackling curved surfaces or intricate shapes. Each project teaches you something new and builds confidence for more challenging work.

Keep detailed notes and photos of each project. What worked well? What would you do differently? These records become invaluable references for future projects and help you avoid repeating mistakes.
Final Thoughts on DIY Upholstery Success
Mastering cushion upholstery is like learning any craft – it takes practice, patience, and the willingness to accept that your first attempts might not be perfect. But the satisfaction of transforming worn furniture into beautiful, comfortable seating is genuinely rewarding.
The skills you develop working on simple cushions translate to more complex upholstery projects. Many people who start with basic cushion replacement eventually tackle entire sofas, headboards, and other major pieces. It's an investment in both your home and your capabilities.
Remember that even professional upholsterers had to learn these skills somehow. The difference is they had mentors and formal training – you're learning through trial and practice. Be patient with yourself, take your time, and don't be afraid to ask for advice from more experienced crafters.
Ready to Start Your Upholstery Project?
At Rulaer, we understand the satisfaction of creating beautiful, custom cushions for your home. Whether you're tackling a DIY project or need professionally crafted solutions, we offer high-quality custom cushions made to your exact specifications.
Our expert team can help you choose the right materials for your project, provide cutting services for foam components, and create beautiful custom covers that look professionally made. From simple seat pads to complex outdoor furniture cushions, we're here to support your vision.
Visit our Rulaer collection today to explore our range of custom cushion solutions. Every piece is crafted with attention to detail and designed to provide years of comfortable use. Let us help you transform your furniture with cushions that perfectly match your style and needs.
Leave a comment
All comments are moderated before being published.
This site is protected by hCaptcha and the hCaptcha Privacy Policy and Terms of Service apply.