


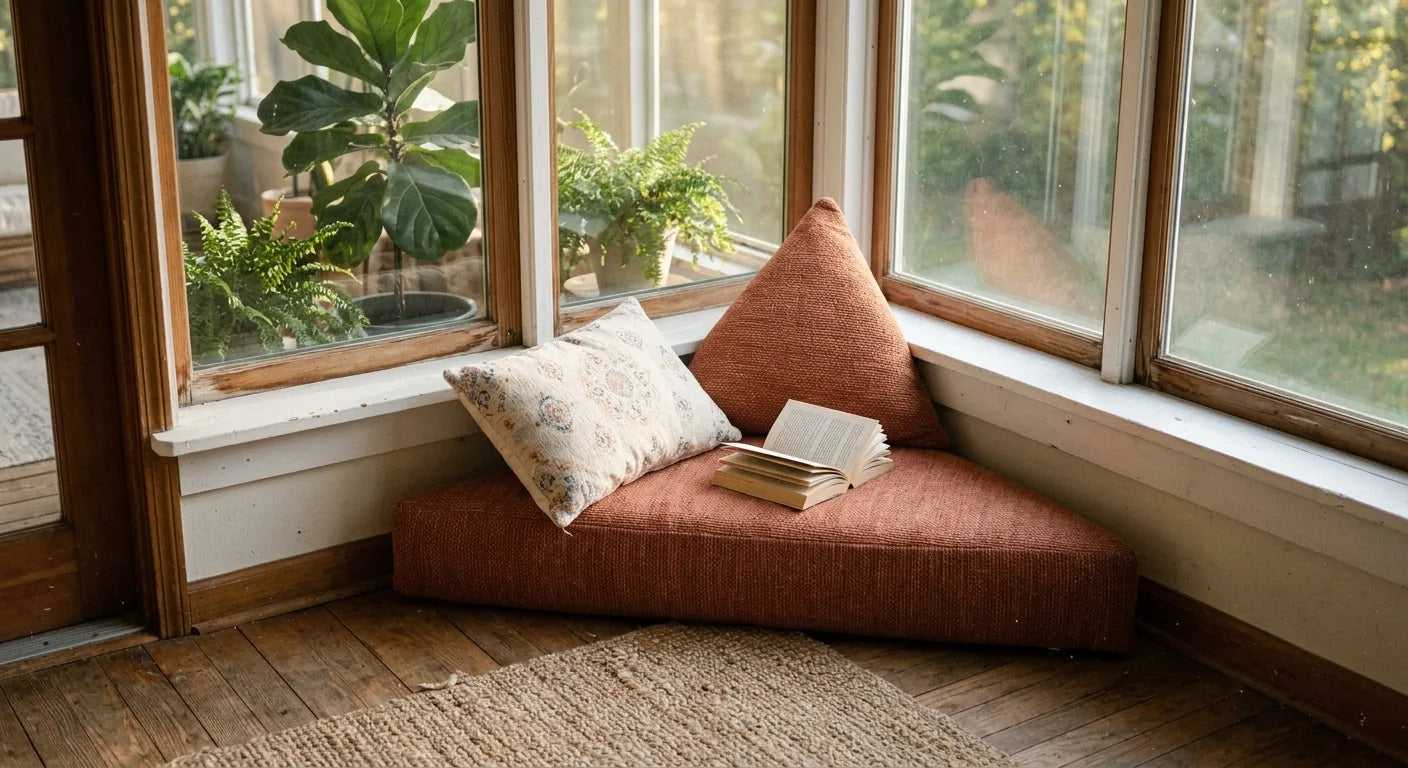
Empty room corners are surprisingly difficult to furnish. A chair may take up too much space, while a regular round floor pillow usually leaves an awkward triangle of unused floor behind it. A triangular corner floor cushion solves that little problem by fitting directly into the 90-degree angle where two walls meet. It also happens to make a very good reading spot. The walls can act as natural back support, the cushion keeps you off a hard floor, and the whole setup takes up less visual space than a lounge chair. This DIY tutorial walks you through measuring, making a full-size pattern, cutting fabric, sewing the cover, choosing filling and adding optional tufting. It is not the easiest first sewing project because of the angled corner and curved front edge, but if you have sewn a basic pillow or box cushion before, it is very manageable.
Difficulty Level: Intermediate DIY Estimated Time: 3–5 hours
Short on time or don't want to sew a triangular cover? Explore Rulaer's ready-made Cozy Corner Floor Cushion, available in multiple sizes for reading nooks, bedrooms and quiet floor seating.
Materials You Will Need
You do not need professional upholstery equipment for this project. A regular sewing machine can handle most medium-weight upholstery fabrics as long as you use the correct needle and strong thread.| Material | Purpose |
|---|---|
| 📏 Measuring Tape | Measure the usable corner dimensions |
| 📄 Kraft Paper | Create a full-size triangular template |
| 🧶 Upholstery Fabric | Construct the outer cushion cover |
| 🧊 Foam / Shredded Foam | Provide support and structure |
| ☁️ Polyester Fiber | Add softness and loft |
| 🧵 Heavy-Duty Thread | Reinforce seams and tufting points |
| ✂️ Sewing Machine | Construct the cover |
| ➖ Zipper | Optional access for filling or removal |
Step 1: Measure Your Corner Correctly
This is the part I would spend extra time on. With a rectangular floor cushion, being half an inch off is often invisible. With a corner cushion, an inaccurate angle or oversized wall edge can make the entire cushion sit away from the wall. Start at the exact point where the two walls meet and record:- Wall A: usable distance along the first wall
- Wall B: usable distance along the second wall
- Front width: the space available across the open side
- Available floor depth: how far the cushion may extend into the room
- Baseboards: especially thick or decorative trim
- Electrical outlets: avoid permanently blocking outlets you use
- Door swing: check with the door fully opened
- Floor vents: leave heating and cooling vents unobstructed

A useful trick is to mark your proposed cushion footprint with painter's tape before cutting anything. Then sit inside the taped area. Stretch your legs out, open nearby doors and check whether the size actually works in everyday life. If you are still deciding whether your nook should be 28, 30 or 34 inches, our Corner Floor Cushion Size Guide goes deeper into finished cushion sizing without repeating the sewing process here.
Step 2: Create a Full-Size Triangular Cushion Template
This is where making a corner floor cushion becomes different from making an ordinary square floor pillow. Tape several sheets of kraft paper together and place the paper directly in your corner. Mark Wall A and Wall B at full size. The corner where those lines meet should form approximately a 90-degree angle in a standard room, although older homes are not always perfectly square. Now decide what you want the front edge to look like.- Straight front edge: easiest to measure and sew. It creates a simple right-triangle silhouette.
- Curved front edge: gives the cushion a softer, more furniture-like appearance.
- Fan-shaped front: uses two straight wall edges with a broad rounded front, creating more usable sitting space.

Step 3: Choose the Right Cushion Thickness for Hard Floors
Thickness matters more for floor seating than it does for a bench cushion because there is no chair frame or suspension underneath you. The cushion itself is doing almost all the work.
3 inches: Low-profile and easier to sew, but better for occasional sitting or softer carpeted floors. 4 inches: A practical middle ground for casual reading, gaming or extra floor seating. 6 inches: Better suited to a lounge-style reading nook where adults may sit for longer periods on hardwood, tile or other firm surfaces.
As a real-world reference, Rulaer's finished corner floor cushion line uses a 6-inch profile across its eight sizes, from 24 × 24 inches through 40 × 40 inches. You do not have to copy that thickness for a DIY project, but it shows why a deeper cushion often makes sense when the cushion is intended to function more like a small lounge seat than a decorative pillow.
Step 4: Choose Your Filling
There isn't one universally “best” filling. The right choice depends on whether you care more about crisp shape, sink-in softness, low weight or easy DIY construction.| Filling | Feel | DIY Notes |
|---|---|---|
| Foam block | Supportive, structured | Holds a clean shape but curved cutting requires patience. |
| Shredded foam | Soft, moldable | Easy to fill, but can migrate toward the center. |
| Polyester fiber | Light and plush | Simple to work with, though it compresses faster with frequent sitting. |
| Foam + fiber blend | Plush with better recovery | Useful when you want loose-fill comfort without relying entirely on fiber. |
Step 5: Cut the Fabric
Place your kraft paper template on the wrong side of the upholstery fabric. Trace it once for the top panel and again for the bottom panel. Add a ½-inch seam allowance around every edge before cutting. In other words, the fabric should extend half an inch beyond the finished template line. For the side boxing, use this basic method:- Boxing width = finished cushion thickness + 1 inch. A 6-inch cushion therefore needs a 7-inch-wide boxing strip.
- Boxing length = full perimeter of your finished paper template + joining allowance.

Step 6: Sew the Triangular Cover Without Puckered Corners
Pin the boxing strip to the top panel with right sides together. Begin along one of the straight wall edges rather than at the curved front. When you reach the rear 90-degree corner, stop with the sewing-machine needle down. Carefully clip into the seam allowance of the boxing strip without cutting through your stitching line. Pivot the fabric and continue along the second wall edge. That small release cut helps the strip turn cleanly instead of bunching into a lump. The curved front takes a little more patience. Use plenty of clips or pins and distribute the fabric gradually. Do not pull one layer tighter than the other. Small clips in the seam allowance can help a curved seam relax after sewing. Once the top is attached, repeat with the bottom panel.
Workshop tip: Before sewing the bottom panel completely, turn the cover right side out and test the corner shape. Fixing one awkward seam now is much easier than discovering it after the entire cushion is filled.
Step 7: Add a Zipper
A zipper is optional, but I would strongly consider one if you are using shredded foam or a foam-and-fiber blend. It lets you adjust the amount of filling later instead of permanently sewing the cushion shut. A standard upholstery zipper is easier to install and is usually hidden well enough when placed along one wall-facing edge. An invisible zipper gives a cleaner appearance, although it can be more annoying to operate on a thick floor cushion. Try not to place the zipper directly in the tight rear corner. A straight section of the boxing is much easier to open, close and repair.Step 8: Fill the Cushion Evenly
Loose-filled triangular cushions have one very predictable problem: the filling wants to settle toward the broad center while the narrow rear corner looks empty. Start by placing filling into the rear point first. Push small handfuls firmly into both wall-side corners, then build outward toward the curved front. Do not stuff the center completely before filling the perimeter. That is how you end up with a round mound in the middle and flat edges. If you are using shredded foam, pause several times, close the zipper temporarily and sit on the cushion. Add material gradually. Overfilling can make the cushion surprisingly hard, while underfilling causes the front edge to collapse.
Step 9: Add Optional Four-Point Tufting
Tufting is partly decorative, but on a loose-filled cushion it can also help control where the filling moves. Rulaer's Cozy Corner Floor Cushion uses a four-point tufted structure. You can recreate the same general idea by marking four evenly balanced locations on the finished cushion. Use a long upholstery needle and very strong thread. Pass through the entire cushion, pull gently until you create a shallow depression, and secure the thread underneath. Repeat at the remaining three points. Do not pull aggressively. Deep tufting removes usable thickness and can make the seat feel uneven. You want enough tension to stabilize the fill, not four little craters. Also remember that permanent tufting through both the outer cover and the cushion interior will usually prevent the cover from being completely removable.
DIY vs. Ready-Made Corner Floor Cushion
Making your own is worth it when your corner is unusual, you already enjoy sewing, or you have a very specific fabric in mind. But it is fair to count your time as part of the project too.| DIY | Rulaer Ready-Made | |
|---|---|---|
| Time | 3–5 hours | Ready to use after unpacking/recovery |
| Sewing | Required | No |
| Size | Fully flexible | 24"–40" |
| Thickness | Your choice | 6" |
| Tufting | Optional | 4-point tufting included |
| Finish | Depends on sewing skill | Finished construction |
Fall nook project? If you are refreshing more than one seating area, Rulaer's current sitewide savings make larger projects a little easier: spend over $300 and save $60, or spend over $500 and save $125.
Troubleshooting Common Corner Cushion Problems
My Cushion Doesn't Sit Flush Against the Wall
Check the baseboard first. Your floor may be 90 degrees while the usable cushion area is slightly smaller because trim projects into the room. If the cover is only slightly oversized, redistribute the filling away from the rear corner. If a solid foam insert is too large, you may need to trim it.The Front Edge Looks Uneven
This usually comes from either an inconsistent paper curve or stretching one fabric layer while sewing. Lay the cushion flat, redistribute the fill and check the seam. For future covers, mark the midpoint of both the front panel and boxing strip before pinning.The Filling Keeps Moving Into the Center
Add filling around the perimeter and rear point first. Four-point tufting can also reduce large-scale movement in a shredded-foam cushion.The Rear Corner Looks Empty
Use smaller pieces of foam or teased-out fiber and push them all the way into the point by hand. A large clump cannot naturally travel into a narrow triangular corner.My Cushion Feels Too Thin
If it contains loose fill, add material gradually and test again. If you used a solid 3-inch foam block and can already feel the hard floor during normal sitting, adding a soft fiber wrap may improve comfort, but moving to a thicker insert will make the bigger difference.Caring for Your DIY Corner Floor Cushion Through Fall and Winter
Floor cushions naturally collect more dust and crumbs than cushions raised on furniture, so a little regular care goes a long way.- Vacuum regularly using a soft upholstery attachment.
- Spot clean spills quickly according to the care instructions for your chosen fabric.
- Fluff loose filling by working it back toward the outer edges and rear corner.
- Change your sitting position from time to time so the same area is not compressed every day.
- Turn or flip the cushion only if your construction and fabric design allow it.

Prefer to Skip the Sewing Machine?
A DIY corner cushion is a satisfying project, especially when you have an odd-shaped room or fabric you really want to use. But the pattern making, curved seam and filling distribution make it noticeably more involved than sewing a basic rectangular cushion. If your corner fits a standard footprint, a ready-made floor cushion can get you to the relaxing part much faster.
Cozy Corner Floor CushionTriangular shape, 24"–40" sizes and a 6-inch lounge-style profile. View Corner Cushion →
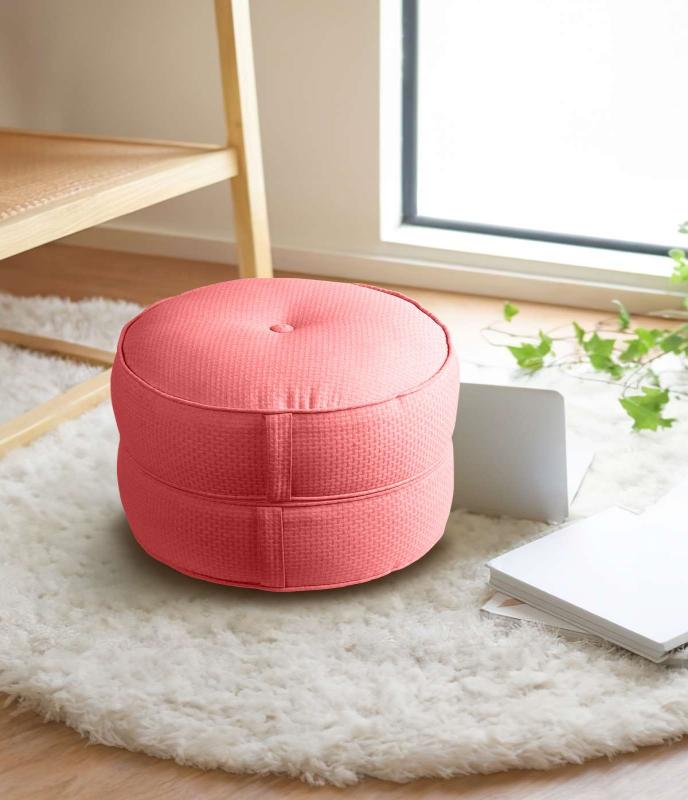
Office Round Floor CushionA movable round option when your floor seating does not need to stay in one corner. View Round Cushion →
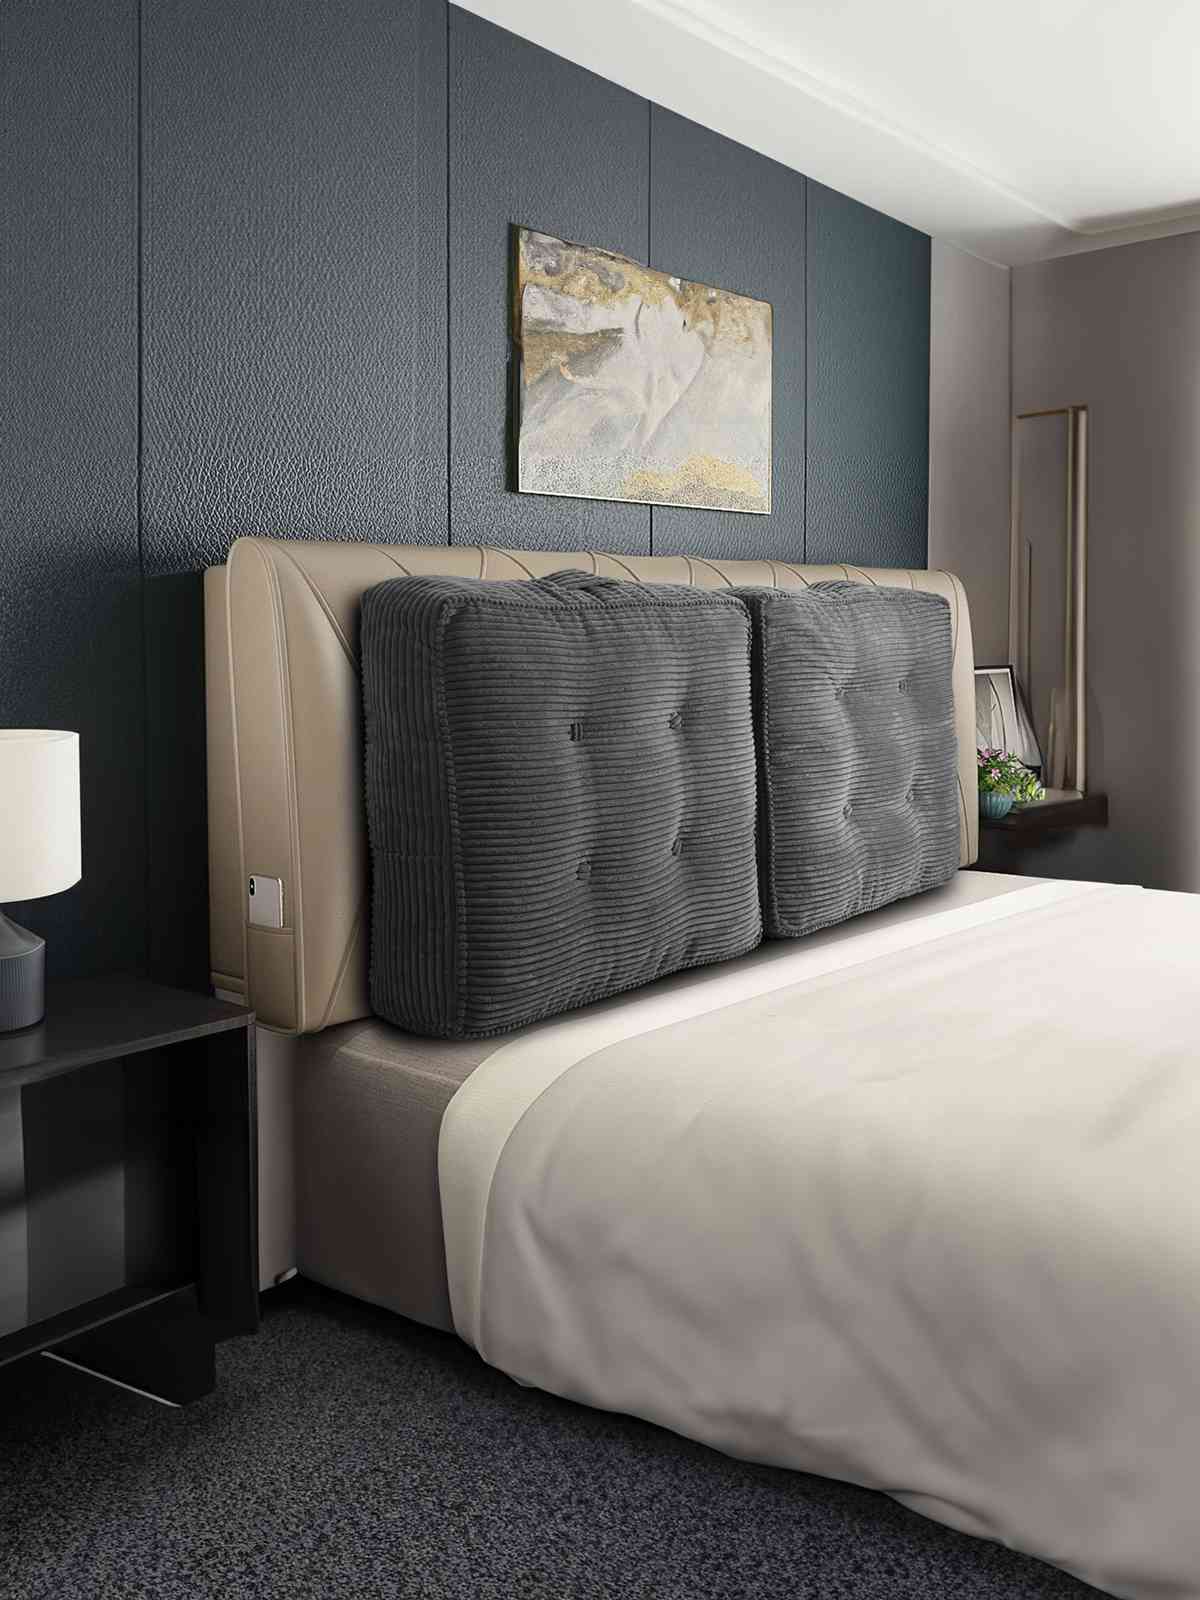
Square Tufted Floor PillowA simpler square shape for flexible living-room, reading or casual floor seating. View Square Floor Pillow →
Turn that empty corner into somewhere you actually want to sit. Explore Rulaer Floor Cushions



Leave a comment
All comments are moderated before being published.
This site is protected by hCaptcha and the hCaptcha Privacy Policy and Terms of Service apply.