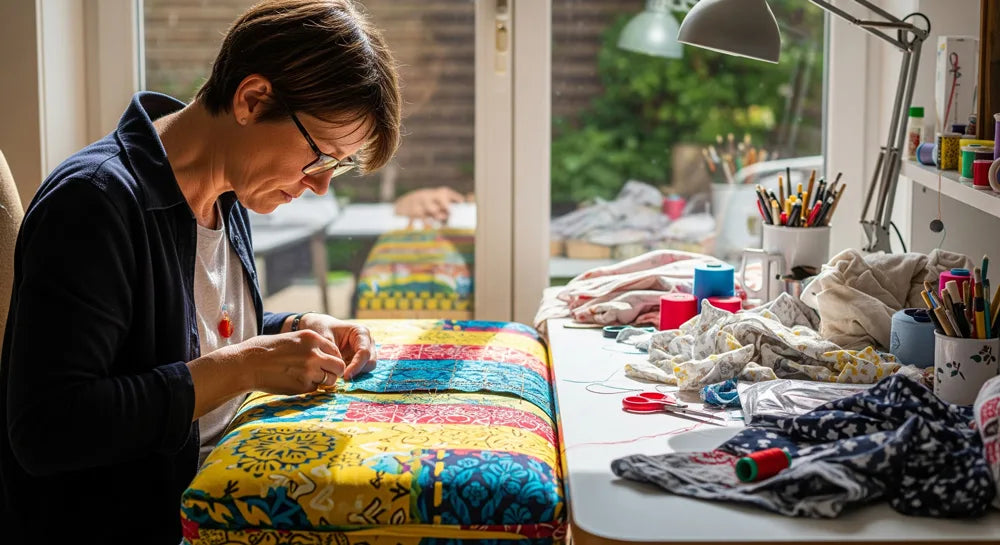
Creating a cushion with piping transforms an ordinary piece into a professional-looking masterpiece that rivals high-end furniture store offerings. Whether you're crafting outdoor bench cushions for your patio or indoor seating solutions, mastering the art of piping will elevate your sewing projects to new heights.
Piping, also known as welting or cording, serves both functional and aesthetic purposes. It reinforces seams, prevents fraying, and creates clean, defined edges that give cushions a polished, tailored appearance. This comprehensive guide will walk you through every step of the process, from selecting materials to finishing techniques that ensure your cushions look professionally made. For a truly complete toolkit on DIY cushion making and sewing, encompassing everything from basic bench designs to advanced professional techniques like piping and creating designer pouches, be sure to explore our ultimate resource: The Complete DIY Cushion Making & Sewing Guide: From Basic Benches to Designer Pouches.
What You'll Learn
Essential Materials and Tools for Professional Results

Success in cushion making starts with having the right tools and materials. Professional results require quality supplies that can withstand the stress of sewing through multiple fabric layers and provide long-lasting durability.
Fabric Requirements
- Main fabric: 1-2 yards depending on cushion size
- Piping fabric: Contrasting or matching fabric for visual impact
- Interfacing: Optional for added structure
Hardware and Notions
- Piping cord: Cotton or polyester, various thicknesses available
- Heavy-duty thread: Polyester thread for durability
- Zipper: For removable covers (optional)
- Cushion insert: Foam, fiberfill, or down alternative
Essential Tools
Choosing the Right Fabric for Your Piped Cushions
Fabric selection significantly impacts both the appearance and longevity of your finished cushions. For outdoor chair cushions, weather-resistant materials are essential, while indoor projects offer more flexibility in fabric choices.
Outdoor Fabrics

Solution-dyed acrylics like Sunbrella offer superior fade resistance and water repellency. These fabrics maintain their color and texture through years of sun exposure and weather conditions.
- UV-resistant and fade-proof
- Water and stain resistant
- Mold and mildew resistant
- Easy to clean and maintain
Indoor Fabrics

Upholstery-weight cottons, linens, and blends provide comfort and style for indoor use. Consider fabric weight and durability based on intended use.
- Wide variety of colors and patterns
- Comfortable texture for frequent use
- Cost-effective options available
- Easy to work with for beginners
Professional Tip
When selecting piping fabric, consider using a contrasting color or pattern to create visual interest. A subtle contrast can define the cushion's shape, while bold contrasts make a dramatic design statement.
Precise Measuring and Cutting Techniques
Accurate measurements are the foundation of professional-looking cushions. Taking time to measure carefully and cut precisely will save hours of adjustment later and ensure a perfect fit.
Measure Your Cushion Insert

Measure length, width, and thickness of your cushion insert. Add 1 inch to length and width for seam allowances. For thick cushions, add the thickness measurement to both length and width dimensions for proper fit.
Calculate Piping Requirements
Measure the perimeter of your cushion and add 6 inches for overlapping and finishing. For a standard 20" x 20" cushion, you'll need approximately 86 inches of piping.
Cut Bias Strips for Piping

Cut bias strips 2 inches wide for standard piping cord. Cutting on the bias allows the fabric to curve smoothly around corners without puckering.
Fabric Cutting Chart
| Cushion Size | Top/Bottom Pieces | Piping Length Needed | Bias Strip Width |
|---|---|---|---|
| 16" x 16" | 17" x 17" | 70 inches | 2 inches |
| 18" x 18" | 19" x 19" | 78 inches | 2 inches |
| 20" x 20" | 21" x 21" | 86 inches | 2 inches |
Creating Perfect Piping from Scratch
Making your own piping allows complete control over color, texture, and quality. While pre-made piping is available, custom piping ensures a perfect match to your fabric and design vision.
Joining Bias Strips
Join bias strips by placing them right sides together at a 45-degree angle. Sew with a ¼-inch seam allowance, then trim excess fabric and press seams open. This creates a smooth, continuous strip without bulk.
Inserting the Cord
Center the piping cord along the wrong side of the bias strip. Fold the fabric over the cord, aligning raw edges. The cord should be snugly enclosed but not so tight that the fabric strains.
Sewing the Piping
Using a piping foot or zipper foot, sew close to the cord without catching it in the stitching. Maintain consistent distance from the cord for even piping throughout the length.
Professional Technique: Perfect Corners
For sharp corners, clip the seam allowance of the piping at the corner point. This allows the piping to turn cleanly without bunching. For rounded corners, ease the piping gently around the curve, maintaining even tension.
Professional Results You Can Achieve
See how professional piping techniques can transform your outdoor space with these premium cushion examples:

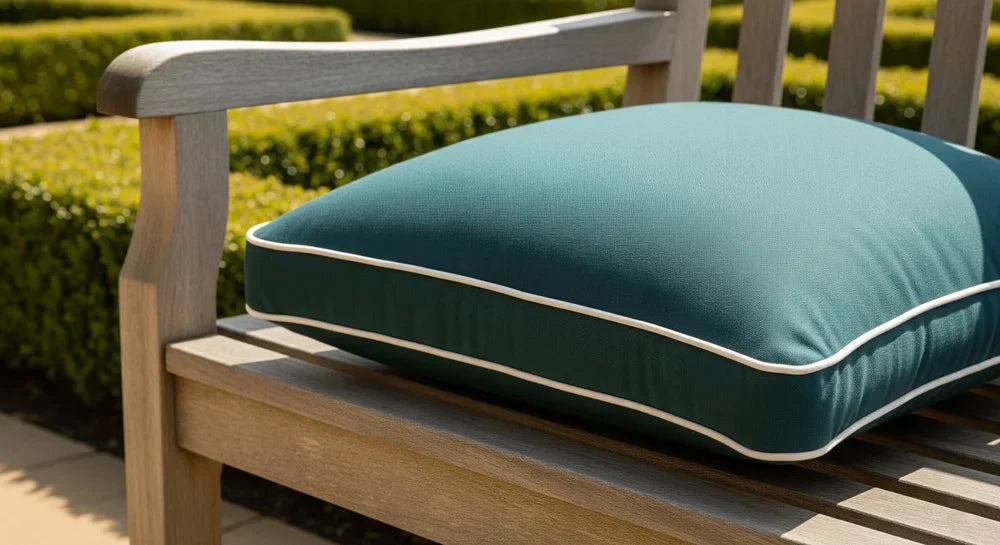
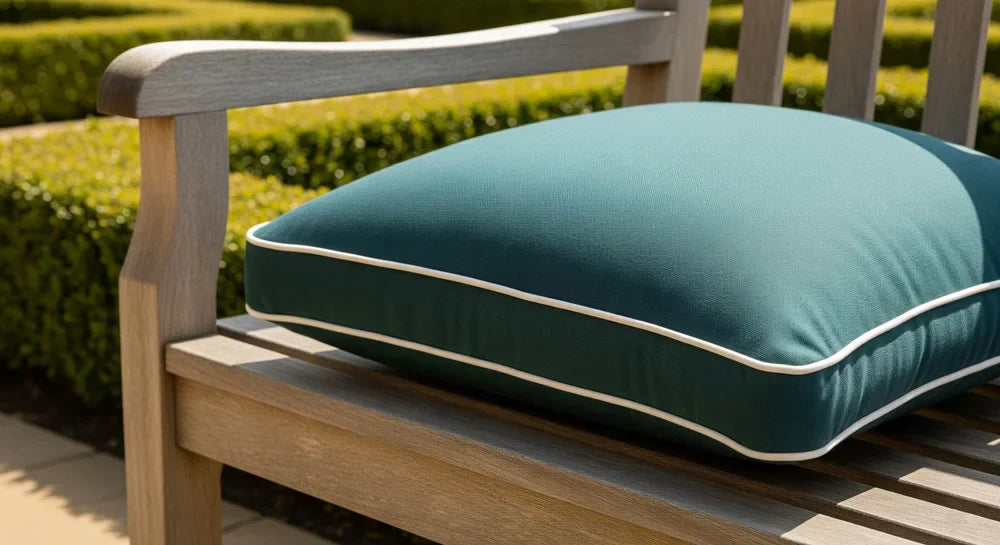
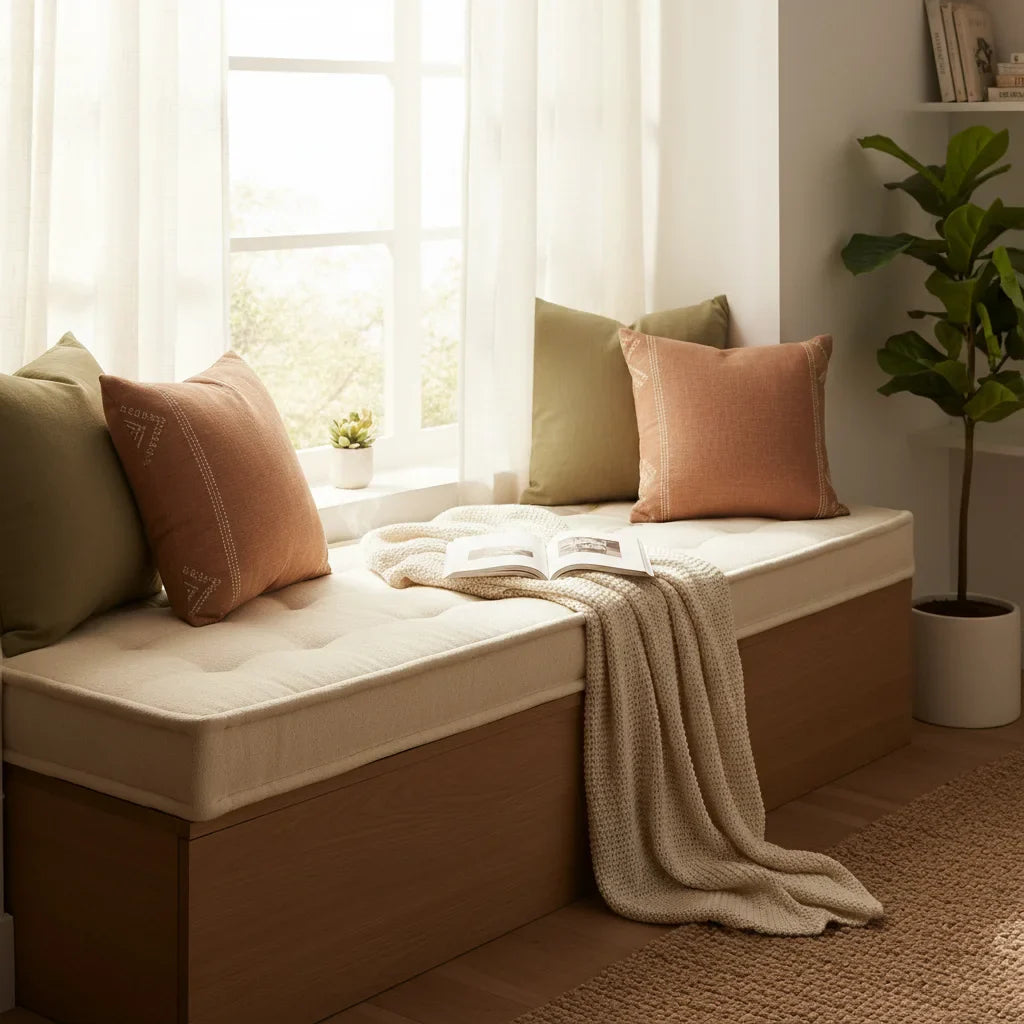
Tufted Bench Cushion
Professional piping adds structure and style to outdoor seating

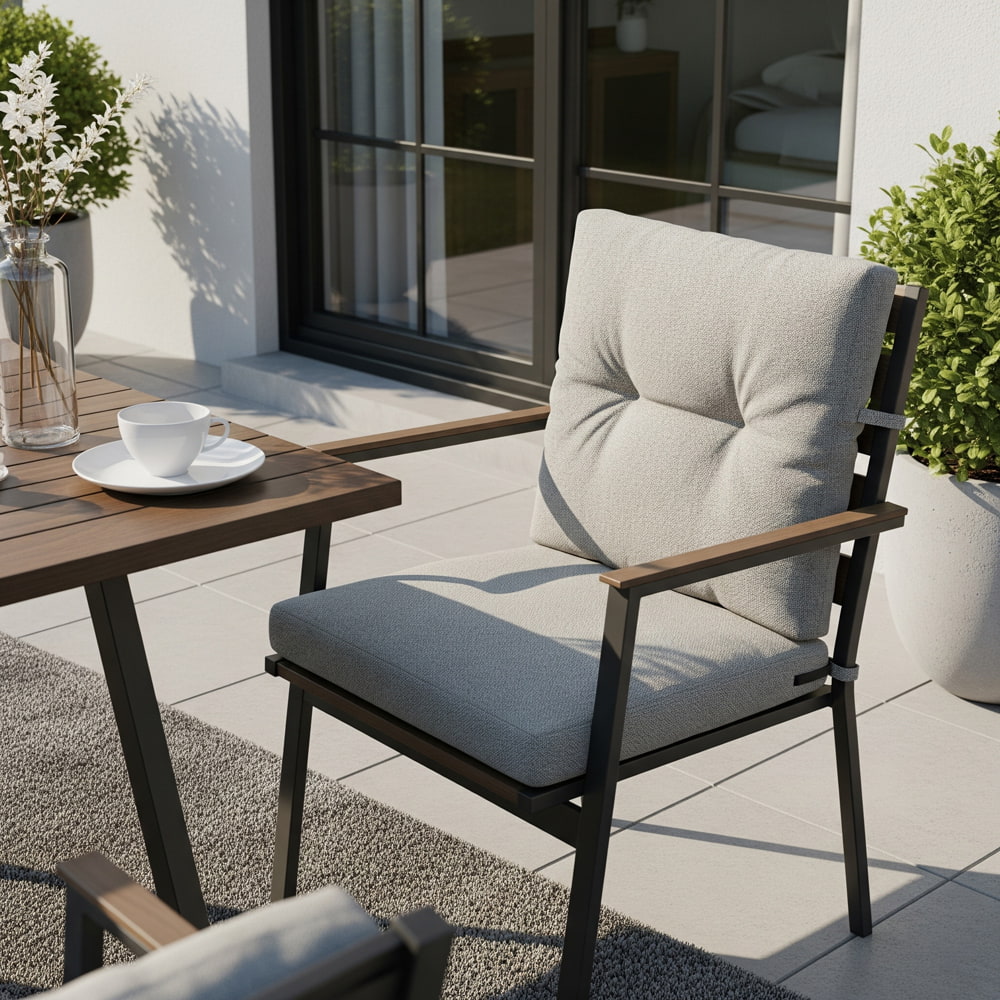
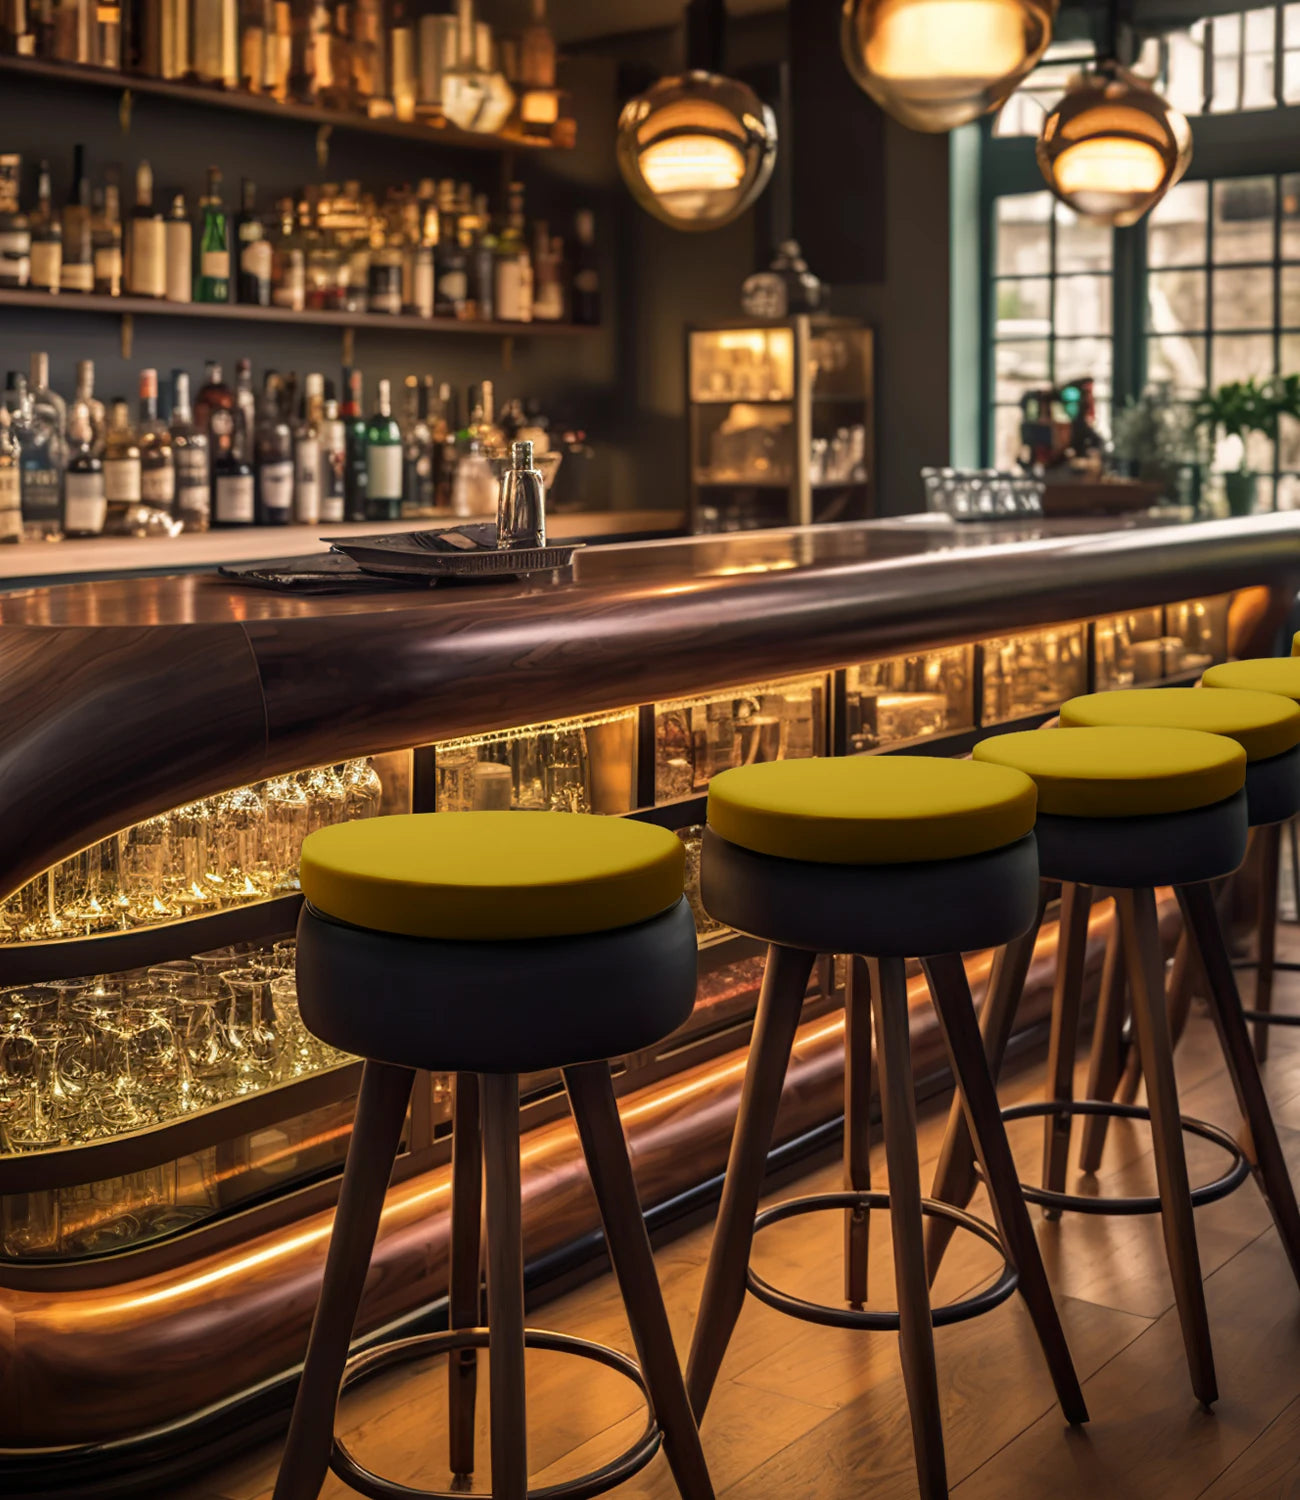
Deep Seat Cushion
Contrasting piping creates visual appeal and durability

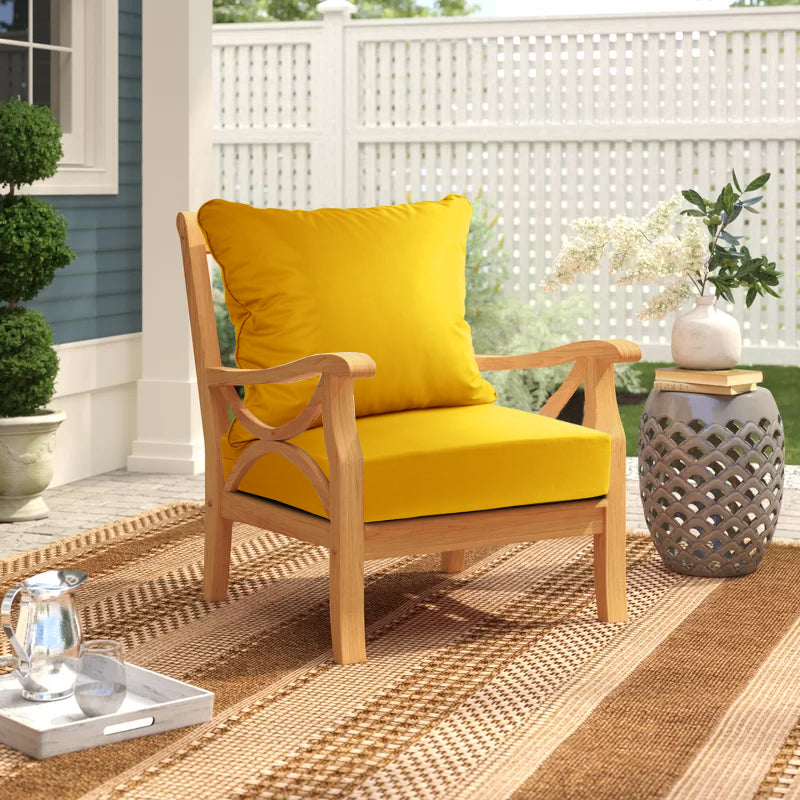
Custom Outdoor Cushion
Tailored fit with professional piping for any outdoor furniture
Step-by-Step Cushion Assembly Process
With your piping prepared, the assembly process requires patience and precision. Each step builds upon the previous one, so take time to ensure accuracy at every stage.
Attach Piping to Top Panel
Pin piping to the right side of the top panel, with raw edges aligned. Start at the center of one side, leaving a 3-inch tail. Use clips or pins every 2-3 inches to secure piping in place.
Create Piping Overlap
When piping ends meet, overlap by 1 inch. Cut the cord so ends butt together, then fold under the finishing end of the bias strip to create a clean finish. This technique prevents bulk and creates a professional appearance.
Sew Top Panel with Piping
Using a piping foot, sew around the entire perimeter, staying close to the piping cord. Maintain consistent seam allowance and backstitch at beginning and end for security.
Attach Bottom Panel
Place bottom panel right side down on top of the piped panel. Pin carefully, ensuring piping stays positioned correctly. Sew around three sides, leaving one side open for inserting the cushion.
Finish and Insert Cushion
Trim corners diagonally to reduce bulk, then turn the cover right side out. Push out corners carefully using a point turner. Insert cushion and hand-stitch the opening closed, or install a zipper for removable covers.
Professional Finishing Tips and Advanced Techniques
These advanced techniques separate amateur projects from professional-quality results. Implementing these details will give your cushions the polished look of high-end furniture.
Seam Finishing

Use pinking shears or serger to finish raw edges, preventing fraying and extending cushion life. For outdoor cushions, this step is particularly important due to weather exposure.
Pressing Techniques

Press seams carefully to avoid flattening the piping. Use a pressing cloth and lower heat setting for synthetic fabrics. Good pressing creates crisp, professional-looking seams.
Quality Control

Inspect each seam for consistency, check that piping lays flat without twisting, and ensure corners are sharp and well-defined. Address any issues before final assembly.
Advanced Piping Variations
Double Piping
Create dramatic visual impact by using two parallel lines of piping in contrasting colors. This technique requires precise measurement and careful sewing but creates stunning results.
Flanged Piping
Add a flat fabric border around the piping for a sophisticated, tailored look. This technique works particularly well on custom bench cushions where the extra detail enhances the overall design.
Contrast Welting
Use dramatically different colors or patterns for piping to create bold design statements. This approach works well in modern outdoor settings where contrast adds visual interest.
Common Issues and Professional Solutions
Even experienced sewers encounter challenges when working with piping. Understanding common problems and their solutions will help you achieve professional results consistently.
Problem: Puckered Piping
Piping appears wavy or bunched along the seam line, creating an unprofessional appearance.
Solution:
- Reduce tension on both upper and bobbin threads
- Use proper seam allowance consistently
- Ensure fabric isn't stretched while sewing
- Check that piping foot is properly installed
Problem: Twisted Piping
Piping cord rotates within its fabric casing, creating an uneven appearance along the seam.
Solution:
- Pin piping more frequently during installation
- Ensure cord is centered in bias strip
- Sew closer to the cord when making piping
- Check that bias strips are cut on true bias
Problem: Bulky Corners
Excessive fabric bulk at corners prevents clean, sharp corner definition.
Solution:
- Trim seam allowances at different lengths (grade seams)
- Clip piping seam allowance at corner points
- Use point turner to push out corners gradually
- Consider reducing seam allowance slightly at corners
Prevention is Key
Most piping problems can be prevented with proper preparation and technique. Take time to practice on scraps before working on your final project, and don't rush the process. Quality piping requires patience and attention to detail.
Ready to Create Your Perfect Outdoor Cushions?
While making your own cushions is rewarding, sometimes you need professional quality without the time investment. Our custom cushion collection features expert piping techniques and premium materials designed for long-lasting outdoor use.

Expert craftsmanship with weather-resistant materials
Mastering the Art of Piped Cushions
Creating cushions with professional piping is a skill that improves with practice. Each project teaches new techniques and builds confidence in your abilities. The key elements for success include proper preparation, quality materials, accurate measuring, and patience during assembly.
Whether you're creating a single accent piece or outfitting an entire outdoor living space, the techniques covered in this guide will help you achieve professional results. Remember that even small details like consistent seam allowances and proper pressing can make a significant difference in the final appearance of your cushions.
For those times when you need professional quality without the time investment, consider exploring ready-made options from specialists who understand the importance of proper construction and durable materials. The combination of expert craftsmanship and premium fabrics ensures cushions that will enhance your outdoor space for years to come.
Key Takeaways for Success
- Invest in quality tools and materials for professional results
- Take accurate measurements and cut precisely
- Practice piping techniques on scraps before final assembly
- Pay attention to details like pressing and seam finishing
- Don't rush the process - quality takes time

About the Expert
This guide was created by experienced craftspeople specializing in outdoor furniture and cushion construction. With years of experience in professional upholstery and custom cushion creation, our team understands the techniques that create lasting, beautiful results.
Leave a comment
All comments are moderated before being published.
This site is protected by hCaptcha and the hCaptcha Privacy Policy and Terms of Service apply.