Let's be honest – there's something incredibly satisfying about creating your own cushions. Whether you're looking to refresh your outdoor furniture or just want to dive into a rewarding DIY project, learning how to sew a cushion with piping and a zip is one of those skills that'll make you feel like a total rockstar. Plus, you'll save a ton of money compared to buying pre-made ones!
I've been sewing cushions for years (started when I got fed up with overpriced patio cushions that looked boring), and I can tell you that once you master this technique, you'll be addicted to creating custom pieces that perfectly match your style and space. To truly become a pro at all aspects of cushion creation, from basic designs to intricate details like piping and zippers, and to explore every kind of DIY cushion project imaginable, make sure to delve into our comprehensive guide: The Complete DIY Cushion Making & Sewing Guide: From Basic Benches to Designer Pouches.

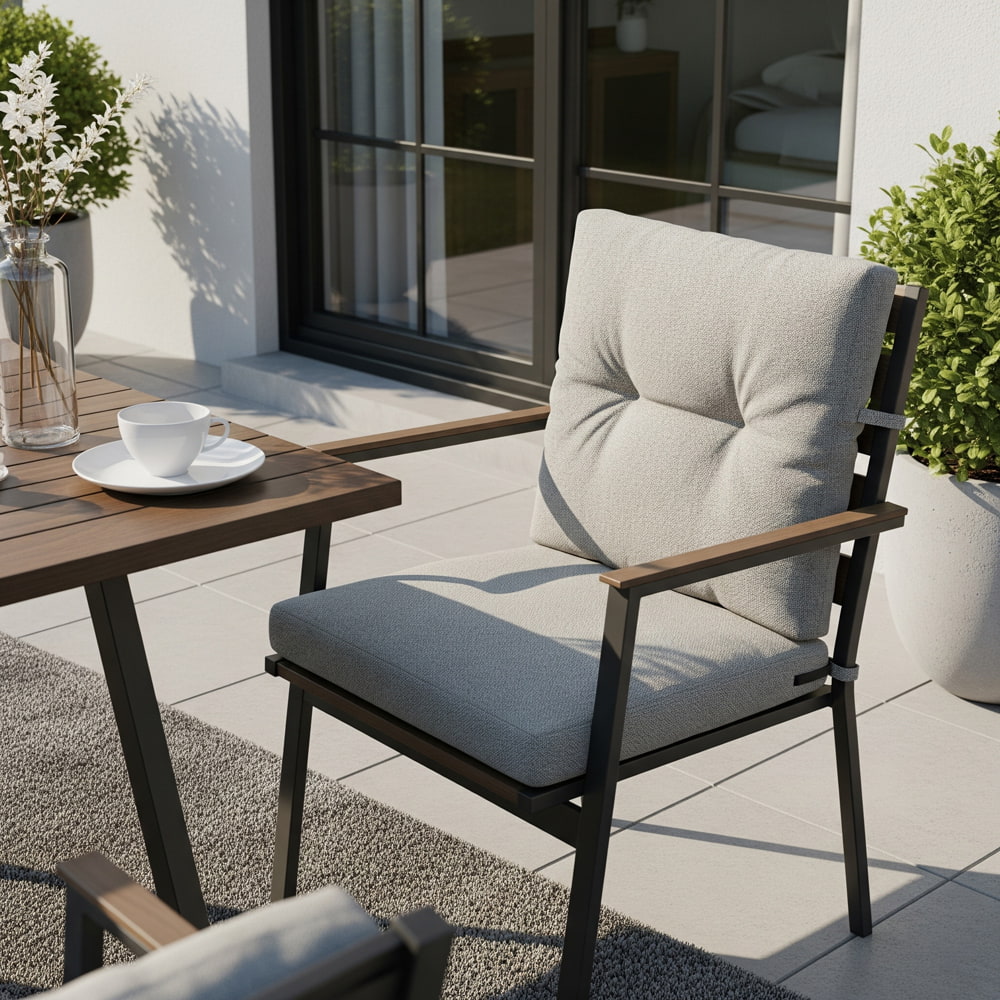
Everything you need to get started with your cushion project
Why Piping and Zippers Make All the Difference
Before we dive into the nitty-gritty, let me explain why piping and zippers are game-changers for your cushion projects. Piping isn't just decorative – it actually reinforces the seams and gives your cushion that professional, store-bought look. The crisp edge definition makes even simple fabrics look sophisticated.
And zippers? They're your secret weapon for easy maintenance. Trust me, when you're dealing with outdoor bench cushions that face the elements, being able to remove and wash the covers without wrestling with hand-stitched openings is a lifesaver.
Materials You'll Need (Don't Worry, It's Not That Much)
Fabric & Filling
- Outdoor fabric (I recommend Sunbrella or similar weather-resistant material)
- Cushion insert or foam (high-density foam works best for outdoor use)
- Piping cord (cotton or polyester, about 1/4 inch diameter)
- Bias tape or fabric strips for covering piping
Hardware & Tools
- Heavy-duty zipper (at least 2 inches shorter than your cushion width)
- Piping foot for your sewing machine
- Zipper foot attachment
- Sharp fabric scissors
- Measuring tape and ruler
- Pins or fabric clips
Step 1: Measuring and Cutting Your Fabric
This is where precision matters, folks. Measure your cushion insert carefully – you want to add about 1 inch to both length and width for seam allowances. For the thickness, measure around the insert and add 1 inch for seam allowances plus about 2 inches for a snug fit.
Here's a pro tip I learned the hard way: always cut your fabric pieces slightly larger than you think you need. You can always trim excess, but adding fabric back is... well, impossible.

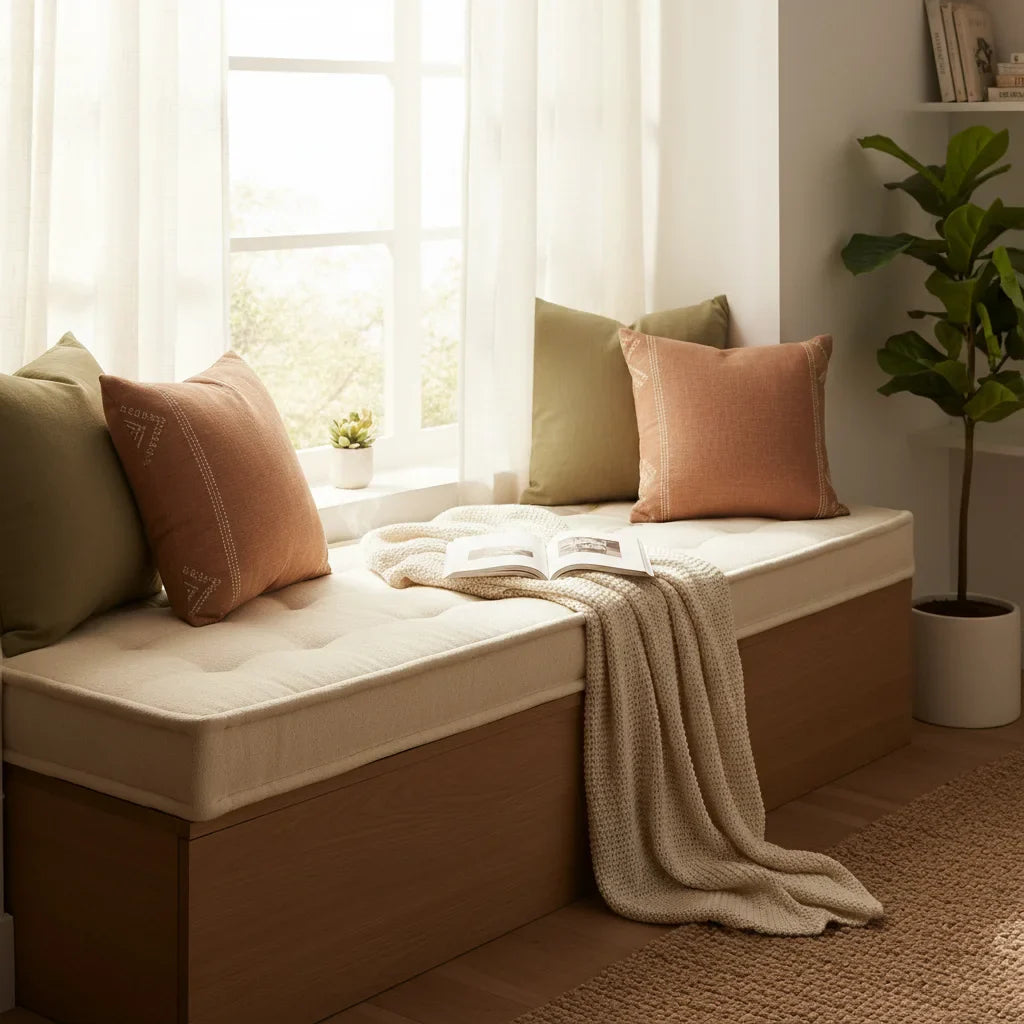
Precision in cutting sets you up for success
Step 2: Creating Your Piping
Making piping might seem intimidating, but it's actually pretty straightforward. Cut bias strips about 1.5 inches wide (cutting on the bias gives you that nice stretch and curve-friendly quality). You'll need enough length to go around your entire cushion perimeter plus about 4 inches for overlap.
Wrap the bias strip around your piping cord, making sure the cord sits snugly in the fold. Using your piping foot, stitch close to the cord – but don't worry about getting too close at this stage. We'll fine-tune it when we attach it to the cushion.
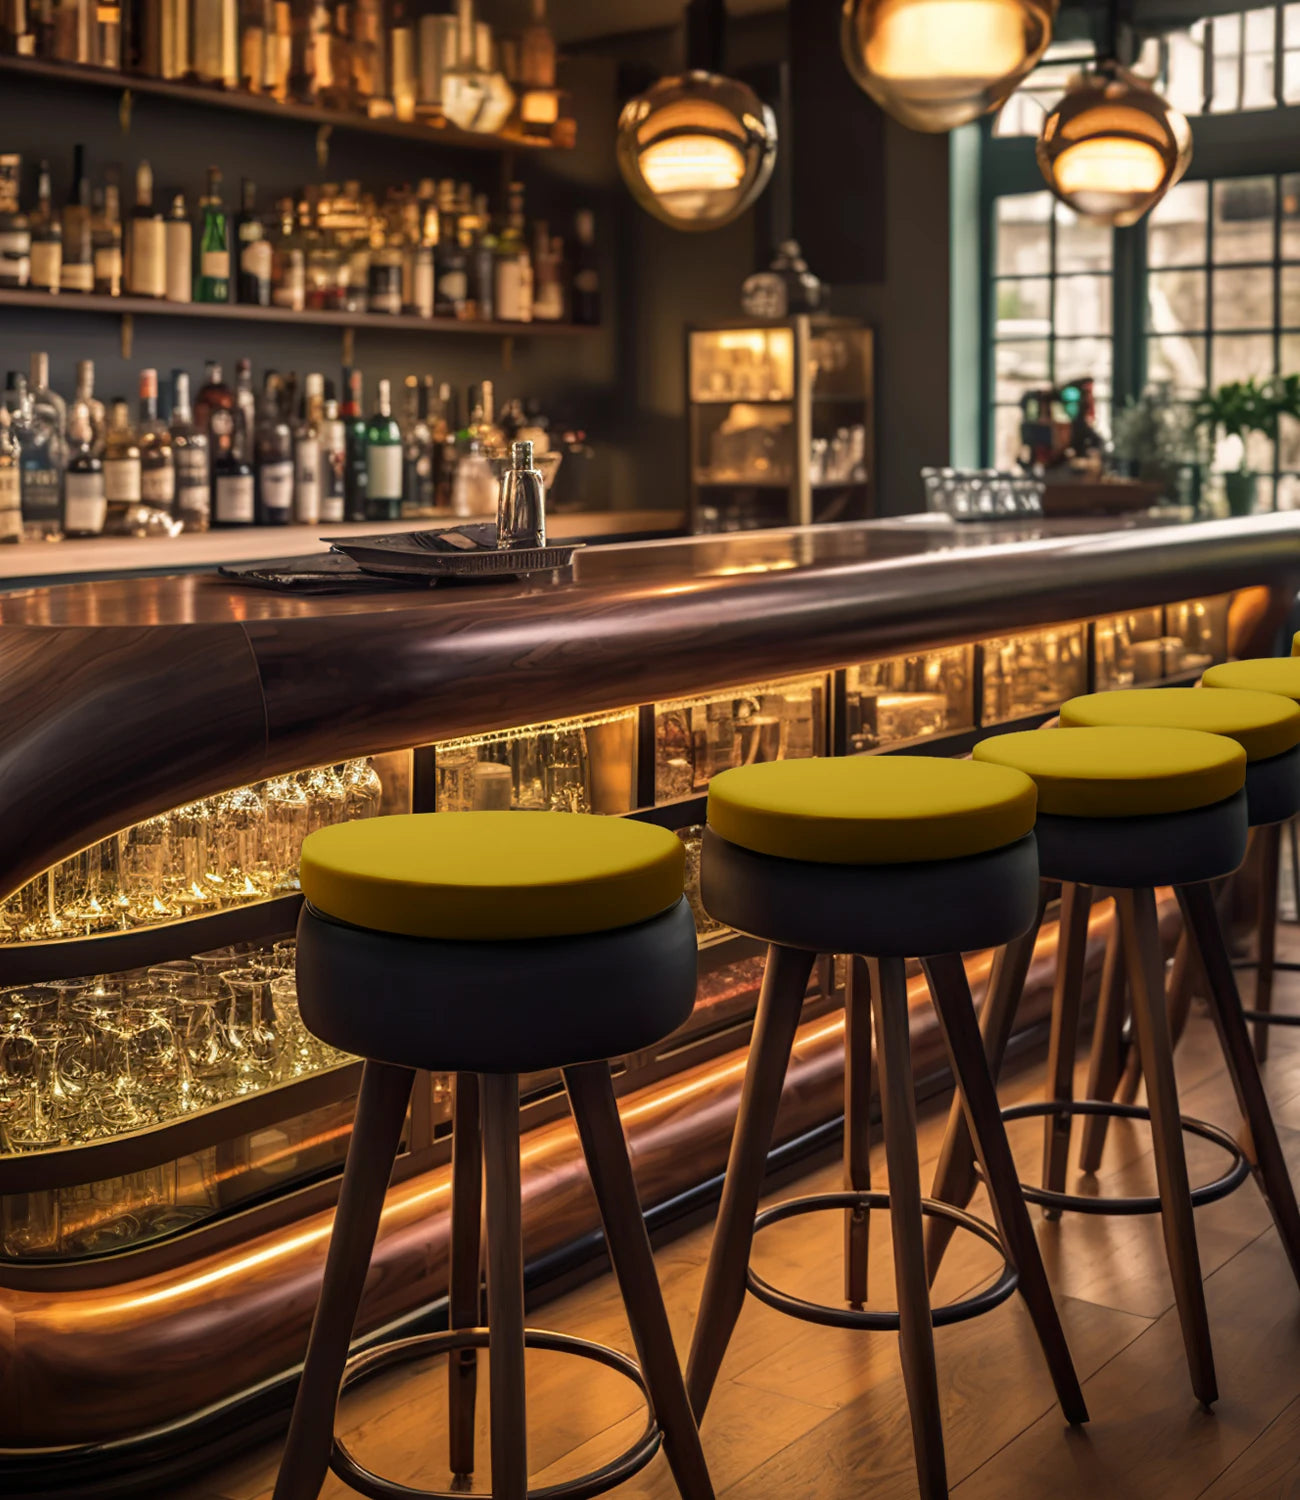
Want to skip the DIY hassle? Check out our professional-grade outdoor cushions!
Shop Custom Outdoor CushionsStep 3: Attaching Piping to Your Cushion Top
This is where things get interesting. Pin your piping around the perimeter of your cushion top piece, with the piping cord facing inward and the raw edges aligned with the fabric edge. At corners, you'll need to clip the piping seam allowance to help it curve smoothly.
When you reach where the piping ends meet, overlap them by about 2 inches and cut the cord so it butts together perfectly. Fold the bias tape over to encase the raw end – this prevents fraying and gives you a clean finish.

Take your time with the piping attachment – it's worth the effort
Step 4: Installing the Zipper
For the zipper installation, you'll work with your bottom cushion piece. I like to position the zipper about 2 inches from one edge – this keeps it accessible but not too prominent. Mark your zipper placement and carefully cut the opening, leaving about 1/4 inch seam allowance on each side.
Pin the zipper in place (make sure it's face-down) and stitch using your zipper foot. The key here is to go slowly and keep your stitching straight. Nobody's judging if you need to rip out a seam and try again – I've done it more times than I care to admit!
Professional Results Without the Hassle


Step 5: Assembling Your Cushion Cover
Now comes the moment of truth – putting it all together. With your zipper partially open (this is crucial – don't forget or you'll have a lovely cushion cover with no way to get the insert in), pin your top piece to the bottom piece, right sides together.
The piping should be sandwiched between the layers. Using your piping foot, stitch around the perimeter, getting as close to the piping cord as possible. This is where that earlier "not too close" stitching pays off – you can get tighter to the cord now for a crisp edge.

The satisfying moment when everything comes together
Pro Tips That'll Save Your Sanity
Fabric Choice Matters
For outdoor use, invest in solution-dyed acrylic fabrics. They're fade-resistant and easy to clean. Indoor cushions give you more flexibility, but still consider durability if they'll get heavy use.
Thread Quality
Don't cheap out on thread, especially for outdoor chair cushions. UV-resistant polyester thread will prevent your seams from deteriorating in sunlight.
Pressing Seams
Press your seams as you go, but be careful with synthetic fabrics – they can melt! Use a pressing cloth and medium heat.
Common Mistakes (And How to Avoid Them)
Let me share some hard-learned lessons. First, always test your machine settings on fabric scraps before diving into your actual project. Different fabrics behave differently, and what works for cotton might not work for outdoor canvas.
Second, don't rush the piping installation. Uneven piping screams "homemade" in the worst way. Take your time, use plenty of pins, and check your work frequently.
Third, when working with thick outdoor fabrics, you might need to adjust your machine's tension and use a heavy-duty needle. Your machine will thank you, and your seams will look much more professional.

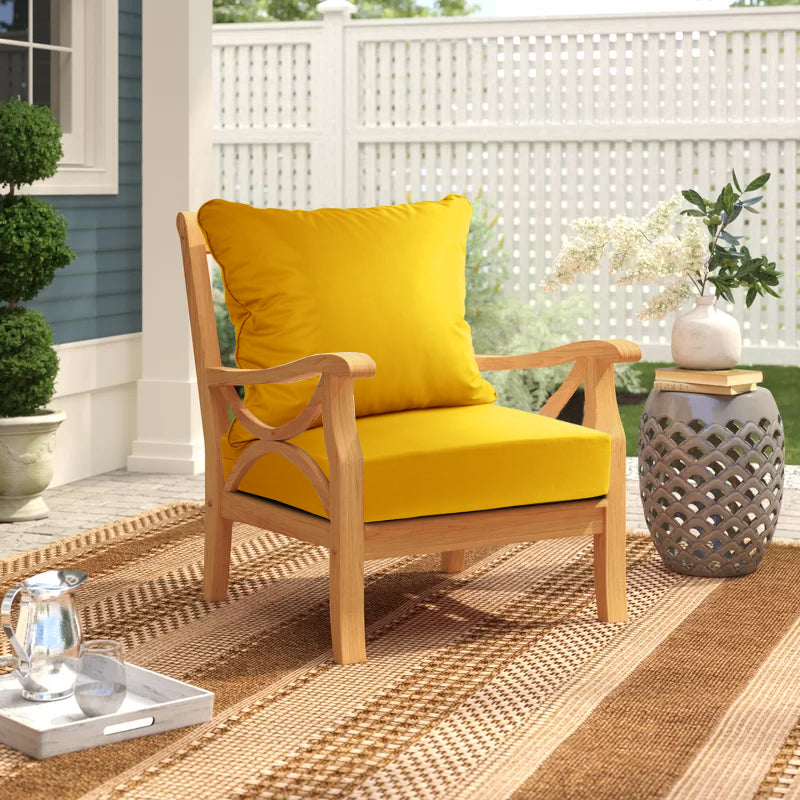
Your finished cushion ready to weather any storm
Maintenance and Care
One of the best parts about having removable covers is easy maintenance. For outdoor fabrics, you can usually just hose them down for light cleaning. For deeper cleaning, most outdoor fabrics are machine washable – just check the care label first.
Store your cushions during harsh weather if possible. Even the best outdoor fabrics benefit from protection during extreme conditions. If you're making custom bench cushions, consider making an extra set of covers so you always have a backup while one set is being cleaned.
Variations and Advanced Techniques
Once you've mastered the basic technique, there are tons of variations to explore. Contrasting piping can add visual interest, while double piping creates an even more luxurious look. You can also experiment with different zipper placements – some people prefer invisible zippers for a cleaner appearance.
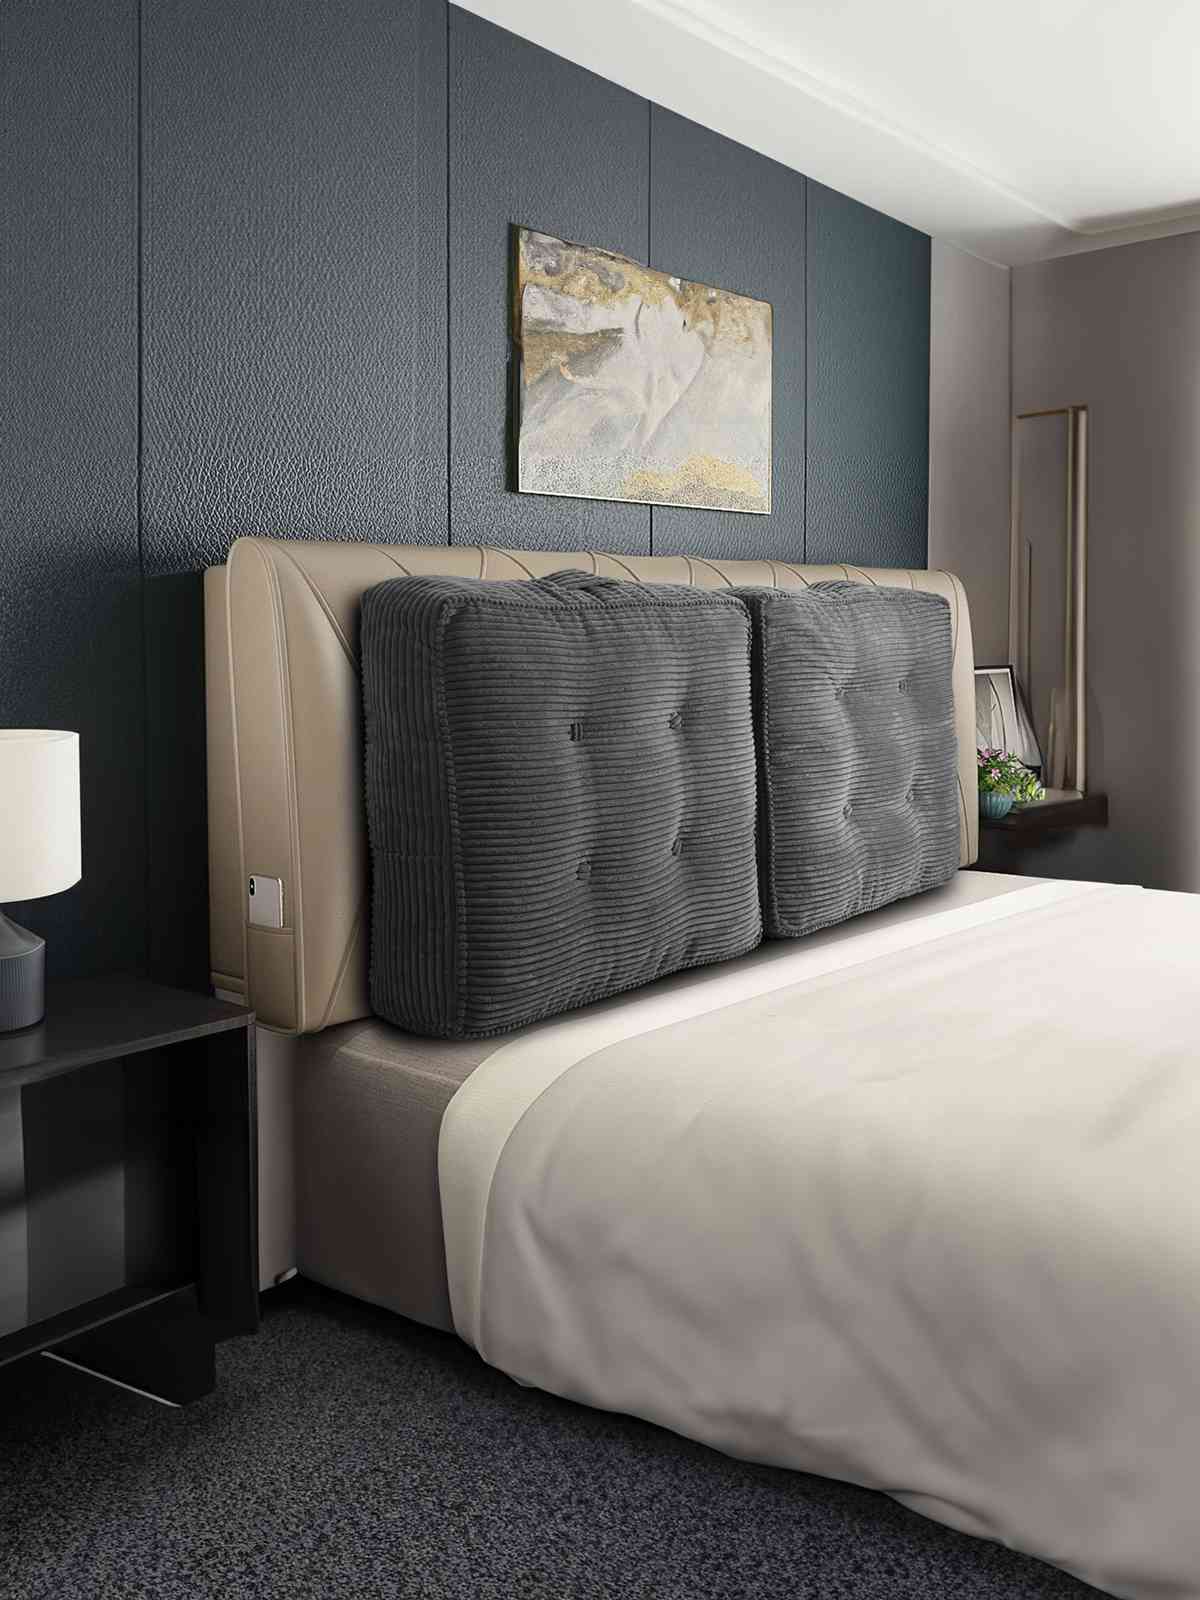
For square cushions, consider adding corner gussets for a more professional finish. And if you're feeling really ambitious, try your hand at button tufting – it's not as hard as it looks and adds that high-end upholstery feel.
When to DIY vs. When to Buy
Look, I love DIY projects, but let's be real – sometimes it makes more sense to buy professionally made cushions. If you need multiple cushions in matching fabrics, or if you're working with complex shapes, the time investment might not be worth it.
Plus, professional manufacturers have access to commercial-grade materials and equipment that can create more durable results. If you're furnishing a large outdoor space or need deep seat cushions with complex construction, it might be worth considering ready-made options.
Ready to Transform Your Outdoor Space?
Whether you're DIYing or looking for professional-quality cushions, we've got you covered. Our custom cushions are made with premium materials and expert craftsmanship.
Explore Custom CushionsFinal Thoughts
Sewing your own cushions with piping and zippers is incredibly rewarding. Sure, your first attempt might not look like it belongs in a magazine, but each project teaches you something new. The satisfaction of creating something beautiful and functional with your own hands is hard to beat.
Remember, even professional upholsterers started somewhere. Take your time, don't be afraid to make mistakes, and most importantly, enjoy the process. Your outdoor furniture (and your wallet) will thank you!
And hey, if you decide halfway through that you'd rather leave it to the professionals, that's totally fine too. Sometimes the best DIY lesson is knowing when to call in the experts. Either way, you'll have a deeper appreciation for the craft and end up with beautiful cushions that perfectly suit your space.


Leave a comment
All comments are moderated before being published.
This site is protected by hCaptcha and the hCaptcha Privacy Policy and Terms of Service apply.