
Sewing square corners on a box cushion can make or break the professional appearance of your finished product. Whether you're creating custom outdoor furniture cushions or refurbishing indoor seating, mastering this essential technique ensures your cushions look professionally made and maintain their shape over time.
Box cushions, with their three-dimensional structure and defined edges, require precise corner construction to achieve that crisp, tailored look. Unlike simple pillow-style cushions, box cushions feature separate top, bottom, and side panels that must be expertly joined to create perfect 90-degree angles at each corner. For a truly comprehensive guide to mastering all aspects of cushion creation, from these precise construction techniques to various cushion styles and materials, delve into our ultimate resource: The Complete DIY Cushion Making & Sewing Guide: From Basic Benches to Designer Pouches.
Essential Tools and Materials for Perfect Box Cushion Corners

Heavy-Duty Sewing Machine
A robust machine capable of handling multiple fabric layers and heavy-duty thread is essential for professional results.

Sharp Fabric Scissors
Quality scissors ensure clean cuts and prevent fabric fraying, which is crucial for neat corner construction.

Precision Measuring Tools
Accurate measurements are the foundation of perfectly squared corners that align properly.
Required Materials
- Outdoor fabric: Choose weather-resistant materials like Sunbrella or marine-grade vinyl for outdoor bench cushions
- Heavy-duty thread: Polyester or nylon thread that matches your fabric
- Zipper: For removable covers, typically 20-22 inches for standard cushions
- Piping cord: Optional but recommended for professional finishing
- Foam insert: High-density foam cut to your cushion dimensions
Step-by-Step Method for Sewing Square Corners
Measure and Cut Your Fabric Pieces
Begin by measuring your cushion foam carefully. For a standard box cushion, you'll need:
- Top panel: Foam length + 1" × Foam width + 1"
- Bottom panel: Same as top panel
- Side panels: Foam thickness + 1" × Foam length + 1" (cut 2)
- End panels: Foam thickness + 1" × Foam width + 1" (cut 2)
The extra inch allows for ½" seam allowances on all sides. Precision at this stage prevents corner alignment issues later.
Create the Boxing Strip Assembly
The boxing strip forms the sides of your cushion. Sew the four side pieces together end-to-end, creating one continuous strip. This is where corner precision begins – ensure each seam is exactly ½" and backstitch at the beginning and end of each seam for durability.
Mark Corner Points Precisely
On both the top panel and boxing strip, mark the corner points with fabric chalk or disappearing ink. These marks should be exactly ½" from each edge where the corners will meet. Accurate marking is crucial for achieving perfectly square corners.
For the boxing strip, measure and mark the center of each side panel – these marks will align with the center of each edge on the top and bottom panels.
Pin and Sew the First Corner
Place the top panel face-down on your work surface. Position the boxing strip along one edge, with right sides together. Start pinning at one corner mark, ensuring the boxing strip's corner seam aligns perfectly with the top panel's corner mark.
The key to square corners is creating a small notch or clip at the corner of the boxing strip. Cut a small triangle (about ¼") at the corner seam allowance – this allows the fabric to turn the corner without bunching.
Master the Corner Sewing Technique
When you reach each corner while sewing, stop with the needle down exactly at the corner mark. Lift the presser foot, pivot the fabric 90 degrees, lower the presser foot, and continue sewing. This creates the sharp 90-degree angle essential for professional-looking custom bench cushions.
The Pivot Technique
- Sew until you reach the corner mark
- Stop with needle in the down position
- Lift presser foot
- Pivot fabric 90 degrees
- Lower presser foot and continue
Attach the Bottom Panel
Once the top panel is completely sewn to the boxing strip, attach the bottom panel using the same technique. Remember to leave an opening for inserting the foam – typically along one edge of the bottom panel. This opening should be large enough to comfortably insert your foam but not so large that it weakens the cushion structure.
Ready to Create Professional-Quality Cushions?
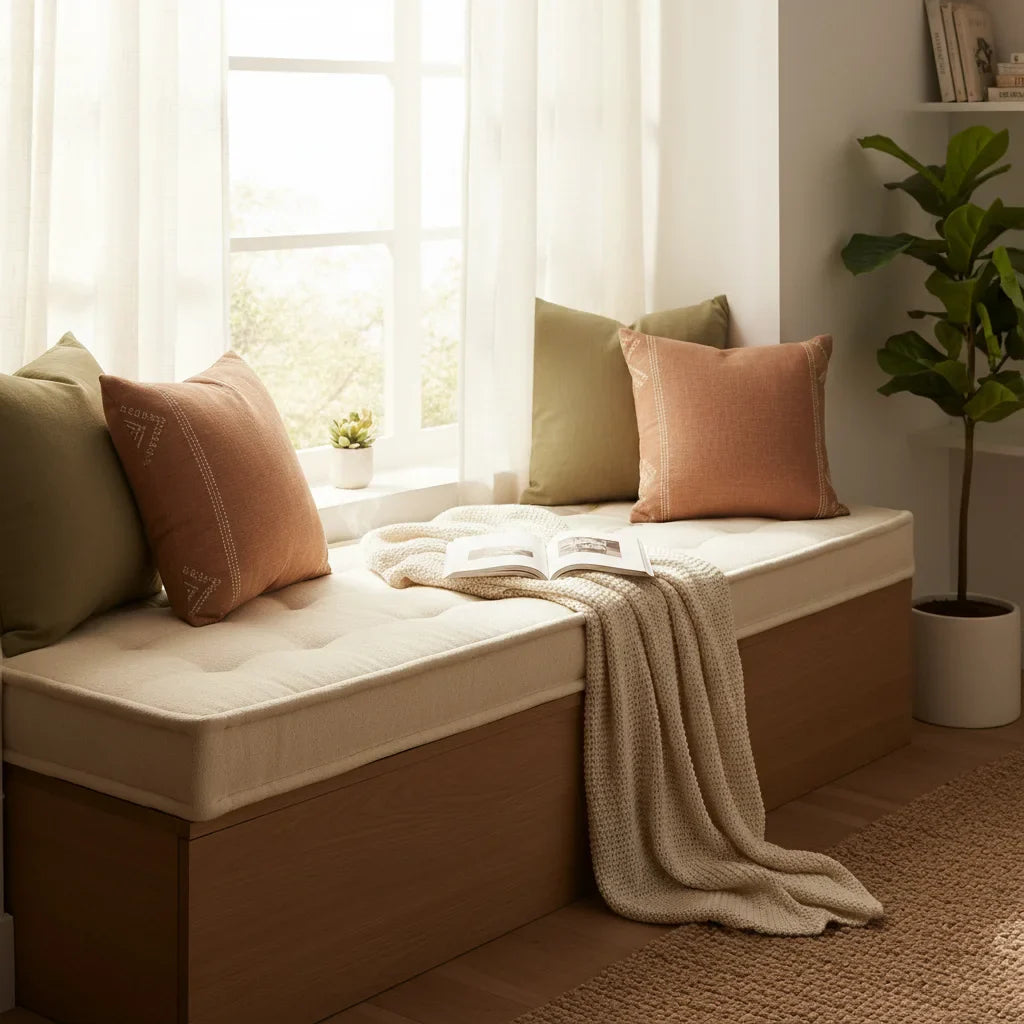
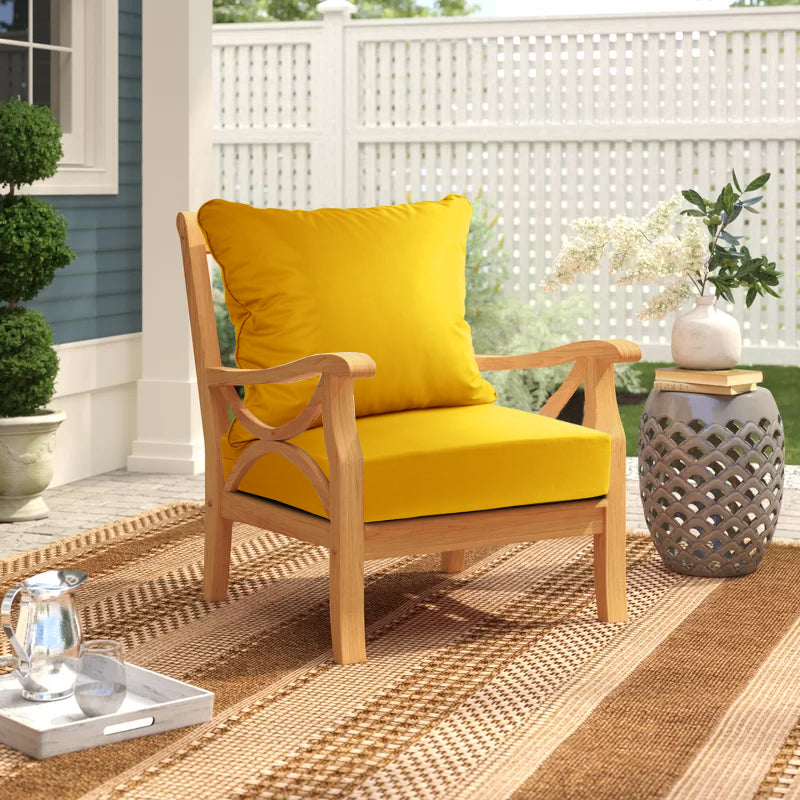
While making your own cushions can be rewarding, sometimes you need the perfect solution right away. Our expertly crafted outdoor bench cushions feature precisely sewn square corners and weather-resistant construction.
Shop Premium Outdoor CushionsAdvanced Techniques for Professional Results
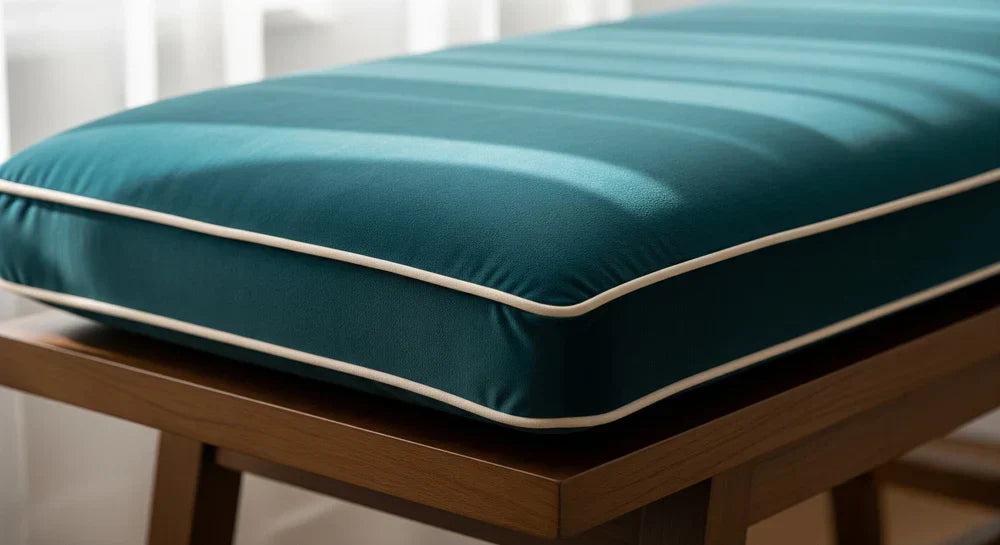
Adding Piping for Enhanced Definition

Piping (also called welting) adds a professional touch and helps define the cushion's edges. When sewing piped corners, the technique requires extra precision because you're working with three layers: the main fabric, piping, and the joining piece.
Install piping before attaching the boxing strip. At corners, clip the piping seam allowance to help it curve smoothly around the corner without bunching. This technique is especially important for outdoor chair cushions where clean lines enhance the overall aesthetic.
Working with Different Fabric Types

Different fabrics require adjustments to your corner-sewing technique:
- Canvas and Duck Cloth: These heavy fabrics may require larger corner clips and slower sewing speeds
- Vinyl and Marine Fabrics: Use a Teflon presser foot to prevent sticking, and avoid pins which create permanent holes
- Mesh Fabrics: Require special handling to prevent stretching at corners – use tissue paper underneath for stability
Creating Waterproof Seams

For outdoor applications, waterproof seams are essential. After sewing your corners, apply seam sealant along all seam lines, paying special attention to corner joints where water might penetrate. This extra step ensures your custom outdoor cushions withstand the elements.
Professional Alternatives to DIY
While crafting your own cushions can be satisfying, our professionally made cushions offer guaranteed quality and durability.

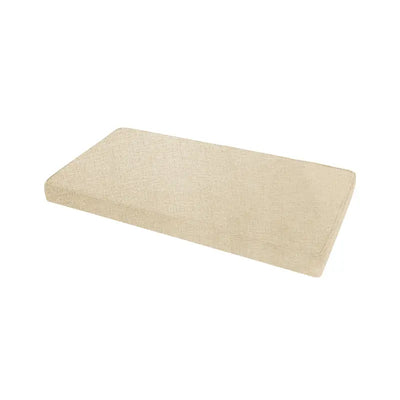
Outdoor Bench Cushion
Expertly sewn square corners, weather-resistant fabric, and superior comfort for your outdoor space.
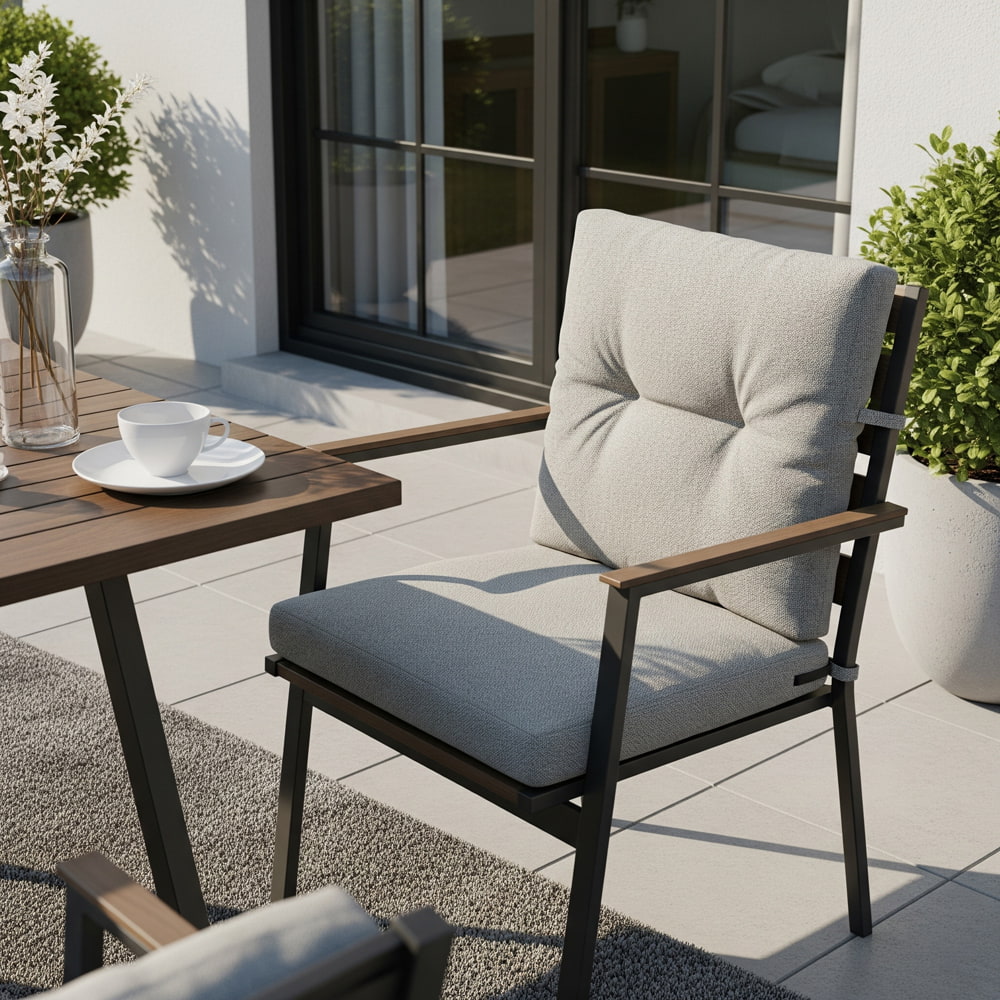
Custom Bench Cushion
Made-to-order cushions with precise measurements and professional corner construction for any bench size.

Deep Seat Cushion
Extra-thick cushions with reinforced square corners for maximum comfort and longevity.
Troubleshooting Common Corner Problems
Problem: Corners Appear Rounded Instead of Square
Solution: This usually occurs when the corner clips aren't deep enough or when the pivot point isn't precise. Make deeper clips (up to ½" for heavy fabrics) and ensure you stop exactly at your marked corner point before pivoting.
Problem: Fabric Bunching at Corners
Solution: Bunching indicates insufficient corner clips or too much seam allowance. Grade your seam allowances by trimming them to different lengths – trim the boxing strip seam allowance shorter than the top/bottom panel allowances.
Problem: Corners Don't Align Properly
Solution: Misalignment stems from inaccurate measuring or marking. Double-check all measurements and use a quilting ruler for precise corner marks. Consider creating a cardboard template for consistent corner placement.
Maintaining Your Perfectly Sewn Corners

Once you've achieved perfect square corners, proper maintenance ensures they stay sharp and professional-looking:
Regular Cleaning
Clean corners gently with appropriate fabric cleaner to prevent dirt buildup that can cause premature wear.
Proper Storage
Store cushions flat or with corners supported to maintain their shape during off-seasons.
Rotation Schedule
Rotate cushions regularly to ensure even wear and maintain corner integrity over time.
Expert Insights on Professional Cushion Construction

After years of crafting premium bench cushions, we've learned that the difference between amateur and professional results often comes down to corner construction. The techniques outlined above represent industry best practices developed through thousands of hours of hands-on experience.
Professional upholsterers understand that corners bear the most stress in a cushion's construction. When someone sits on a bench cushion, the corners must withstand twisting forces that can cause lesser-quality construction to fail. That's why we emphasize proper seam allowances, precise pivoting, and appropriate corner clips – these aren't just aesthetic choices but structural necessities.
Industry Quality Standards
Commercial-grade cushions undergo rigorous testing, including:
- Corner stress tests to ensure seam integrity under load
- Weather resistance testing for outdoor applications
- Colorfastness testing to prevent fading
- Dimensional stability testing after washing
Perfect Your Cushion-Making Skills
Mastering square corners on box cushions takes practice, but the results are worth the effort. Whether you're creating a single replacement cushion or outfitting an entire outdoor living space, these professional techniques ensure your finished products look and perform like premium chair cushions from leading manufacturers.
Remember that while DIY cushion making can be rewarding, it requires significant time investment and specialized equipment. For those who need professional results without the learning curve, our expertly crafted cushions offer the perfect solution.
Skip the Learning Curve
Get professional-quality cushions with perfectly sewn square corners, delivered to your door.
Explore Custom Options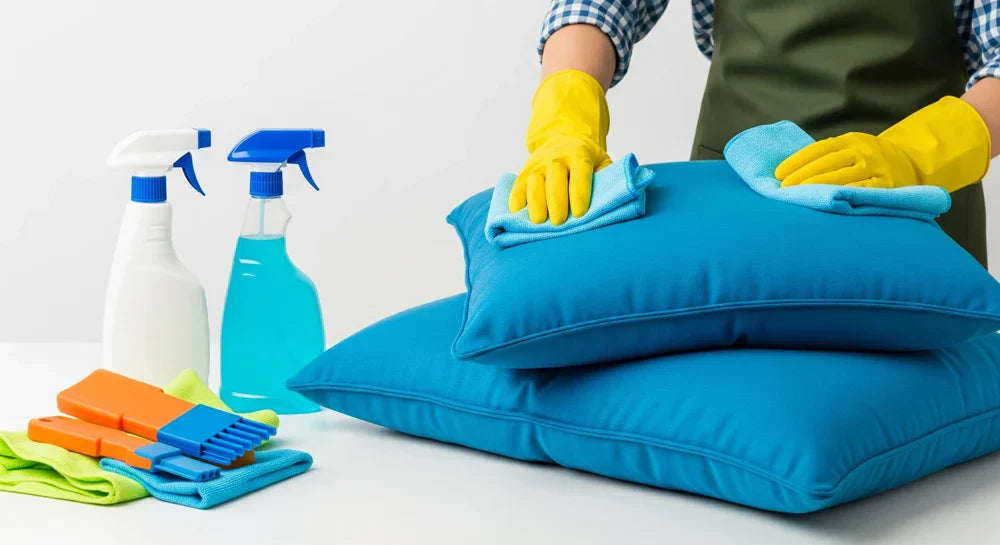
1 comment
Jeanie
I am making a bench cushion that is 113” long. Should I make 2 or 3 cushions instead of one long one? I have heard the cushion should exceed the edge of the bench for ideal comfort. If this is accurate, how much extra should I plan for?
Leave a comment
All comments are moderated before being published.
This site is protected by hCaptcha and the hCaptcha Privacy Policy and Terms of Service apply.