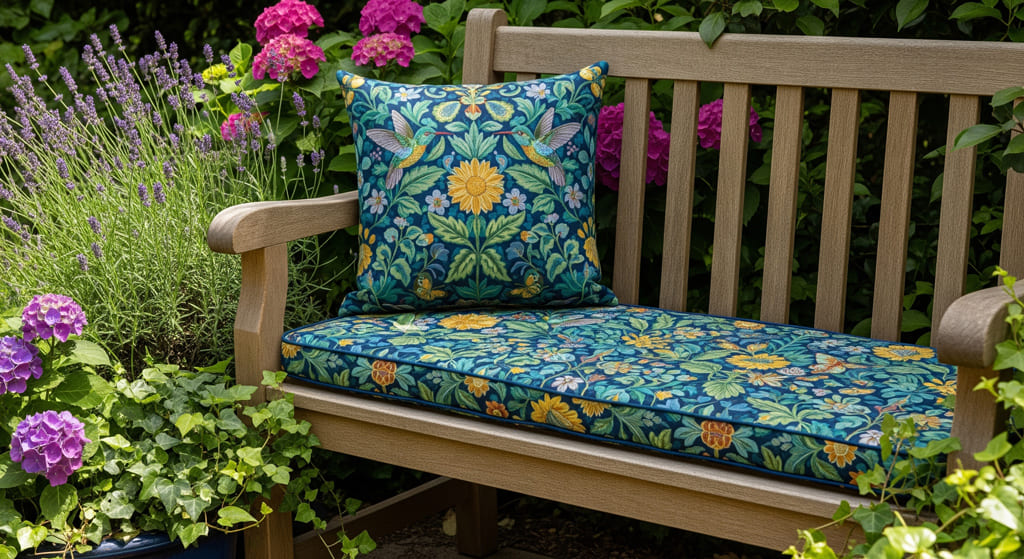
Who says you need plywood to create amazing bench cushions? I've been making custom seating solutions for years, and honestly, some of my favorite projects skip the wooden base entirely. There's something liberating about working with just foam, fabric, and your creativity!
Creating bench cushions without plywood isn't just possible – it's often preferable. You'll save money, reduce weight, and gain flexibility in how your cushion moves and feels. Plus, if you're like me and don't have a workshop full of power tools, this approach is way more accessible.
Why Skip the Plywood Anyway
Traditional bench cushions often use a plywood base for structure, but this approach has several drawbacks. First off, weight becomes a real issue – plywood adds significant bulk that makes cushions harder to move around. I learned this the hard way when I made my first set of patio cushions and could barely lift them!

Beyond weight, plywood creates rigidity that can feel uncomfortable over time. Your body naturally wants some give when sitting, and a rigid base works against this. Outdoor bench cushions especially benefit from flexibility since they need to handle weather changes and different seating positions.
There's also the practical matter of tools and skills. Not everyone has access to a table saw or feels comfortable cutting plywood to exact dimensions. The foam-based approach I'm sharing here requires minimal tools – mainly a good pair of scissors and basic sewing supplies.
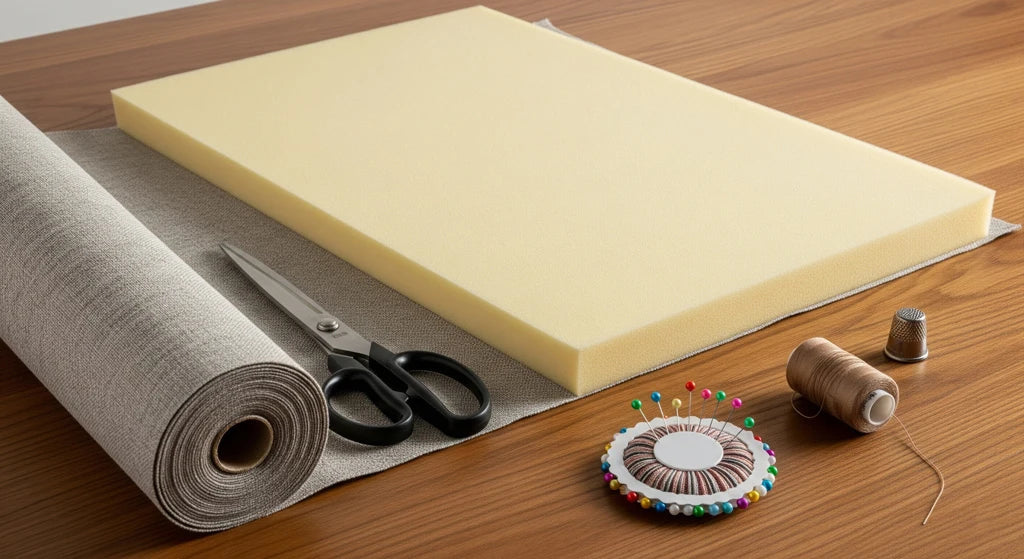
Essential Materials for Your Plywood-Free Project
The beauty of this method lies in its simplicity. Here's what you'll actually need:
Foam Selection
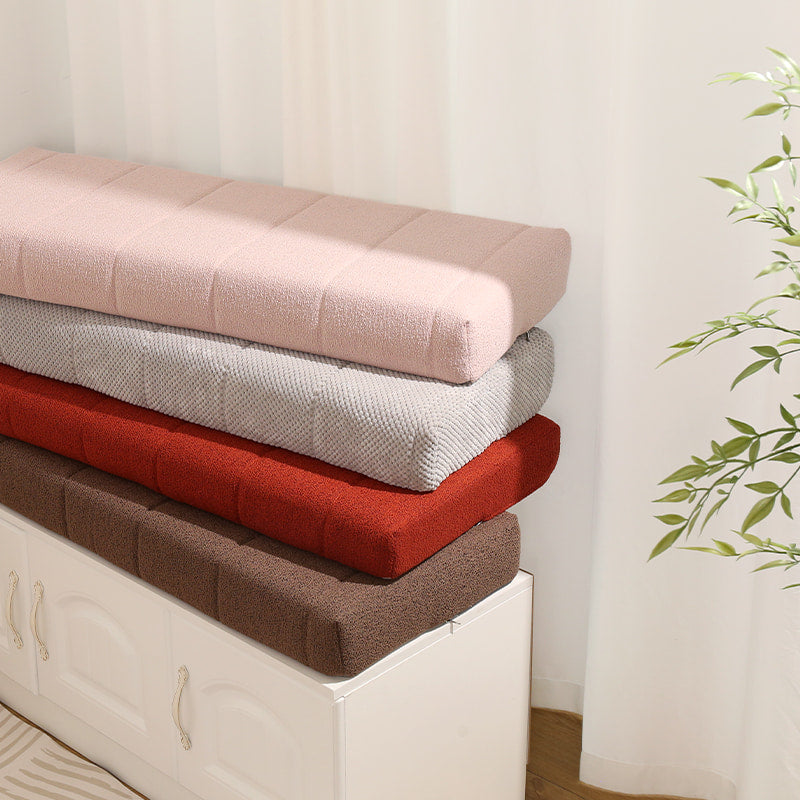
High-density foam forms the core of your cushion. I typically recommend 4-inch thick foam with a density of at least 35 ILD (Indentation Load Deflection). This provides excellent support without being too firm. You can find this at most foam suppliers or online retailers.
For outdoor applications, consider closed-cell foam or marine-grade options. These resist moisture better than standard polyurethane foam. The investment is worth it if your bench lives outside year-round.
Batting and Wrapping
Polyester batting creates that professional, rounded edge look. I use about 1-inch thick batting, wrapped around the foam core. This layer also prevents the foam from wearing against the fabric cover directly.

Cotton batting works too, but polyester holds up better outdoors and washes more easily. Don't skip this step – the batting makes a huge difference in the final appearance and comfort.
Fabric Considerations
Your fabric choice depends entirely on where the cushion will live. For indoor benches, almost any upholstery-weight fabric works well. I particularly love working with canvas, duck cloth, or even repurposed materials like old curtains.
Outdoor fabrics require more thought. Solution-dyed acrylics like Sunbrella resist fading and moisture, but they cost more. If budget's tight, outdoor canvas from the fabric store works fine – just expect to replace it sooner.
The Step-by-Step Construction Process
Measuring and Planning
Start by measuring your bench carefully. I always add about 2 inches to both length and width to account for the batting and seam allowances. Don't trust your first measurement – I've learned to measure twice, cut once!
Consider thickness too. A 4-inch foam core becomes about 5 inches thick after batting, which affects how the cushion sits on your bench. Some benches look better with thicker cushions, others with thinner profiles.

Cutting Your Foam
This is where things get interesting. You can cut foam with a sharp kitchen knife, but an electric carving knife works much better. The key is making smooth, confident cuts rather than sawing back and forth.
For curves or complex shapes, create a paper template first. I trace this onto the foam with a marker, then cut slightly outside the line. You can always trim more, but you can't add foam back!
Adding the Batting Layer
Lay your batting flat and place the foam in the center. Pull the batting around the foam, creating hospital corners at each end. The batting should overlap slightly on the bottom – about 2 inches is perfect.
Secure everything with spray adhesive designed for foam, or use large basting stitches if you prefer a temporary hold. This prevents shifting while you work on the cover.

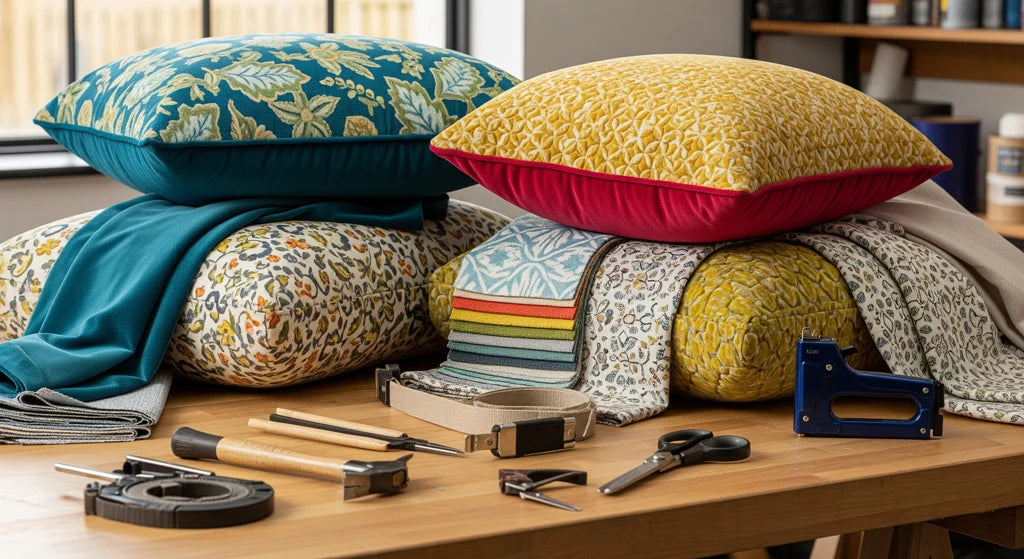
Creating Professional-Looking Covers
Pattern Making
Even without plywood, you still need a well-fitted cover. I create patterns using brown paper or old sheets. Measure the wrapped foam bundle and add seam allowances – typically 5/8 inch all around.
For a basic rectangular cushion, you'll need a top panel, bottom panel, and boxing strip (the sides). The boxing strip should be the perimeter measurement plus seam allowances by the thickness plus seam allowances.
Sewing Techniques
Start by attaching the boxing strip to the top panel. I use pins liberally and sew slowly around corners. The key to professional results is taking your time with these connections.
Leave one end of the boxing strip open for inserting the foam. A zipper looks nice, but overlap closure with Velcro works fine too and it's much easier to install.

Finishing Touches
Before closing the cover completely, test the fit with your foam bundle. It should be snug but not overstuffed. Adjust the cover if needed – this is much easier now than after everything's sewn shut.
Consider adding ties or straps to secure the cushion to your bench. This prevents sliding and gives a more finished appearance. I usually add these at the back corners where they're less visible.
Specialized Techniques for Different Bench Types
Curved and Angled Benches
Not all benches are simple rectangles. For curved benches, you'll need to create a pattern that follows the curve. I use flexible measuring tape and lots of patience for this.
The foam can be shaped by making relief cuts on the underside – shallow cuts that allow the foam to bend without breaking. Practice this technique on scraps first.
Storage Bench Considerations
Storage benches require special attention since the cushion needs to move with the lid. A completely flexible cushion works better here than any rigid design. Consider making the cushion in two pieces if your bench has a center hinge.

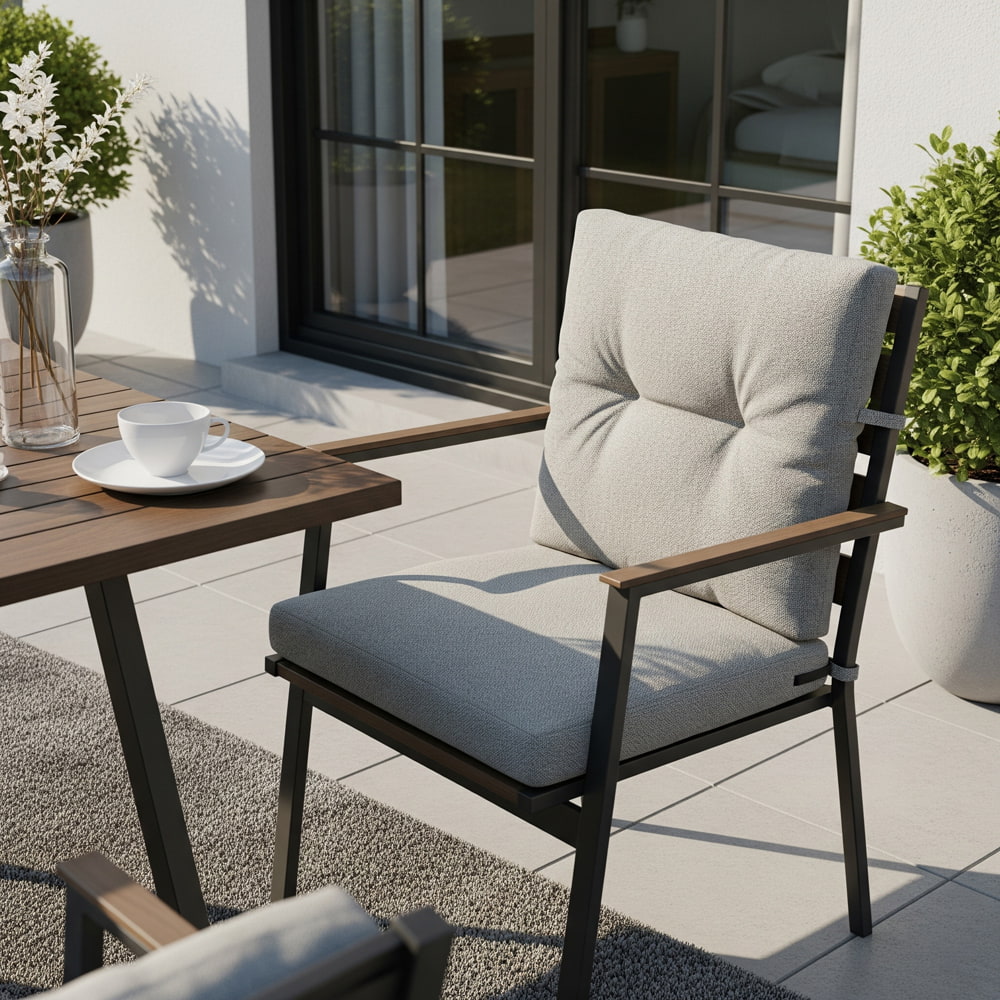
Weather-Proofing for Outdoor Use
If your cushion will live outdoors, moisture management becomes crucial. Even with outdoor fabrics, water can find its way inside through seams or worn spots.
Drainage is key. I add small grommets to the bottom corners of outdoor cushions. This allows any moisture that gets inside to drain out rather than pooling and creating mold.
Consider the foam type carefully for outdoor use. Open-cell foam absorbs water like a sponge and takes forever to dry. Closed-cell or marine foam costs more but handles moisture much better.
For maximum weather protection, some people add a waterproof liner inside the cover. A simple plastic bag works, but proper waterproof fabric looks more professional.
Seasonal Storage Tips
Even weather-resistant cushions benefit from seasonal care. I store my outdoor chair cushions in a dry location during harsh weather months.
Clean cushions thoroughly before storing. Any dirt or debris left on the fabric can attract pests or cause permanent stains during storage.
Advanced Techniques and Variations
Multi-Density Construction
For ultimate comfort, consider layering different foam densities. A firmer base layer provides support while a softer top layer adds comfort. This mimics high-end commercial cushions.
The technique involves cutting each layer separately, then assembling them with spray adhesive before adding batting. It's more work but creates a noticeably better seating experience.

Tufting Without Buttons
Traditional tufting uses buttons pulled through the cushion, but this doesn't work well without a rigid backing. Instead, try surface tufting – decorative stitching that creates visual interest without going all the way through.
Mark your tufting points carefully and use strong thread. The stitching creates gentle dimples that add character without compromising the cushion's structure.
Common Mistakes and How to Avoid Them
After years of making cushions, I've seen (and made) plenty of mistakes. Here are the big ones to watch out for:
Undersized covers are probably the most common error. It's tempting to make covers tight, thinking they'll look better. In reality, slightly loose covers look more professional and are easier to put on.
Using the wrong thread weight causes problems too. Heavy fabrics need heavy thread, but beginners often use regular thread for everything. It breaks under stress and creates weak seams.
Skipping the batting step always shows in the final product. The cushion looks homemade rather than professional, and the foam wears faster against the fabric.

Cost Analysis and Budget Planning
Let's talk numbers, because budget usually drives these decisions. A typical 48-inch bench cushion costs about $40-60 to make yourself, depending on material choices.
High-quality foam runs about $20-30 for a standard bench size. Fabric costs vary wildly – basic canvas might be $15 per yard while premium outdoor fabric can hit $40 per yard. You'll need roughly 2-3 yards for most bench cushions.
Compare this to buying ready-made: similar quality cushions often cost $100-200, so the savings add up quickly. Plus you get exactly the size, fabric, and thickness you want.
Maintenance and Longevity
Proper care extends your cushion's life significantly. Regular vacuuming removes debris that can work into the fabric and cause wear. For deeper cleaning, most covers can go in the washing machine on gentle cycle.
Rotate cushions periodically if your bench has multiple sections. This ensures even wear patterns. Sun fading affects even high-quality fabrics over time, so rotation helps maintain consistent color.
Watch for early signs of wear – small tears in seams or fabric thinning. Addressing these issues early prevents major repairs later.
When to Replace vs. Repair
Foam typically lasts 5-8 years in normal use, longer in light-duty applications. When foam starts breaking down, you'll notice permanent indentations or a soggy feel.
Covers often outlast foam if you chose quality fabric initially. Consider making new covers for good foam rather than replacing the entire cushion.
Creative Applications Beyond Basic Benches
Once you master basic bench cushion construction, the techniques apply to many other projects. I've used these methods for window seat cushions, corner floor cushions, and even custom pet beds.
The flexibility of foam-only construction makes it perfect for unusual shapes. Built-in seating with curves or angles becomes much more manageable when you're not wrestling with plywood.

Tools and Workspace Setup
You don't need a dedicated workshop for this project, but having the right tools makes everything easier. A good pair of fabric scissors is essential – cheap scissors create ragged edges that show in the final product.
Work surface matters more than you might think. I use a large cutting mat on my dining table for most projects. The mat protects the table and provides measurement guidelines.
Good lighting prevents mistakes and reduces eye strain. I learned this after spending hours sewing with inadequate light and ending up with crooked seams I had to redo.
Troubleshooting Common Issues
Sometimes despite best efforts, things don't go according to plan. Lumpy cushions usually result from uneven batting distribution. Take everything apart and rewrap the foam more carefully – it's worth the extra time.
Covers that won't fit properly often mean measurement errors early in the process. Double-check your math before cutting expensive fabric. I keep a "mistake fabric" stash for testing fits before cutting the good stuff.
Sagging cushions might indicate foam that's too soft for the application. This happens more often with budget foam. Sometimes adding a firmer layer underneath solves the problem without starting over completely.
Ready to Skip the DIY and Get Professional Results?
While making your own cushions can be rewarding, sometimes you need perfect results without the time investment. At Rulaer, we specialize in custom bench cushions made to your exact specifications.
Our experienced team uses premium materials and professional techniques to create cushions that last for years. Whether you need standard bench cushions or completely custom shapes, we've got the expertise to deliver exactly what you envision.
Skip the measuring, cutting, and sewing – let us handle the details while you enjoy perfect seating comfort. Contact us today to discuss your project!
Leave a comment
All comments are moderated before being published.
This site is protected by hCaptcha and the hCaptcha Privacy Policy and Terms of Service apply.