
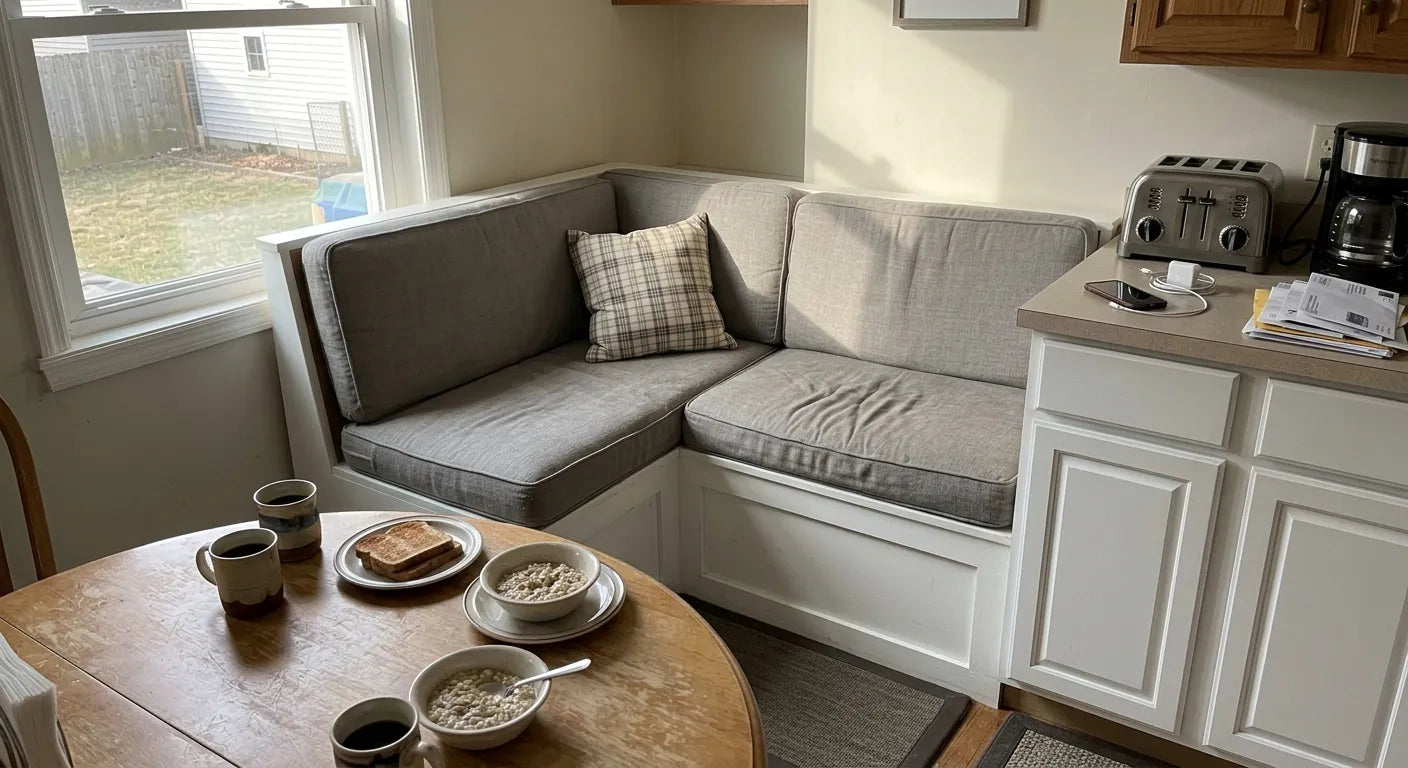
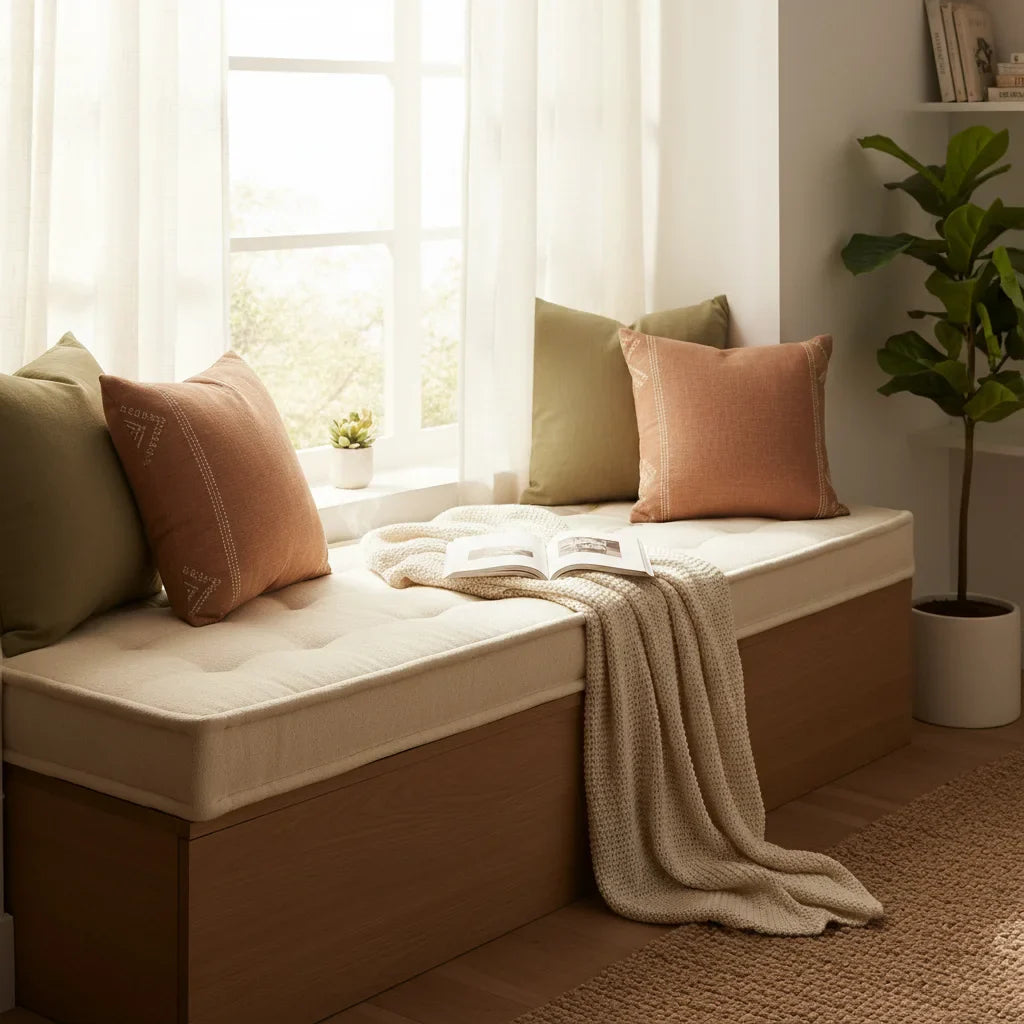
A banquette cushion should follow the seat you actually built—not the tidy rectangle you hoped it would be. Here is how to measure straight runs, L-shaped breakfast nooks, U-shaped seating and corners that are definitely not 90 degrees.

Quick Answer: What Measurements Do You Need?
For a simple rectangular banquette seat cushion, record the back width, front width, left depth and right depth. Do not assume the two widths or two depths are identical.
For an L-shaped, U-shaped, trapezoid or custom corner bench cushion, also record each individual section, all exposed edges, diagonals, corner angles and the exact position where separate cushions will meet.
Measure to the nearest 1/8 inch, repeat every measurement, and photograph the tape measure in place. For irregular seating, make a paper template before ordering.
Before Holiday Hosting Season, Identify Your Banquette Shape
The first measurement mistake often happens before the tape measure even comes out: the homeowner labels the seat a “rectangle.” In the factory, we regularly receive measurements for platforms that look rectangular from across the kitchen but taper by half an inch, bow along the wall or open into an angle at one end.
Begin by making a quick top-view sketch and choosing the closest shape below.
| Shape | Typical Location | Best Measuring Approach |
|---|---|---|
| Straight | One-wall kitchen bench or dining bench | Measure both widths, both depths and both diagonals. |
| L-shaped | Corner breakfast nook | Measure each leg as its own section, then document the joint. |
| U-shaped | Three-sided dining nook | Divide it into three or more cushions and measure clockwise. |
| Trapezoid | Angled wall, bay window or tapered end | Record front and back separately, plus both side depths. |
| Irregular | Curved wall, column or non-square alcove | Create a full-size template and submit photos. |

How to Measure Width, Depth, Wall Edges and Front Edges
Remove loose pillows, existing cushions and anything that prevents the tape from lying directly on the platform. Use a rigid metal tape measure rather than a soft sewing tape, which can sag or curve.
1. Measure the back width
Measure the edge closest to the wall. Take the measurement at the actual cushion level—not several inches above it, where the wall may be straighter. If there is baseboard trim, panel molding or a projecting window casing, note it on your sketch.
2. Measure the front width
Measure the room-facing edge independently. A difference of even 1/4 inch between the front and back can create a visible curl, compressed corner or unwanted gap in a closely fitted kitchen banquette cushion.
3. Measure the left and right depth
Run the tape from the back edge to the front edge on both sides. Repeat this measurement near the center. If the three depths differ, do not average them without telling the cushion maker. The variation may indicate a tapered platform or a wall that bows.
4. Check both diagonals
Measure from the back-left corner to the front-right corner, then from the back-right corner to the front-left. Matching diagonals usually indicate a square or symmetrical platform. Unequal diagonals are a warning that something is angled, even when the individual widths seem close.

How to Measure an L-Shaped Banquette Cushion
Treat the two legs of an L-shaped banquette as separate seats, even when you are considering a one-piece cushion. Label them Section A and Section B and keep the labels consistent in your sketch, photos and order notes.
Measure A, B, C and D, plus the widths of both exposed front edges. Mark whether one section stops at the inside corner or continues beneath the adjoining cushion.
Next, decide which section has priority at the inside corner. There are two common layouts:
- Long section continues through: The long cushion reaches the wall, while the shorter cushion ends against its side.
- Equal corner split: Both pieces meet along a planned diagonal or centered joint.
The first arrangement is usually easier to measure, rotate and replace. A diagonal split can look balanced, but a tiny angle error becomes very obvious once the two piped edges meet.
For a U-shaped banquette, use the same method and label each run clockwise: A, B and C. Also mark the left and right corner orientation. “Left” can mean different things depending on whether you are standing in front of the nook or sitting inside it, so a labeled photo is much safer.
One Large Cushion or Multiple Sections?
A one-piece L-shaped banquette cushion may look seamless in a drawing, but it is not always the most practical choice.
Choose One Piece When
The banquette is compact, the route into the room is open, the platform is accurately templated and you strongly prefer an uninterrupted appearance.
Choose Sections When
The nook is long, U-shaped, difficult to access or used daily. Sections are easier to install, clean, rotate and adjust around imperfect corners.
Long one-piece cushions can also be harder to carry through doorways and may flex during installation. For most family breakfast nooks, two cushions for an L and three cushions for a U are the sensible, lower-risk layout.

How to Handle Angled Walls, Trapezoids and Rounded Corners
Do not force an irregular seat into a rectangle by subtracting a random half inch. That usually trades one problem for several smaller gaps.
A trapezoid requires four edge measurements: back width, front width, left depth and right depth. Add both diagonals so the direction of the taper can be verified.
For a wall that waves, a rounded front corner or an angle that cannot be measured confidently, make a full-size template from kraft paper, taped printer paper or lightweight cardboard:
- Lay the paper flat on the seating platform.
- Tape sections together so nothing shifts.
- Press the paper into every wall and corner.
- Trace the exact perimeter.
- Mark “wall,” “front,” “top” and the room orientation.
- Cut out the template and place it back on the bench to verify the fit.
Take one wide photo of the complete nook and several close photos of unusual corners. If your seat resembles a bay window or tapered alcove, Rulaer’s custom bay window and trapezoid cushion format may be a better starting point than a standard rectangular product.
Choosing Banquette Cushion Thickness
Three and four inches are popular choices for everyday dining banquettes, but thickness should never be chosen in isolation. The height of the wooden platform, table clearance, sitter weight and foam construction all affect the result.
| Thickness | Best For | Watch For |
|---|---|---|
| 2 inches | High platforms, occasional seating, minimal look | Can feel firm or bottom out with softer foam |
| 3 inches | Most kitchen and breakfast nook seating | Check finished height against the table apron |
| 4 inches | Deeper comfort and lower bench platforms | May raise knees or reduce legroom at the table |
Calculate the finished seat height
Use this simple formula:
Platform height + uncompressed cushion thickness = finished seat height
A 15-inch-high platform with a 3-inch cushion creates an 18-inch finished seat height. Then measure from the top of the cushion to the tabletop and to any table apron underneath. Roughly 10 to 12 inches of space between the cushion top and tabletop is a useful starting point, although thick aprons and pedestal bases can change what feels comfortable.
Before placing a custom order, stack folded towels or a temporary foam pad on the bench at the proposed thickness. Sit there for an entire meal, not just ten seconds. Check your knee position, the table edge and whether children can climb in easily.

High-Density Foam, Memory Foam or a Layered Fill?
“High density” and “firm” are not the same thing. Density describes how much material is in the foam and often relates to durability. Firmness describes how the foam feels when compressed.
High-density polyurethane foam
This is usually the most practical core for a frequently used breakfast nook cushion. It offers stable support, cleaner edges and better recovery than loose fiber by itself. Rulaer’s custom bench cushion line is designed around supportive high-density foam and customizable sizing.
Memory foam
Memory foam contours slowly and can feel comfortable at first, but a full memory-foam core may feel too sinking for dining. It can also make sliding in and out of a tight corner more difficult. A thin comfort layer over a supportive base is generally more suitable than an all-memory-foam banquette cushion.
Layered or wrapped foam
A supportive core wrapped with polyester batting softens the top and rounds the edges slightly. This construction works well when you want a more upholstered appearance without losing the stability needed at a dining table.
A Spring Kitchen Refresh Starts With Cleanable Fabric
Kitchen upholstery deals with coffee, tomato sauce, denim transfer, pet hair and the occasional child who treats the bench as a climbing wall. Color matters, but cleanability should be decided first.
For a busy kitchen, look for:
- A tightly woven upholstery fabric that resists snagging
- Stain-resistant or performance construction
- A removable zippered cover when the cushion design permits it
- Color and texture that disguise small crumbs between cleanings
- Care instructions you are genuinely willing to follow
For a sunny breakfast nook, also ask about colorfastness. Direct morning or afternoon sun can affect indoor textiles over time, especially deep blues, reds and highly saturated prints.

Zippers, Piping, Non-Slip Bottoms and Ties
Small construction choices can be more important than they look in product photos.
Zipper location
Place the zipper on a wall-facing or less visible edge, but make sure you can still reach it. On an L-shaped layout, a zipper trapped inside the corner may be almost impossible to use after installation.
Piping
Piping creates a tailored outline and visually defines separate sections. It also makes uneven joints more noticeable, so corner measurements need to be especially accurate.
Non-slip bottom
A non-slip surface is useful on smooth painted wood, stone and laminate platforms. It keeps the cushion from creeping forward without adding visible hardware.
Ties or hook-and-loop fastening
Ties work only when the bench has a rail, spindle or anchor point in the correct place. For a fully enclosed built-in platform, a non-slip bottom or concealed hook-and-loop system may be cleaner.
The broader Rulaer custom cushion collection provides options for different shapes and seating applications, while custom cushion covers may suit customers who already have a usable foam insert.
Final Measurement Checklist Before Ordering
□ I measured every section to the nearest 1/8 inch.
□ I measured the front and back edges separately.
□ I measured the left and right depths separately.
□ I checked both diagonals.
□ I labeled all L-shaped or U-shaped sections.
□ I marked which cushion continues through each corner.
□ I noted walls, trim, columns, hinges and projecting hardware.
□ I calculated the platform height plus cushion thickness.
□ I checked table and apron clearance.
□ I confirmed zipper and fastening locations.
□ I made a full-size template for any irregular shape.
□ I photographed the complete nook and every unusual corner.
Frequently Asked Questions
Should I subtract space so the cushion is easier to install?
Do not automatically subtract an inch. A small intentional allowance may be appropriate between rigid walls, but the correct amount depends on fabric, piping, foam and the number of enclosed sides. Submit the actual platform measurements first.
Can an L-shaped banquette cushion be made as one piece?
Yes, but one-piece construction is best for compact, accurately templated seating with an easy installation path. Multiple sections are generally more practical for long or frequently used breakfast nooks.
What if my wall is not straight?
Measure the depth in several locations and create a paper template. Never assume the cushion will simply compress into a bowed wall without changing its front alignment.
Is three-inch or four-inch foam better?
Three inches suits many kitchen banquettes. Four inches offers more cushioning but raises the finished seat height. The platform and table dimensions should make the final decision.
Do I need a removable cover?
A removable cover is helpful in kitchens, especially around children and pets. Check the care instructions before machine washing; removable does not always mean machine washable.
Choose the Right Starting Point for Your Nook
Straight or Sectioned Banquettes
Custom Bench Cushions
A practical base for rectangular breakfast nooks, built-in benches and individual L-shaped sections.
Explore bench cushions →Angled or Tapered Seating
Bay Window & Trapezoid Cushions
Designed for different front and back widths, angled sides and non-rectangular platforms.
Explore trapezoid cushions →Unusual Layouts
Custom Cushions
Use the broader collection for unusual corners, multiple sections and seating that needs more individual planning.
View custom options →
Measure the Real Seat. We’ll Work From There.
A few careful measurements now can prevent years of shifting cushions and awkward corner gaps. Sketch the nook, download the worksheet and send clear photos whenever an angle does not make sense on paper.
Start Your Custom Banquette Cushion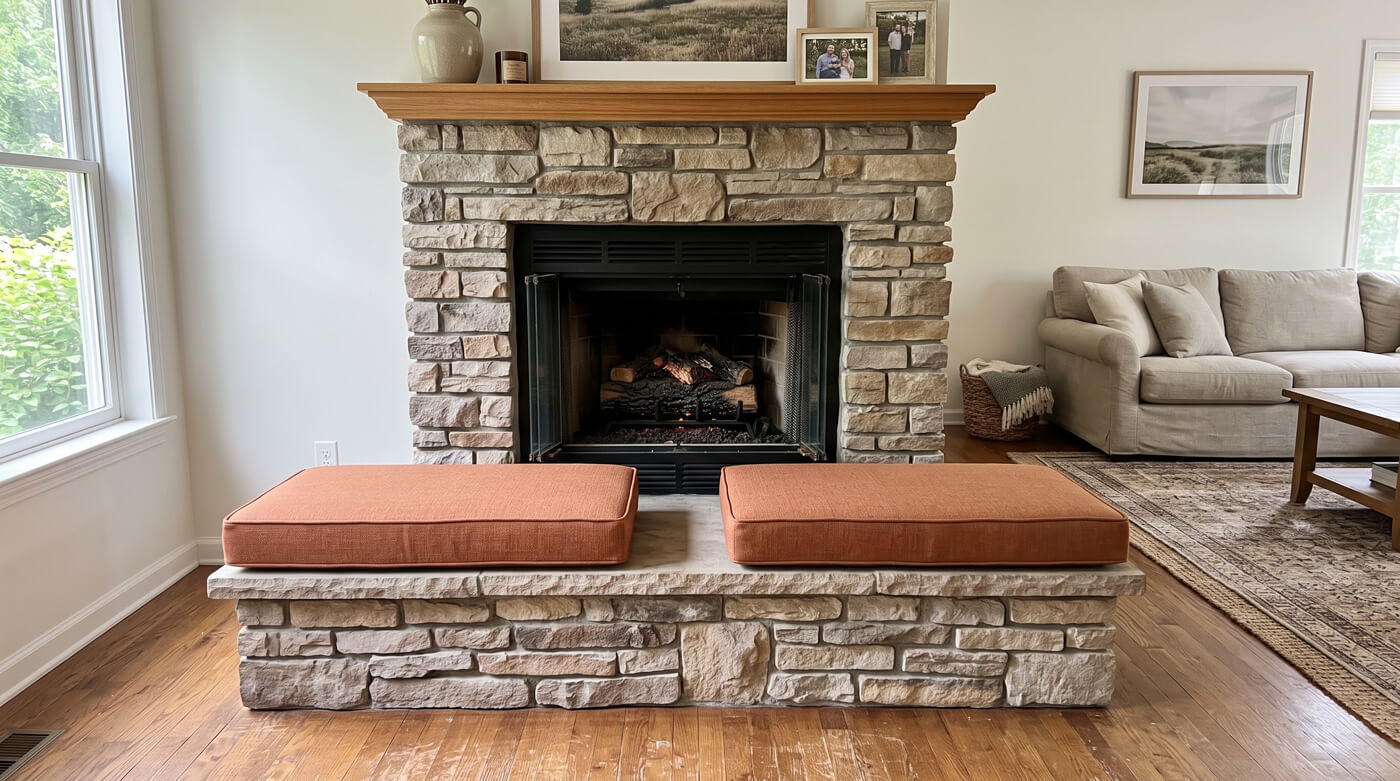

Leave a comment
All comments are moderated before being published.
This site is protected by hCaptcha and the hCaptcha Privacy Policy and Terms of Service apply.