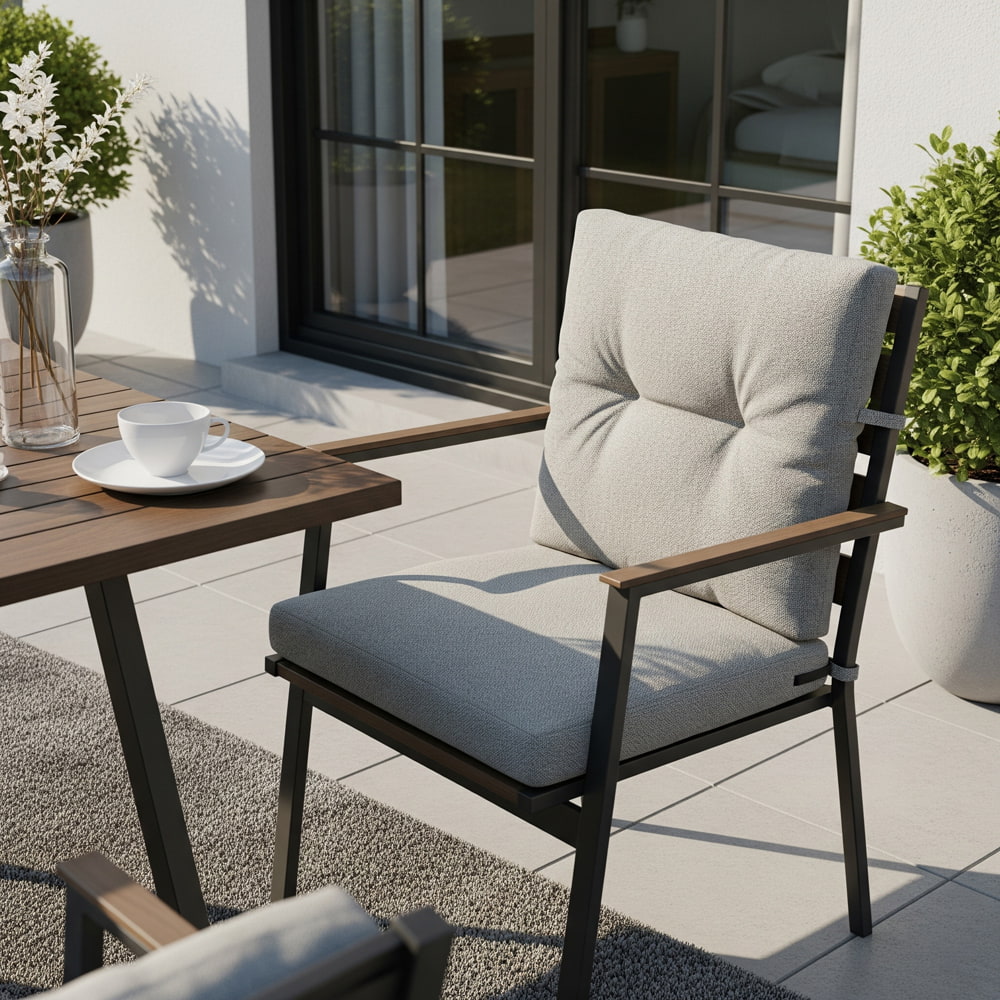
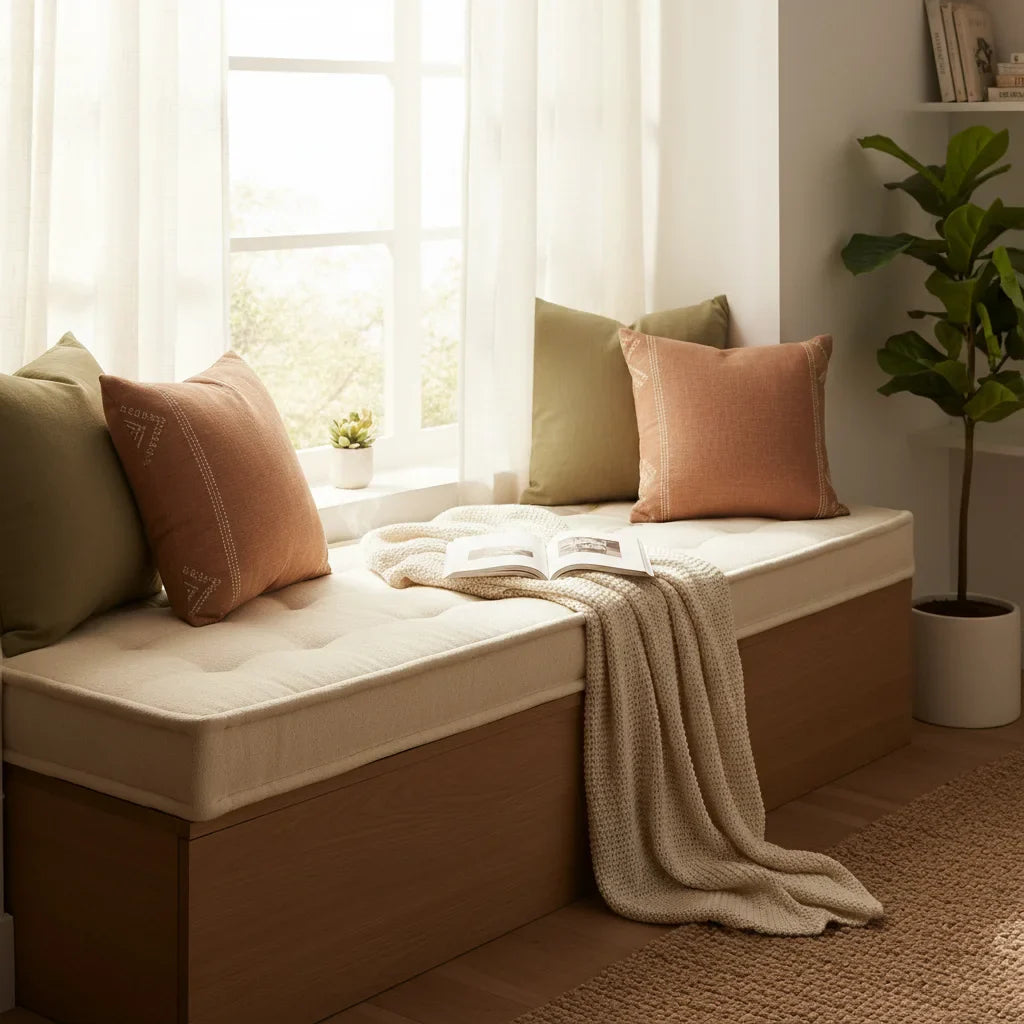
Let's be real – we've all been there. You're sitting on your patio, sipping your morning coffee, when you notice your once-beautiful outdoor bench cushion looking more like it survived a zombie apocalypse than a few seasons of weather. Before you start googling "how to hide ugly cushions" or "is it socially acceptable to throw a blanket over everything," let me tell you a secret: sewing a new seat cushion cover is way easier than you think, and infinitely more satisfying than ordering takeout for the third time this week.
Whether you're a complete sewing newbie who thinks a bobbin is some kind of fancy coffee drink, or you've dabbled in DIY projects before, this guide will walk you through creating a cushion cover that'll make your neighbors wonder if you hired a professional decorator (spoiler alert: you didn't, you're just that awesome). For a truly comprehensive deep dive into all things cushion creation, from mastering basic sewing fundamentals to tackling advanced techniques for various cushion types and even designing your own unique pieces, be sure to explore our ultimate resource: The Complete DIY Cushion Making & Sewing Guide: From Basic Benches to Designer Pouches.
Why DIY When You Could Just Buy
Sure, you could just order a replacement cover online – and trust me, we make some pretty amazing custom cushion covers that might save you the hassle. But there's something deeply satisfying about creating something with your own hands, plus you get bragging rights at the next neighborhood barbecue. Also, let's talk money – making your own cover can cost about 60-70% less than buying a ready-made one, and you get to choose exactly the fabric that speaks to your soul (or at least matches your patio umbrella).
🌟 Not Feeling the DIY Vibe Today?
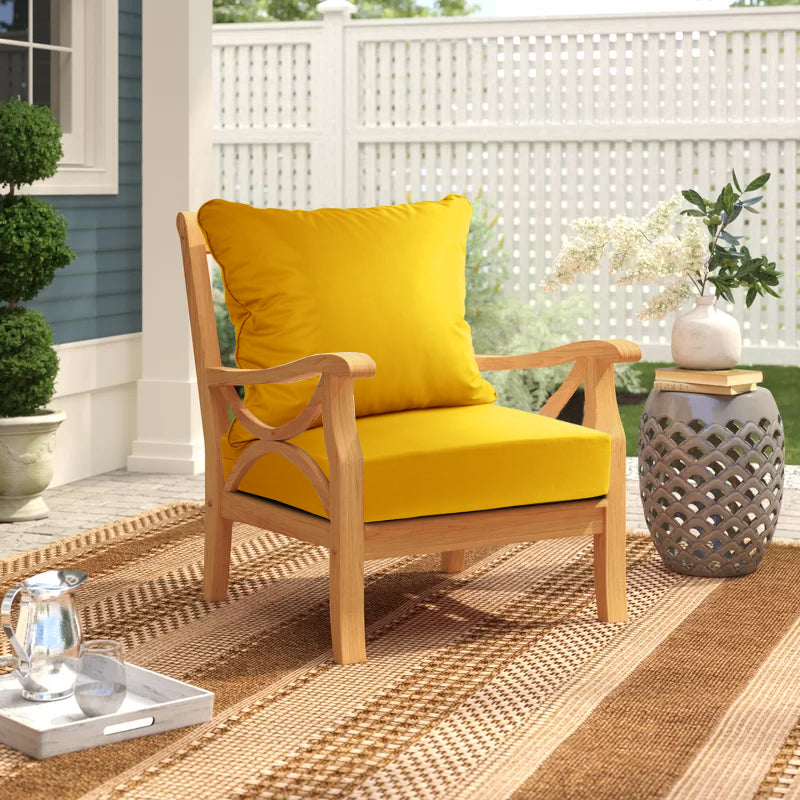
We totally get it! Sometimes life gets busy, and you just want that perfect cushion cover without the measuring tape drama. Check out our outdoor chair cushion collection for ready-to-go solutions that'll transform your space instantly.

What You'll Need (The Shopping List of Dreams)
Before we dive into the fun stuff, let's gather our supplies. Think of this as assembling your superhero toolkit, except instead of fighting crime, you're fighting ugly furniture.
Essential Materials
- Fabric: 1-2 yards depending on your cushion size (outdoor fabric recommended for durability)
- Zipper: 2-3 inches shorter than your cushion width
- Thread: Heavy-duty polyester thread that matches your fabric
- Scissors: Sharp fabric scissors (not the ones you use for everything else, please)
- Measuring tape: Because eyeballing it is how we end up with lopsided cushions
- Pins: Lots of them – they're like breadcrumbs for sewing
- Seam ripper: For when things go sideways (and they might)
Nice-to-Have Tools
| Tool | Why It's Helpful | Can You Live Without It? |
|---|---|---|
| Rotary Cutter | Makes cutting straight lines easier | Yes, but your lines might be wonky |
| Quilting Ruler | Perfect measurements every time | A regular ruler works too |
| Iron | Professional-looking seams | You can finger-press in a pinch |
| Fabric Marker | Mark cutting lines clearly | Chalk or washable marker works |
Choosing Your Fabric (The Make-or-Break Decision)
This is where things get interesting. Picking the right fabric is like choosing a Netflix show – there are way too many options, and you're probably going to second-guess yourself no matter what you choose. But unlike your streaming decisions, this one actually matters for the longevity of your project.
Outdoor Fabric Options
Acrylic Canvas
The MVP of outdoor fabrics. Water-resistant, fade-resistant, and tough enough to handle whatever Mother Nature throws at it. Think of it as the superhero costume of fabric world.
Polyester Blends
The reliable friend who's always there for you. Not as fancy as some options, but gets the job done and won't break the bank.
Solution-Dyed Acrylic
The overachiever of the group. Color goes all the way through the fiber, so fading is basically not a thing. Slightly pricier but worth it for high-sun areas.

Measuring Your Cushion (Math Time, But Make It Fun)
Okay, deep breath. We're about to do some measuring, and I know math isn't everyone's favorite subject. But think of it this way – you're not doing algebra, you're just figuring out how much fabric your cushion needs to feel properly dressed. It's like tailoring, but for furniture.
The Golden Formula
Top/Bottom Pieces: Cushion length + 1 inch × Cushion width + 1 inch
Boxing Strip: (Cushion length + Cushion width) × 2 + 4 inches × Cushion thickness + 1 inch
The extra inches are seam allowances – trust the process!
Pro tip: Measure twice, cut once. I cannot stress this enough. That extra 30 seconds of double-checking could save you from the heartbreak of a too-small cover and an emergency fabric store run.
Step-by-Step Sewing Process
Step 1: Cut Your Fabric Pieces
This is it – the point of no return. Once you cut, there's no going back (well, unless you have a really good seam ripper and infinite patience). Lay your fabric flat, use your measurements, and cut carefully. If you're feeling fancy, you can use a rotary cutter for super clean edges.
Step 2: Prepare the Zipper Opening
Here's where things get slightly technical, but don't panic. You're going to create an opening in your boxing strip for the zipper. Think of it as creating a doorway for your cushion to enter and exit its new home.
- Cut your boxing strip into two pieces where you want the zipper
- Add 1 inch to each piece for seam allowance
- Sew the zipper between these pieces (YouTube is your friend here if you need a visual)
Step 3: Attach the Boxing Strip
This is where your cushion cover starts looking like an actual cushion cover instead of random fabric pieces. You're going to attach the boxing strip (the sides) to one of your top/bottom pieces.
💡 Pro Tip
Start pinning at the corners and work your way around. Corners can be tricky, so take your time and don't be afraid to adjust as you go.
Step 4: Complete the Cover
Now attach the second top/bottom piece to complete your cover. Make sure your zipper is partially open before you sew – learned this the hard way when I created a permanently sealed cushion cover that mocked me from across the room.

Common Mistakes (Learn from My Pain)
Let me save you some tears and frustration by sharing the mistakes I've made so you don't have to. Consider this the "don't try this at home" section, except we're already at home, so it's more like "don't do what I did."
❌ Forgetting to Open the Zipper
Nothing says "amateur hour" like sewing your cover completely shut. Always keep that zipper at least halfway open during the final seaming step.
❌ Skipping the Seam Allowance
Your cushion will look like it's wearing spanx – technically covered, but not comfortable for anyone involved.
❌ Not Reinforcing Stress Points
Corners and zipper ends take a beating. A few extra stitches here will save you from a blowout later.
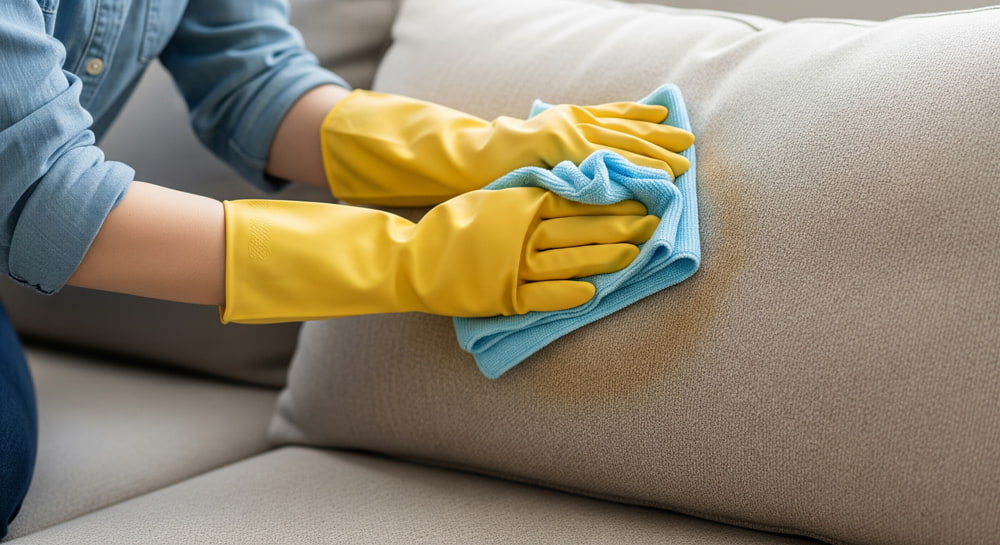
Finishing Touches and Care Tips
Congratulations! You've successfully created a cushion cover that didn't exist in the world 2 hours ago. Take a moment to appreciate this small miracle of creation. Now let's make sure it stays looking good for more than a week.
Care Instructions
- Regular Cleaning: Vacuum or brush off debris weekly
- Deep Cleaning: Most outdoor fabrics can handle machine washing on gentle cycle
- Storage: Remove cushions during harsh weather if possible
- Spot Treatment: Address spills immediately with mild soap and water
Love the DIY Life But Short on Time?
We completely understand that sometimes you want professional results without the learning curve. Our custom bench cushions are designed to last and can be tailored to your exact specifications. Plus, you'll still get to tell people you "had them made" which sounds pretty fancy, right?

When DIY Meets Reality
Let's have a heart-to-heart moment here. Not every DIY project goes according to plan, and that's totally okay. Sometimes the fabric has other ideas, sometimes the measurements were more like "suggestions," and sometimes your sewing machine decides to have an attitude. If your first attempt looks more abstract art than cushion cover, don't stress. Even professional sewers have projects they prefer not to discuss in polite company.
The beauty of learning how to make seat cushions is that it's a skill that builds on itself. Your second cover will be better than your first, your third better than your second, and so on. Before you know it, you'll be the go-to person in your friend group for furniture makeover advice.
Budget Breakdown (Because Money Matters)
| Item | DIY Cost | Store-Bought | Savings |
|---|---|---|---|
| Basic Fabric Cover | $15-25 | $40-60 | $25-35 |
| Premium Fabric Cover | $25-40 | $70-100 | $45-60 |
| Custom Size/Shape | $20-35 | $80-150 | $60-115 |
As you can see, the savings can be pretty significant, especially if you're covering multiple cushions. Plus, you get the satisfaction of creating something unique that perfectly fits your space and style.
Troubleshooting Common Issues
Because Murphy's Law applies to sewing projects too, here are solutions to problems you might encounter:
Problem: Cover is too tight
Solution: Check if you forgot seam allowances. If so, you might need to let out seams or start over with larger measurements.
Problem: Cover is too loose
Solution: Add darts at the corners or take in seams gradually. A slightly loose cover is better than a tight one.
Problem: Zipper won't close properly
Solution: Make sure the fabric isn't bunching. Sometimes trimming seam allowances near the zipper helps.
Final Thoughts
Learning how to sew a seat cushion cover is like learning to ride a bike – seems impossible until suddenly it clicks, and then you wonder what all the fuss was about. Sure, your first attempt might not win any design awards, but it'll be yours, made with your own hands, and perfectly sized for your space.
Whether you decide to dive into the DIY world or prefer to leave it to the professionals with our ready-made chair cushions, the most important thing is that you end up with outdoor furniture that makes you happy to spend time in your space.
Now go forth and create something beautiful – your patio furniture is waiting for its makeover!


Leave a comment
All comments are moderated before being published.
This site is protected by hCaptcha and the hCaptcha Privacy Policy and Terms of Service apply.